Separate seat and back cushions soften the slatted frame.
Project library / Seating
Seating / Build companion
Cushioned Slat Armchair
A square timber armchair supports separate cushions over a woven webbing seat.
Intermediate5 stages3-page source
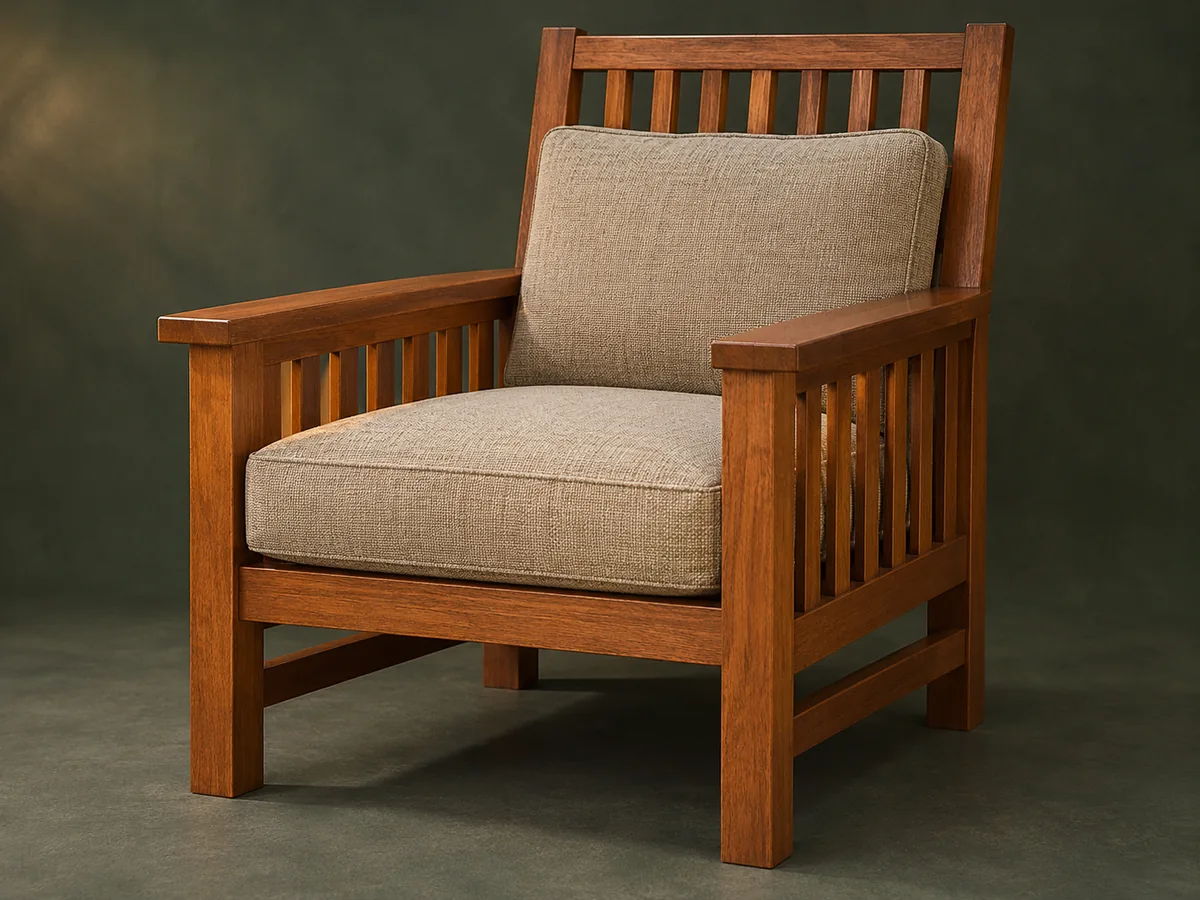
A companion to the original plan. An original study guide based on the supplied historical plan; not shop-tested. Use the privately owned source drawings for full-size patterns and complete cutting details.
Understand the project
What makes this build.
The chair combines mortise-and-tenon side frames, a doweled back and an inclined webbed seat support that must fit together accurately.
A beveled rear cleat establishes the back angle.
The seat uses interwoven webbing rather than a solid panel.
Points to resolve before building
- The historical band-iron and tack arrangement has no verified load capacity; choose a complete current upholstery system.
- Full joint sizes must be checked against the source drawing; some extracted mortise text is ambiguous.
Prepare the workbench
Materials & tools.
Check what you have, then confirm stock sizes and hardware against your chosen dimensions.
Materials checklist
Tools & operations
- Saw
- Mortising router or drill and chisels
- Drill
- Clamps
- Sander
Tool choices may include practical editorial suggestions. Use workholding and guarding appropriate to the actual machine and operation.
Choose dry, sound stock and test unfamiliar joints in scrap. Keep guards, push aids, eye protection, and dust control appropriate to the work.
Keep the numbers close
Measurements to know.
Selected dimensions verified from the source. This is not an automatically scaled cutting list.
| Back-cleat bevel | 16° | Source p. 2 |
|---|---|---|
| Back slat mortises | ½ in deep × ⅜ in wide × 2½ in long | Source p. 2 |
Printed diagrams and concept images are not scale references. Verify measurements, material thickness, hardware fit, and allowances before cutting.
Inches to millimeters
Convert a measurement without changing the design. Enter a decimal or a fraction, such as 1 3/8.
Nominal lumber names and actual finished sizes are different. Converting units does not choose a substitute stock size.
From stock to finished project
Let’s make it.
Read the complete sequence before cutting. Mark a stage complete after its fit checks and any required glue cure.
Lay out the frame joints
- Mark the leg and arm mortises and their mating rail tenons from the full drawing. Cut matching joint locations using one reference face on every part. Keep the arm mortises distinct from the smaller back-slat mortises; they perform different jobs and use different stock sections.
Before moving onOpposite sides have matching joint heights.
Fit the side assemblies
- Dry-fit the legs, side rails, side panels and arms. Glue each side as a flat assembly after checking the diagonals. Place the two completed sides together after curing to confirm that corresponding rails and arm surfaces align.
Before moving onSide assemblies remain square while clamped.
Build the slatted back
- Round the slat edges to fit their mortises, fit slats between the back rails, and dowel the rails into the stiles. Keep the assembly flat during glue-up. Do not sand away the slat shoulders while rounding their edges, because those shoulders control the back-rail spacing.
Before moving onSlats are evenly seated and the back is untwisted.
Connect the seat frame
- Join the sides with the front rail and fit the front, side and beveled rear cleats. Offer up the back frame to the bevel to locate its supports before fastening. The source places the front and side seat cleats slightly below the rail tops, so confirm cushion and webbing clearance before attachment.
Before moving onThe back contacts its supports evenly and the seat opening is square.
Install upholstery support
- Finish the wood before fitting the webbing. Install a compatible current webbing and fastening system to its manufacturer’s tension and attachment instructions, then add cushions. Check both directions of the woven support and protect the wood finish from sharp band edges or protruding fasteners.
Before moving onThe support system is firmly attached and the cushions fit without trapping loose hardware.
1 / 5
Progress and notes stay in this browser. Nothing is uploaded.
Source notes.
- Original PDF
- Armchair.pdf
- Source length
- 3 pages
- Attribution
- Collection copyright 2004 Martian Auctions; original authorship unverified.
- This edition
- 116 Studio · Original written companion and AI concept image · November 2026
Page references count from the first page of this PDF. The original is retained in the owner’s private woodworking collection; it is not distributed by this website. Consult it for full drawings, templates, and details beyond this companion.
Historical plans can omit essential context. Source references identify where a detail came from; they do not certify the design or replace current manufacturer instructions or applicable professional review.
More from this corner of the shop.
Seating
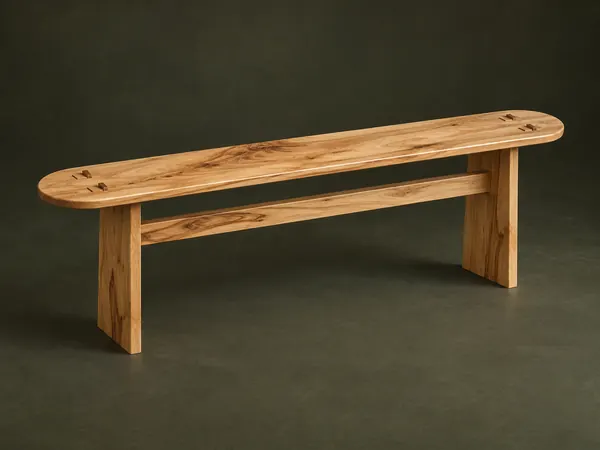
Four-Board Bench
A slender hickory bench joins a rounded seat, two cutout leg panels, and a long stretcher with exposed wedged tenons.
Intermediate5 stages
Seating
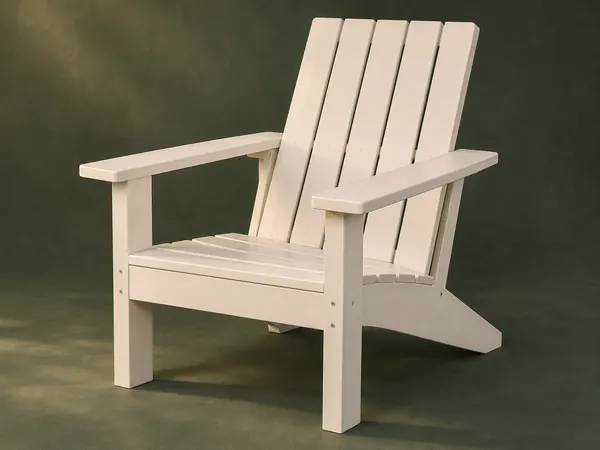
Straight-Back Adirondack Chair
A painted outdoor chair uses broad arms, a slatted seat, and a straight-topped reclined back supported by long stringers.
Intermediate5 stages
Seating
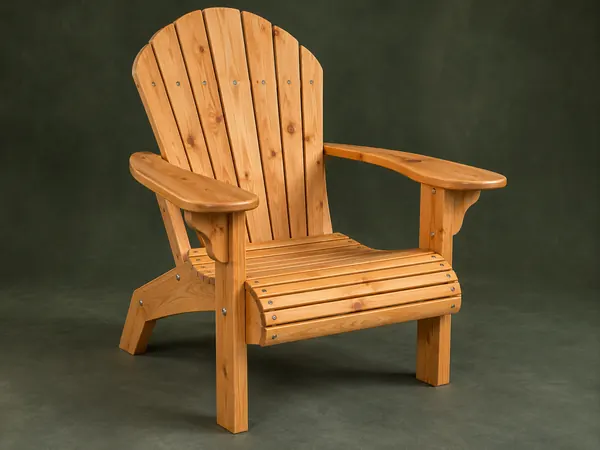
Fan-Back Adirondack Chair
A rustic pine Adirondack chair pairs a rounded seven-slat fan back with a curved eleven-slat seat and broad shaped arms.
Advanced6 stages