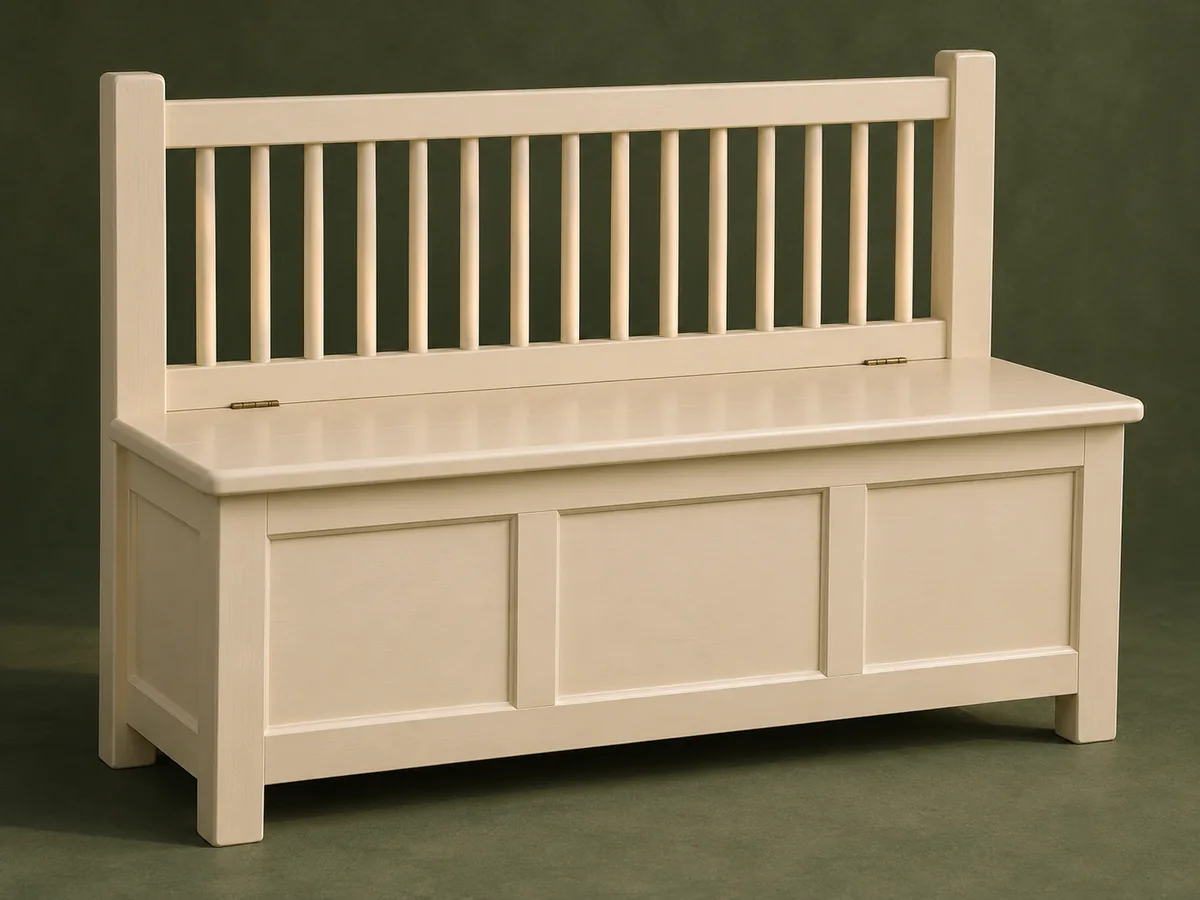
A separate fixed strip sits behind the opening seat lid.
Project library / Beds & nursery
Beds & nursery / Design study
Spindle-Back Toy Chest
A storage chest takes the form of a small bench with a dowel-spindle back and a hinged seat lid.
Advanced5 stages10-page source
Design review required. Historical toy-chest and seating concept. Current child-product, lid-support, ventilation, entrapment and structural requirements need qualified review before use. This guide has not been shop-tested.
Understand the project
What makes this build.
The bench-shaped chest combines frame-and-panel joinery and a spindle back, but lid behavior and child entrapment remain unresolved safety design tasks.
Sixteen round spindles form the back.
Frame-and-panel chest walls support the bench silhouette.
Points to resolve before building
- A single historical friction support is not evidence of current toy-chest compliance.
- The chest has no verified seating load or entrapment assessment.
Prepare the workbench
Materials & tools.
Check what you have, then confirm stock sizes and hardware against your chosen dimensions.
Materials checklist
Tools & operations
- Saw
- Router
- Drill
- Chisels
- Clamps
Tool choices may include practical editorial suggestions. Use workholding and guarding appropriate to the actual machine and operation.
Choose dry, sound stock and test unfamiliar joints in scrap. Keep guards, push aids, eye protection, and dust control appropriate to the work.
Keep the numbers close
Measurements to know.
Selected dimensions verified from the source. This is not an automatically scaled cutting list.
| Front and rear rail blanks | 40 in | Source p. 1 |
|---|---|---|
| Back spindles | 16, cut to the measured rail spacing plus engagement | Source p. 5 |
Printed diagrams and concept images are not scale references. Verify measurements, material thickness, hardware fit, and allowances before cutting.
Inches to millimeters
Convert a measurement without changing the design. Enter a decimal or a fraction, such as 1 3/8.
Nominal lumber names and actual finished sizes are different. Converting units does not choose a substitute stock size.
Read, assess & plan
Explore the construction.
Review stages explain the historical design and unresolved decisions; they are not approval to build or use it.
Resolve child-product requirements
- Review current toy-chest requirements including lid support, entrapment, ventilation and accessible pinch points before treating the historic plan as usable. Seating also needs a verified structural assessment. A finish labeled suitable for children does not establish lid performance, ventilation or structural safety of the complete box.
Before moving onThe intended use and required changes are documented.
Plan the frame joints
- Choose the mortise-and-tenon version before cutting; the source changes lengths for alternate joints. Lay out panel grooves separately from the structural mortises. The stopped panel grooves should end before the exposed rail ends, while the structural mortises retain full shoulder support.
Before moving onThe cut list matches one complete joinery method.
Fit the paneled chest
- Assemble the front, back and side frames with their infill panels. Fit the solid floor into its grooves with the movement clearance described. The source explicitly leaves the fitted floor able to move slightly after the front frame is installed.
Before moving onThe box is square and the floor can move slightly.
Fit the spindle back
- Dry-fit the back stiles and cross rail, then transfer matching spindle-hole positions. Cut the dowels to the actual opening and retain them as floating members. Transfer spindle centers between the top and lower rails as a matched pair rather than measuring each row independently.
Before moving onSpindles seat at both ends without bowing the rails.
Resolve lid travel and support
- Fit the fixed beveled rear strip and the lid to the actual opening. Install the reviewed hinges and support system to the manufacturer’s instructions, then verify all child-accessible gaps. Check the lid through its complete travel with the actual support hardware and fixed rear strip in place, including the closing gap.
Before moving onThe lid remains controlled throughout travel and required clearances are met.
1 / 5
Progress and notes stay in this browser. Nothing is uploaded.
Source notes.
- Original PDF
- Build a Toy Box.pdf
- Source length
- 10 pages
- Attribution
- Lowe’s, Build a Toy Box project sheet.
- This edition
- 116 Studio · Original written companion and AI concept image · November 2026
Page references count from the first page of this PDF. The original is retained in the owner’s private woodworking collection; it is not distributed by this website. Consult it for full drawings, templates, and details beyond this companion.
Historical plans can omit essential context. Source references identify where a detail came from; they do not certify the design or replace current manufacturer instructions or applicable professional review.
More from this corner of the shop.
 Design study
Beds & nursery
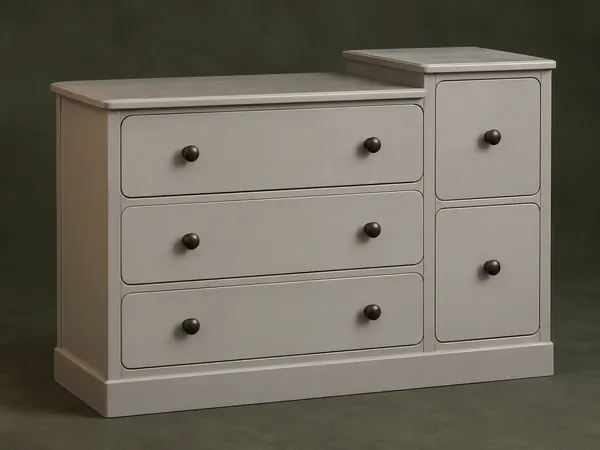
Stepped Nursery Dresser
A pine dresser combines three broad drawers and two narrow drawers beneath two different-height tops.
Advanced6 stages
 Design study
Beds & nursery
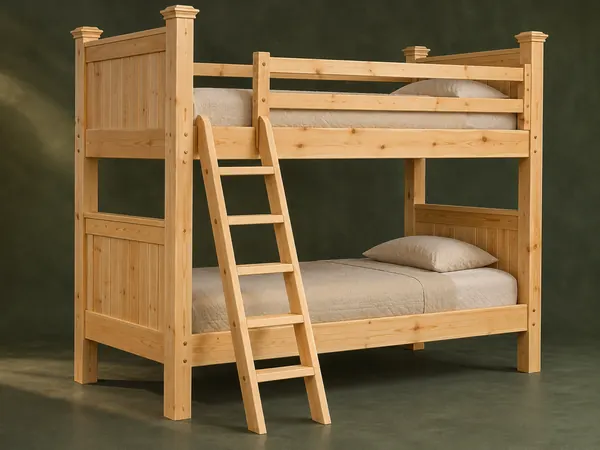
Paneled Timber Bunk Beds
A substantial twin-bunk concept uses paneled ends, laminated posts, wooden mattress slats and a separate ladder.
Advanced5 stages
 Design study
Beds & nursery
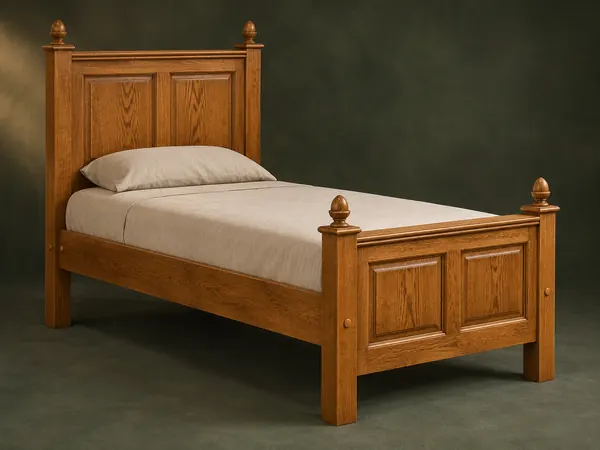
Paneled Oak Single Bed
A traditional oak single-bed concept has paneled ends, acorn finials and bolted mortise-and-tenon rails.
Advanced5 stages