Three panel fields decorate the head and foot ends.
Project library / Beds & nursery
Beds & nursery / Design study
Paneled Oak Single Bed
A traditional oak single-bed concept has paneled ends, acorn finials and bolted mortise-and-tenon rails.
Advanced5 stages4-page source
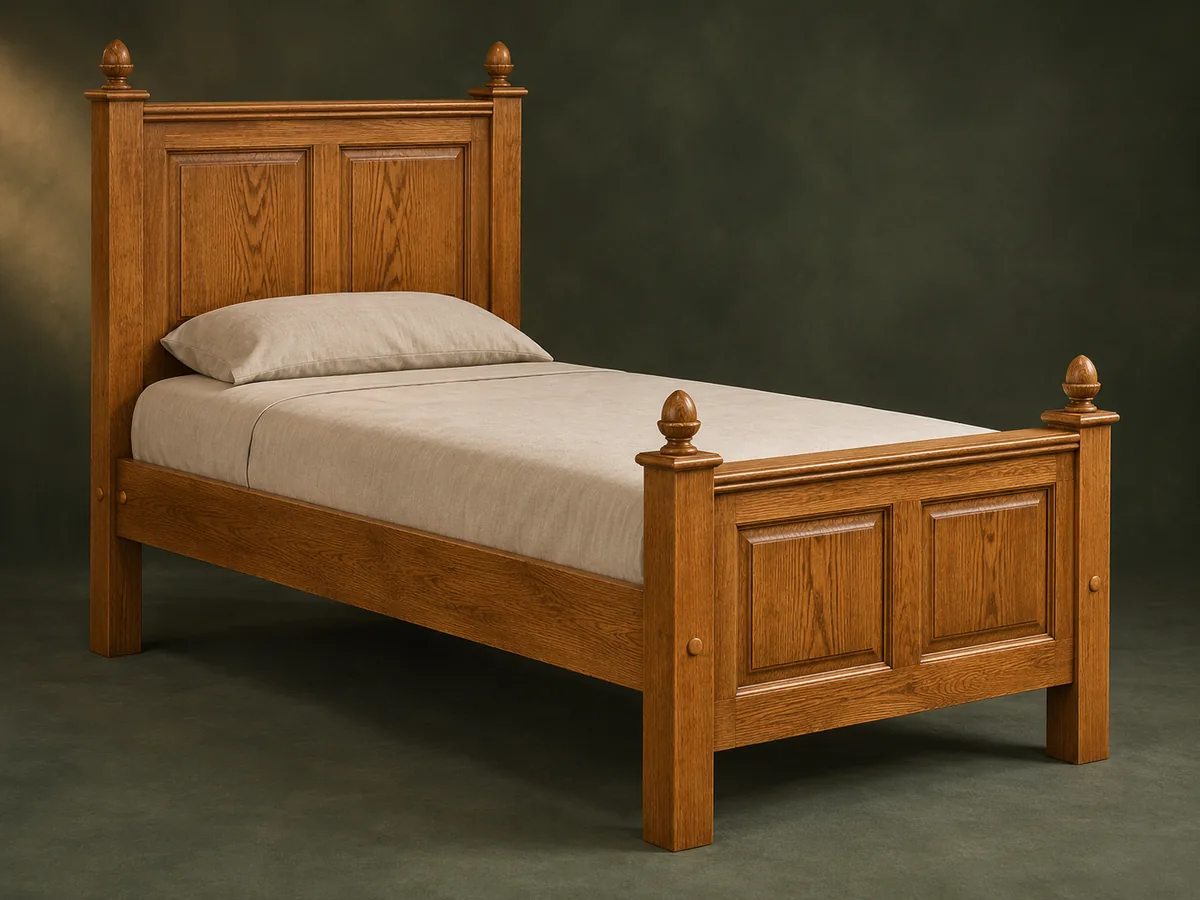
Design review required. Historical child-bed concept requiring a complete mattress-specific layout and review of current requirements, entrapment, protrusions, slat support and structural connections before use. This guide has not been shop-tested.
Understand the project
What makes this build.
Paneled bed ends, bolted rail tenons and turned finials require accurate joinery, plus a current child-bed safety review.
Threaded rod and barrel nuts make the rail joints removable.
Turned acorn finials cap the posts.
Points to resolve before building
- The source gives stock sizes rather than a complete verified mattress fit.
- Historical child-bed details are not evidence of current safety compliance.
Prepare the workbench
Materials & tools.
Check what you have, then confirm stock sizes and hardware against your chosen dimensions.
Materials checklist
Tools & operations
- Router
- Saw
- Drill
- Lathe
- Chisels
- Clamps
Tool choices may include practical editorial suggestions. Use workholding and guarding appropriate to the actual machine and operation.
Choose dry, sound stock and test unfamiliar joints in scrap. Keep guards, push aids, eye protection, and dust control appropriate to the work.
Keep the numbers close
Measurements to know.
Selected dimensions verified from the source. This is not an automatically scaled cutting list.
| Post blanks | 75 × 75 × 1200 mm | Source p. 4 |
|---|---|---|
| Side-rail stock | 75 × 35 × 2000 mm | Source p. 4 |
Printed diagrams and concept images are not scale references. Verify measurements, material thickness, hardware fit, and allowances before cutting.
Inches to millimeters
Convert a measurement without changing the design. Enter a decimal or a fraction, such as 1 3/8.
Nominal lumber names and actual finished sizes are different. Converting units does not choose a substitute stock size.
Read, assess & plan
Explore the construction.
Review stages explain the historical design and unresolved decisions; they are not approval to build or use it.
Resolve the bed and mattress fit
- Measure the actual mattress and establish the intended child age and applicable bed requirements. Review entrapment, protrusions, slat support and structural connections before adapting the historical dimensions. Have the reviewer consider the actual mattress perimeter and support height, not just the stock lengths listed in the article.
Before moving onA complete reviewed bed drawing exists.
Fit paired post mortises
- Mark handed post pairs from their bottom reference. Cut matching mortises and fit the end-rail tenons before shaping decorative profiles. The mortises are handed pairs, so mark inside faces and head/foot positions before using a repeated router setup.
Before moving onBoth end frames dry-fit square.
Make the paneled ends
- Profile the rails and stiles, measure the three panel openings and field the panel edges. Preserve movement clearance rather than forcing panels into the grooves. The source uses a half-width stile near a post to balance the panel layout, which must be included in the full-size drawing.
Before moving onPanels fit freely and the frame joints close.
Plan the bolted side rails
- Fit side-rail tenons and align the concealed barrel-nut bores. Check access for tightening and keep all holes clear of visible rail faces. Prepare a test joint to verify that the barrel nut aligns with the threaded rod without forcing the rail out of square.
Before moving onThe trial joint tightens without splitting or breakthrough.
Resolve support and decoration
- Fit the reviewed support battens and slat layout, then assess caps and acorn finials for the intended use. Complete the required safety and structural checks before sleeping use. The slat spacing and decorative finials need approval within the complete intended-use design rather than being accepted as cosmetic details.
Before moving onAll support, clearance and protrusion questions are closed.
1 / 5
Progress and notes stay in this browser. Nothing is uploaded.
Source notes.
- Original PDF
- Child's Bed.pdf
- Source length
- 4 pages
- Attribution
- Collection copyright 2004 Martian Auctions; original authorship unverified.
- This edition
- 116 Studio · Original written companion and AI concept image · November 2026
Page references count from the first page of this PDF. The original is retained in the owner’s private woodworking collection; it is not distributed by this website. Consult it for full drawings, templates, and details beyond this companion.
Historical plans can omit essential context. Source references identify where a detail came from; they do not certify the design or replace current manufacturer instructions or applicable professional review.
More from this corner of the shop.
 Design study
Beds & nursery
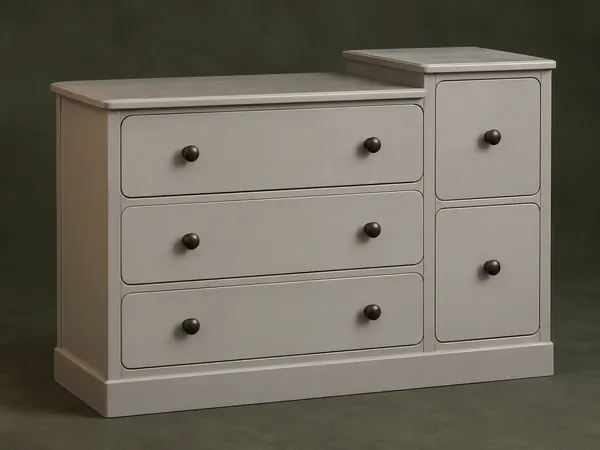
Stepped Nursery Dresser
A pine dresser combines three broad drawers and two narrow drawers beneath two different-height tops.
Advanced6 stages
 Design study
Beds & nursery
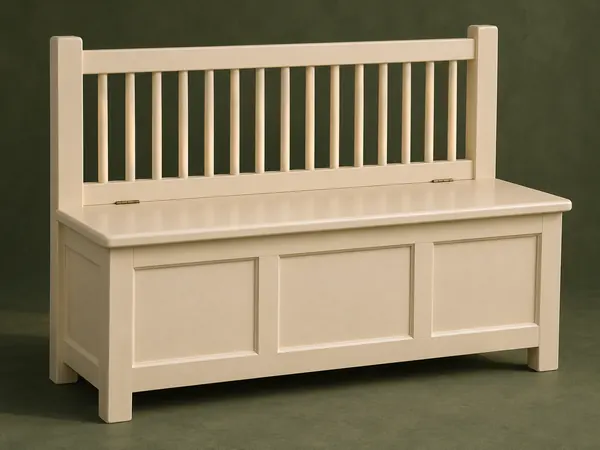
Spindle-Back Toy Chest
A storage chest takes the form of a small bench with a dowel-spindle back and a hinged seat lid.
Advanced5 stages
 Design study
Beds & nursery
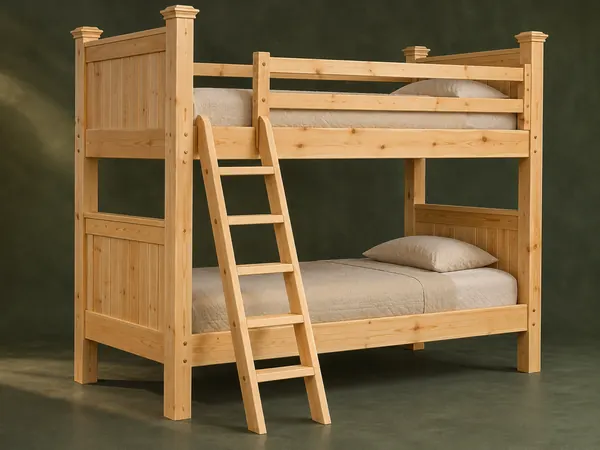
Paneled Timber Bunk Beds
A substantial twin-bunk concept uses paneled ends, laminated posts, wooden mattress slats and a separate ladder.
Advanced5 stages