Long grooves capture the slat ends.
Project library / Beds & nursery
Beds & nursery / Build companion
Pine Slat Bed Ends
A pine headboard and footboard with solid slat panels and hollow built-up square posts, fitted to a separate metal bed frame.
Intermediate5 stages7-page source
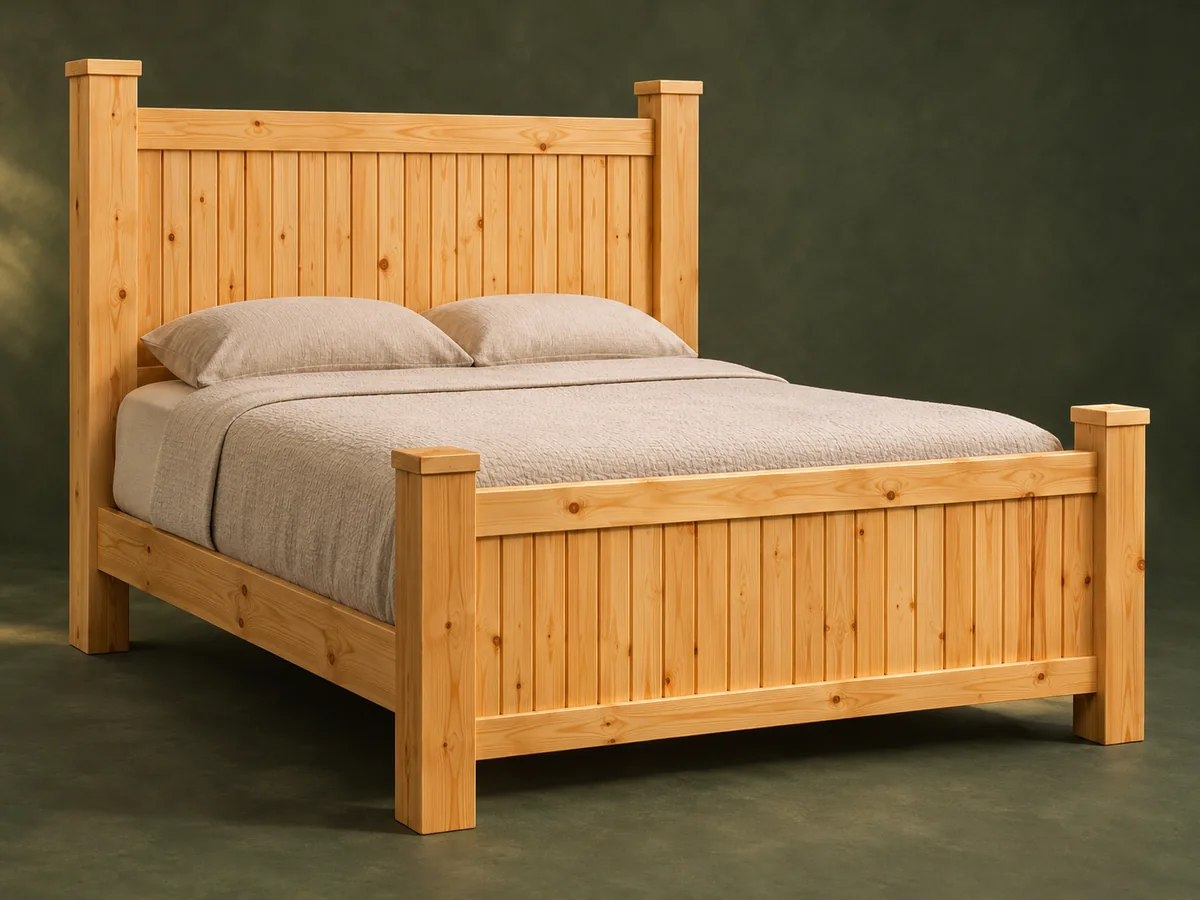
A companion to the original plan. Original reading guide based on the archived plan; not shop-tested. Confirm diagram dimensions against the private source before cutting.
Understand the project
What makes this build.
Long grooved panels and mirrored built-up posts require careful alignment and fitting to a separate metal frame.
Four boards wrap into each square post.
The wooden pieces are bed ends, not the mattress-support frame.
Points to resolve before building
- The source suggests an unsecured headboard option; use a secure attachment instead.
- Check bracket geometry and fasteners for the actual frame.
Prepare the workbench
Materials & tools.
Check what you have, then confirm stock sizes and hardware against your chosen dimensions.
Materials checklist
Tools & operations
- Saw
- Dado or router setup
- Drill/driver
- Pipe clamps
- Sander
Tool choices may include practical editorial suggestions. Use workholding and guarding appropriate to the actual machine and operation.
Choose dry, sound stock and test unfamiliar joints in scrap. Keep guards, push aids, eye protection, and dust control appropriate to the work.
Keep the numbers close
Measurements to know.
Selected dimensions verified from the source. This is not an automatically scaled cutting list.
| Queen rail length | 56 in | Source p. 2 |
|---|---|---|
| Headboard slats | 16 at 10 in | Source p. 2 |
| Footboard slats | 16 at 8½ in | Source p. 2 |
| Rail grooves | ¾ in wide × ½ in deep | Source p. 3 |
Printed diagrams and concept images are not scale references. Verify measurements, material thickness, hardware fit, and allowances before cutting.
Inches to millimeters
Convert a measurement without changing the design. Enter a decimal or a fraction, such as 1 3/8.
Nominal lumber names and actual finished sizes are different. Converting units does not choose a substitute stock size.
From stock to finished project
Let’s make it.
Read the complete sequence before cutting. Mark a stage complete after its fit checks and any required glue cure.
Match the bed frame
- Measure the actual mattress and metal-frame bracket spacing. Choose the source size variant, then establish the mounting locations before producing the wooden bed ends. The metal frame carries the mattress; these wooden assemblies must be designed around its connection points rather than substituted for its supports.
Before moving onThe wooden ends can attach securely to the intended frame.
Build the headboard panel
- Cut the long rail grooves and fit the sixteen headboard slats between them. Keep the assembly on a flat surface while checking its rectangular outline. Dry-fit the slats before gluing the rails so any tight groove or cumulative width error can be corrected on separate parts.
Before moving onSlats seat in both grooves and the panel stays square.
Wrap the tall posts
- Attach the first post board at the indicated offset, then add the remaining three boards in rotation. Mirror that rotation on the opposite post and center the square caps. Keep the best board faces outward and check each wrapped post with a square before its fasteners make adjustment difficult.
Before moving onBoth posts look symmetrical from the front.
Repeat for the lower footboard
- Use the shorter slats and post boards specified for the footboard. Retain the same groove geometry and mirrored built-up post arrangement. Place the finished end assemblies beside each other and compare the rail levels and cap proportions before applying the final finish.
Before moving onThe lower panel matches the headboard width and style.
Finish and mount securely
- Fill and sand the exposed fasteners, then apply the chosen finish. Attach both ends using hardware suitable for the metal frame; do not rely on an unsecured headboard simply leaning against a wall. Check the bed-end clearance with the mattress installed, and tighten the frame connections again after the first period of normal use.
Before moving onThe frame and both bed ends remain secure under normal movement.
1 / 5
Progress and notes stay in this browser. Nothing is uploaded.
Source notes.
- Original PDF
- Pine Bed.pdf
- Source length
- 7 pages
- Attribution
- Wow! I Made It!, Pine Bed Headboard and Footboard.
- This edition
- 116 Studio · Original written companion and AI concept image · November 2026
Page references count from the first page of this PDF. The original is retained in the owner’s private woodworking collection; it is not distributed by this website. Consult it for full drawings, templates, and details beyond this companion.
Historical plans can omit essential context. Source references identify where a detail came from; they do not certify the design or replace current manufacturer instructions or applicable professional review.
More from this corner of the shop.
 Design study
Beds & nursery
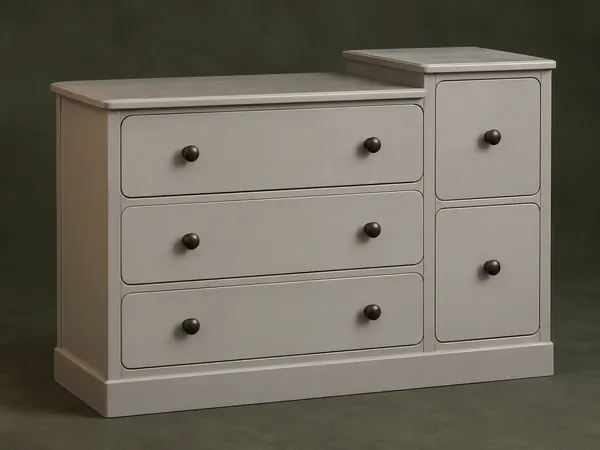
Stepped Nursery Dresser
A pine dresser combines three broad drawers and two narrow drawers beneath two different-height tops.
Advanced6 stages
 Design study
Beds & nursery
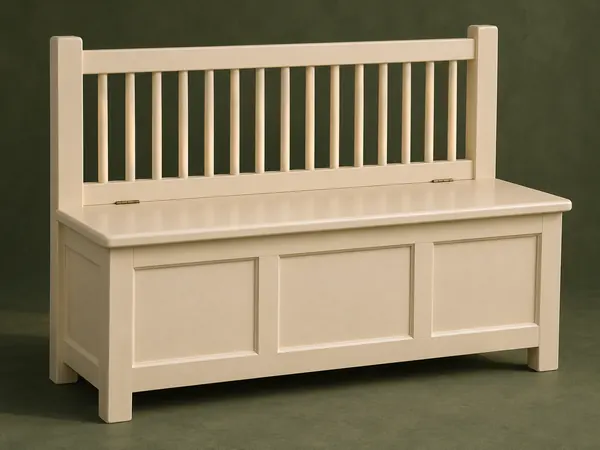
Spindle-Back Toy Chest
A storage chest takes the form of a small bench with a dowel-spindle back and a hinged seat lid.
Advanced5 stages
 Design study
Beds & nursery
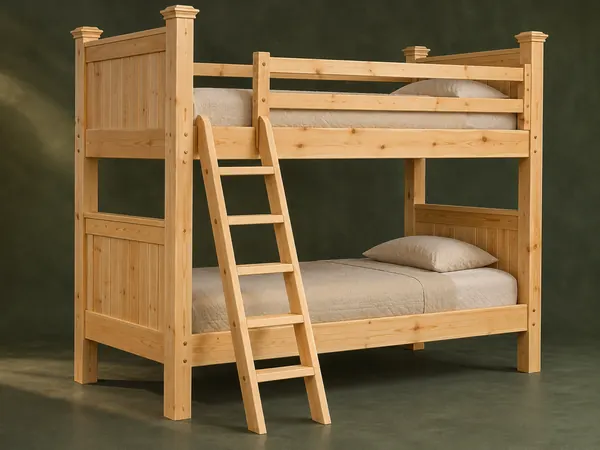
Paneled Timber Bunk Beds
A substantial twin-bunk concept uses paneled ends, laminated posts, wooden mattress slats and a separate ladder.
Advanced5 stages