Deck loading, anchorage and door transitions require site-specific review.
Project library / Structures
Structures / Design study
Redwood Patio Deck
A low redwood deck built on sleepers over an existing concrete patio, finished with a matching perimeter skirt.
Advanced6 stages3-page source
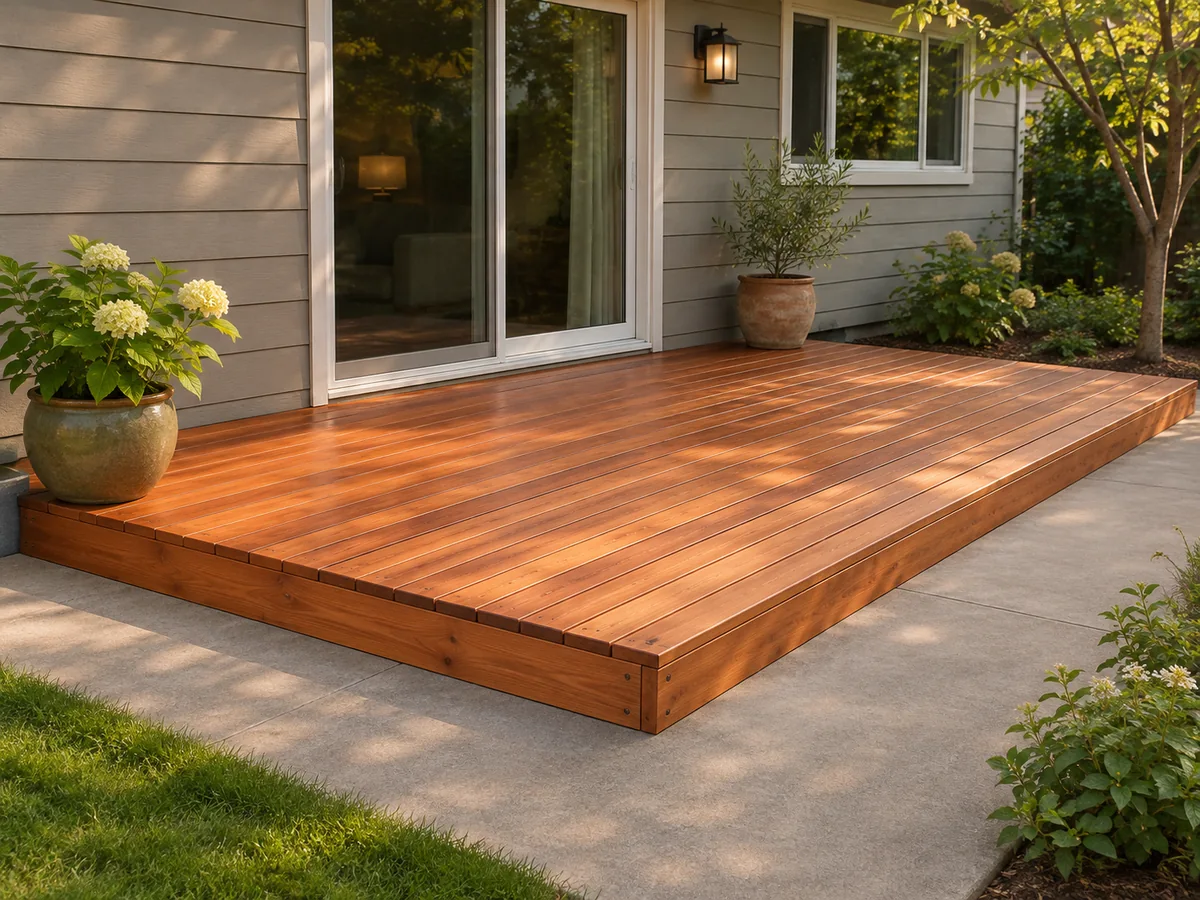
Design review required. Planning overview, not a shop-tested or construction-ready plan. Planning only: a 2001 brochure cannot establish current code compliance or deck-board spans. The source’s powder-actuated anchoring suggestion is not a universal installation method.
Understand the project
What makes this build.
Deck loading, anchorage and door transitions require site-specific review.
The old slab supports the full length of each sleeper.
The redwood skirt hides the low perimeter without a raised balustrade.
Points to resolve before building
- Planning only: a 2001 brochure cannot establish current code compliance or deck-board spans.
- The source’s powder-actuated anchoring suggestion is not a universal installation method.
Prepare the workbench
Materials & tools.
Check what you have, then confirm stock sizes and hardware against your chosen dimensions.
Materials checklist
Tools & operations
- Tape measure and square
- Level
- Saw
- Drill
- Appropriate concrete anchoring equipment
Tool choices may include practical editorial suggestions. Use workholding and guarding appropriate to the actual machine and operation.
Choose dry, sound stock and test unfamiliar joints in scrap. Keep guards, push aids, eye protection, and dust control appropriate to the work.
Keep the numbers close
Measurements to know.
Selected dimensions verified from the source. This is not an automatically scaled cutting list.
| Source sleeper layout | 24 inches on center, subject to current span and site review. | Source p. 2 |
|---|---|---|
| Source edge overhang | ½ inch beyond concrete | Source p. 2 |
| Material example | For 100 square feet: 60 linear feet sleepers; 326 linear feet 2×4 or 210 linear feet 2×6 decking. | Source p. 1 |
Printed diagrams and concept images are not scale references. Verify measurements, material thickness, hardware fit, and allowances before cutting.
Inches to millimeters
Convert a measurement without changing the design. Enter a decimal or a fraction, such as 1 3/8.
Nominal lumber names and actual finished sizes are different. Converting units does not choose a substitute stock size.
Read, assess & plan
Explore the construction.
Review stages explain the historical design and unresolved decisions; they are not approval to build or use it.
Survey the slab
- Map cracking, drainage slope, door thresholds and any moisture path toward the house. Confirm that covering the concrete will not conceal a structural or drainage problem.
Before moving onThe slab and required clearance are accepted for the proposed deck.
Review the sleeper design
- Have current decking spans, anchorage, ground clearance and any permit requirements checked. Establish a drainage and debris-cleanout route beneath the boards.
Before moving onAn approved sleeper and drainage layout is available.
Set the supports
- Lay the reviewed sleepers perpendicular to the house where required for drainage. Level only with suitable durable supports and install approved concrete anchors by their instructions.
Before moving onSleepers are stable without blocking water paths.
Dry-lay the redwood
- Place decking so every butt joint lands on a sleeper and adjacent joints are staggered. Establish spacing appropriate to board moisture and current product guidance.
Before moving onAll board ends have support and drainage gaps are consistent.
Fasten and trim
- Predrill near ends and install compatible fasteners flush with the surface. Fit the perimeter skirt while preserving the designed drainage and ventilation.
Before moving onNo projecting fasteners or trapped water pockets remain.
Inspect the transitions
- Check steps, door clearances and perimeter trip risks, then apply a suitable exterior finish if desired. Keep the under-deck drainage accessible for maintenance.
Before moving onCompleted transitions and drainage pass the required review.
1 / 6
Progress and notes stay in this browser. Nothing is uploaded.
Source notes.
- Original PDF
- Redwood Deck over Concrete.pdf
- Source length
- 3 pages
- Attribution
- California Redwood Association, Deck Over Concrete, 2001.
- This edition
- 116 Studio · Original written companion and AI concept image · November 2026
Page references count from the first page of this PDF. The original is retained in the owner’s private woodworking collection; it is not distributed by this website. Consult it for full drawings, templates, and details beyond this companion.
Historical plans can omit essential context. Source references identify where a detail came from; they do not certify the design or replace current manufacturer instructions or applicable professional review.
More from this corner of the shop.
 Design study
Structures
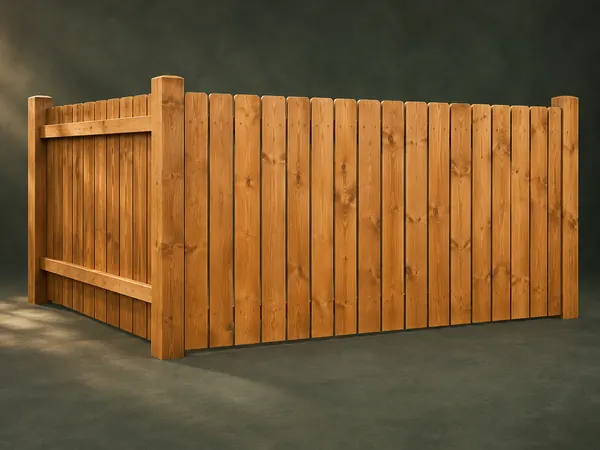
Spaced Board Fence
Vertical boards with small gaps cover horizontal rails housed into upright timber posts.
Advanced5 stages
 Design study
Structures
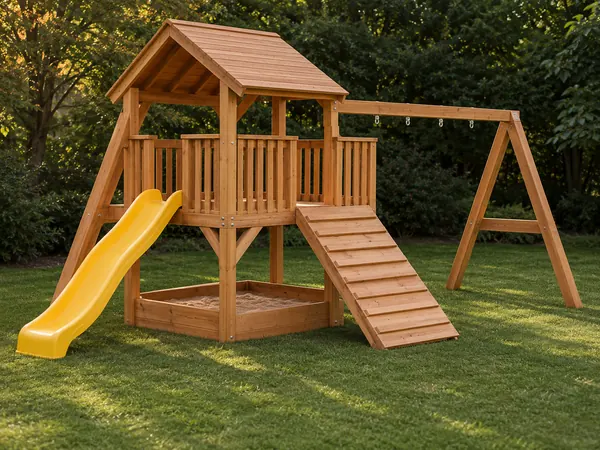
A-Frame Garden Playhouse
A timber play structure combines an elevated roofed platform, sandbox, access ramp and swing beam.
Advanced6 stages
 Design study
Structures
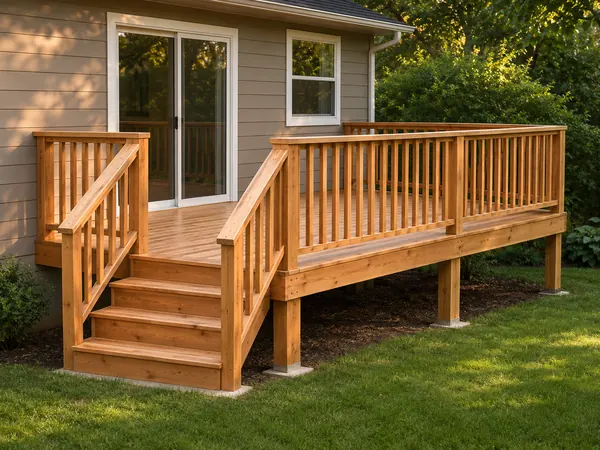
Attached Deck Planner
A planning walkthrough for a post-and-beam timber deck attached to a house, with railing and steps.
Advanced5 stages