Turned posts and structural board-to-post joinery make this an advanced bed build.
Project library / Beds & nursery
Beds & nursery / Build companion
Turned Post Shaker Bed
A Shaker-style bed with gently arched structural head and foot boards, turned posts and shaped rail ends.
Advanced6 stages16-page source
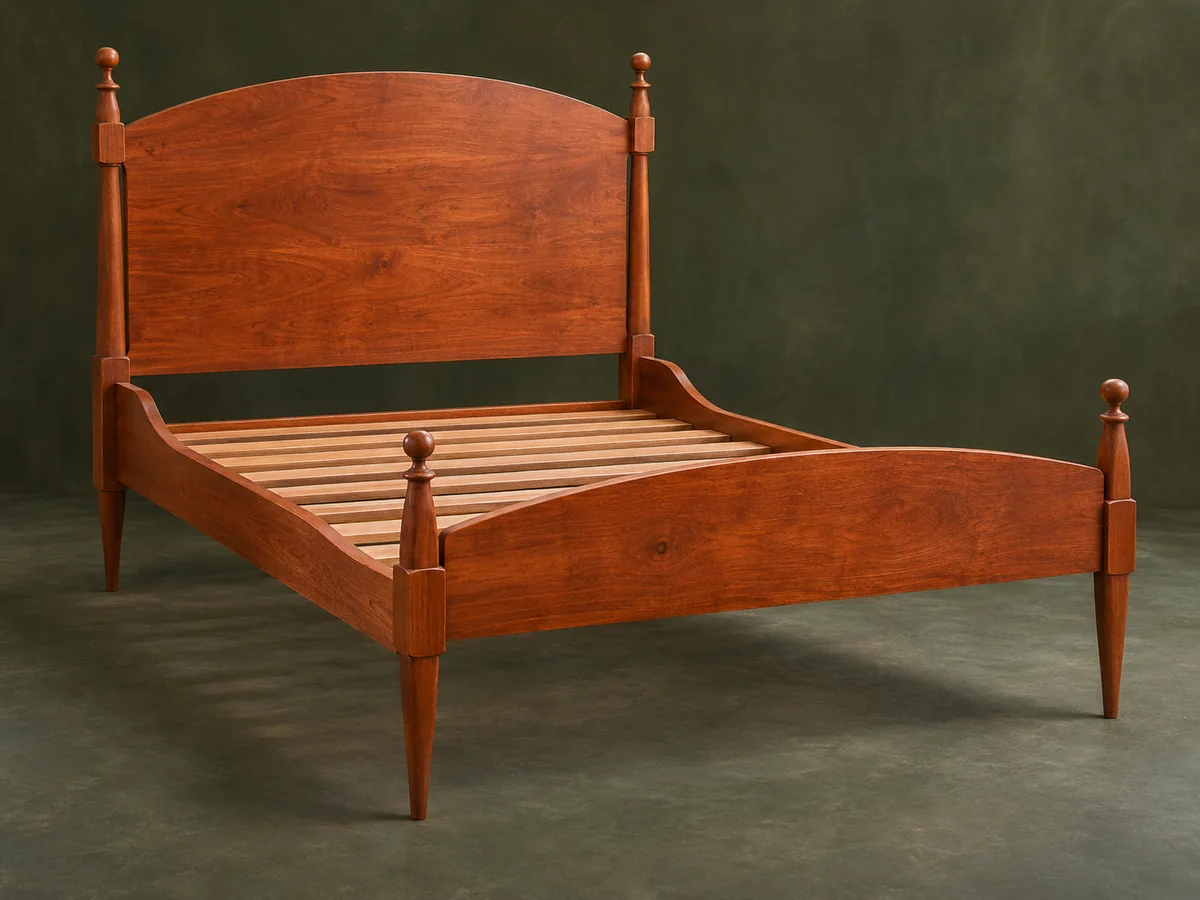
A companion to the original plan. Original reading guide based on the archived plan; not shop-tested. Confirm diagram dimensions against the private source before cutting.
Understand the project
What makes this build.
Turned posts and structural board-to-post joinery make this an advanced bed build.
Curved blocks lift each side rail near the posts.
The source discusses the cracking risk of wide divided-tenon joints.
Points to resolve before building
- The source is a book excerpt referencing missing jig chapters; it is not a complete beginner manual.
- Bolt-size wording is inconsistent between pages; verify hardware before drilling.
- Do not scale the design to king size; the source specifically advises against it.
Prepare the workbench
Materials & tools.
Check what you have, then confirm stock sizes and hardware against your chosen dimensions.
Materials checklist
Tools & operations
- Lathe
- Saw
- Bandsaw or jigsaw
- Router
- Drill
- Chisels
- Clamps
Tool choices may include practical editorial suggestions. Use workholding and guarding appropriate to the actual machine and operation.
Choose dry, sound stock and test unfamiliar joints in scrap. Keep guards, push aids, eye protection, and dust control appropriate to the work.
Keep the numbers close
Measurements to know.
Selected dimensions verified from the source. This is not an automatically scaled cutting list.
| Source mattress basis | Full-size mattress up to 8 inches thick; verify actual mattress. | Source p. 5 |
|---|---|---|
| Headboard plank blank | 1 1/16 × 20¾ × 56⅜ inches | Source p. 5 |
| Side rails | 1 1/16 × 3 × 76½ inches before shaped end additions | Source p. 5 |
Printed diagrams and concept images are not scale references. Verify measurements, material thickness, hardware fit, and allowances before cutting.
Inches to millimeters
Convert a measurement without changing the design. Enter a decimal or a fraction, such as 1 3/8.
Nominal lumber names and actual finished sizes are different. Converting units does not choose a substitute stock size.
From stock to finished project
Let’s make it.
Read the complete sequence before cutting. Mark a stage complete after its fit checks and any required glue cure.
Confirm mattress and support needs
- Measure the mattress and review its support requirements before adapting the source’s full-size layout. Reconcile bolt diameters and related hole sizes against the actual hardware. Also record mattress thickness, since it controls how much of the shaped headboard and footboard remains visible above the bedding.
Before moving onA single consistent bed and hardware drawing is established.
Prepare the broad boards
- Glue up and flatten the headboard and footboard planks. Lay out their gentle elliptical crowns and divided-tenon joints while preserving reference faces. Use the same curve template for corresponding halves and preserve the square joint shoulders while smoothing the sawn crown.
Before moving onCurves are symmetrical and joint shoulders align.
Machine and turn the posts
- Cut joinery while each blank is still square, then turn the lower legs and small top finials from matched patterns. Check that the lathe has sufficient between-center capacity. Keep the square joinery sections crisp while turning; rounded reference faces make it harder to seat the broad boards correctly.
Before moving onFour posts match their left/right joinery positions.
Assemble the ends
- Fit the structural tenons and leave the shallow haunches unglued as described. Check the alternative joint discussion before deciding how to accommodate panel movement. Check diagonal measurements of each bed end before the glue sets, and avoid pulling a short tenon hard against its mortise bottom.
Before moving onEach end is square, with sound shoulders and planned movement allowance.
Build the shaped rails
- Glue matching ogee blocks to the rail ends, then cut the shallow locating tenons and accurately drill the bed-bolt paths. Fit nut pockets and underside cleats to the actual assembly. Keep the rail’s grain direction and ogee-block grain compatible so the glue line stays inconspicuous and the shaped end remains sound.
Before moving onRails seat without twist and bolts can be reached.
Fit slats and covers
- Measure between assembled rails before cutting the maple slats. Fit their retaining notches, install pivoting wooden bolt covers and verify support, gaps and center-support needs for the chosen mattress. The pivoting bolt covers should open without removing finish or hardware, allowing future tightening and deliberate disassembly of the bed.
Before moving onThe mattress support is stable and hardware remains accessible.
1 / 6
Progress and notes stay in this browser. Nothing is uploaded.
Source notes.
- Original PDF
- Shaker Bed.pdf
- Source length
- 16 pages
- Attribution
- Archived Shaker-Style Bed book excerpt, printed pages 37–51; author not established from excerpt.
- This edition
- 116 Studio · Original written companion and AI concept image · November 2026
Page references count from the first page of this PDF. The original is retained in the owner’s private woodworking collection; it is not distributed by this website. Consult it for full drawings, templates, and details beyond this companion.
Historical plans can omit essential context. Source references identify where a detail came from; they do not certify the design or replace current manufacturer instructions or applicable professional review.
More from this corner of the shop.
 Design study
Beds & nursery
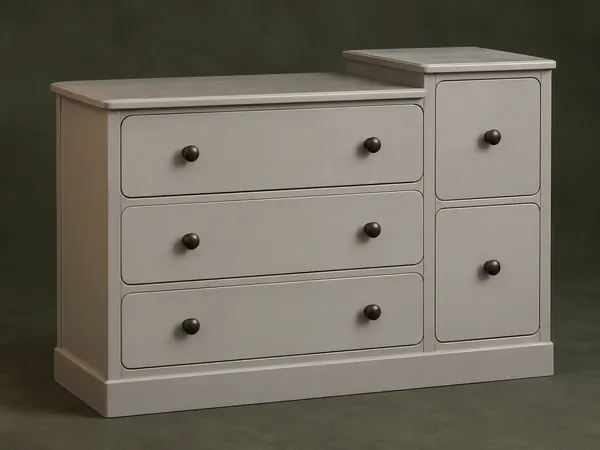
Stepped Nursery Dresser
A pine dresser combines three broad drawers and two narrow drawers beneath two different-height tops.
Advanced6 stages
 Design study
Beds & nursery
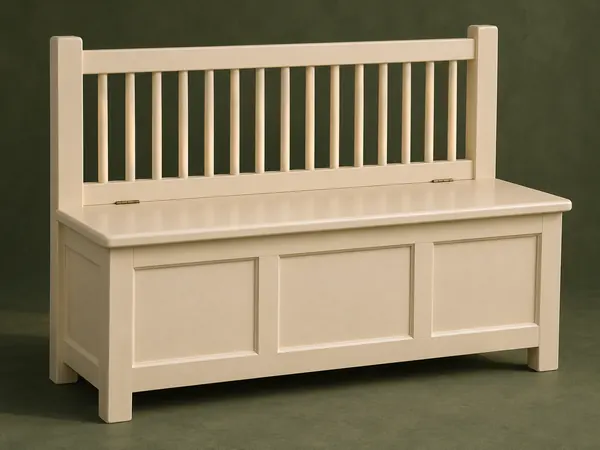
Spindle-Back Toy Chest
A storage chest takes the form of a small bench with a dowel-spindle back and a hinged seat lid.
Advanced5 stages
 Design study
Beds & nursery
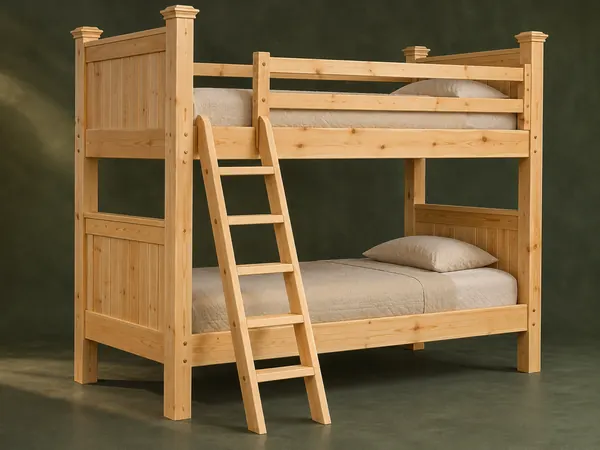
Paneled Timber Bunk Beds
A substantial twin-bunk concept uses paneled ends, laminated posts, wooden mattress slats and a separate ladder.
Advanced5 stages