A full outbuilding requires foundation, wind, snow and permit review.
Project library / Structures
Structures / Design study
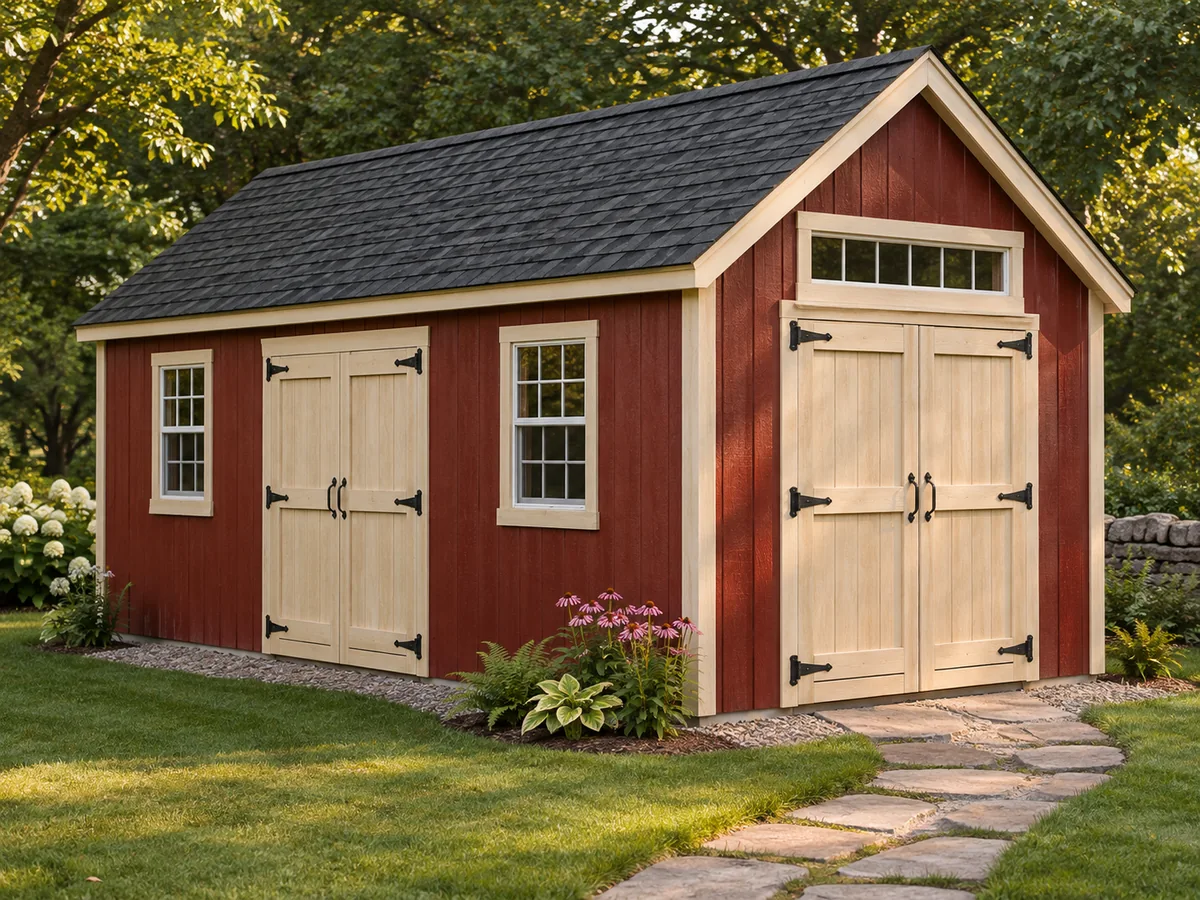
Colonial Backyard Barn
A ten-by-sixteen-foot gable-roof shed with two pairs of doors, barn-sash windows and an optional interior partition.
Advanced6 stages8-page source
Design review required. Planning overview, not a shop-tested or construction-ready plan. Planning only; the captured article lacks some foundation/drawing content. Historical truss fastening and child-playroom use require professional review.
Understand the project
What makes this build.
A full outbuilding requires foundation, wind, snow and permit review.
Two separate door pairs serve the end and side elevations.
The photographed shed has barn-red siding and light trim.
Points to resolve before building
- Planning only; the captured article lacks some foundation/drawing content.
- Historical truss fastening and child-playroom use require professional review.
Prepare the workbench
Materials & tools.
Check what you have, then confirm stock sizes and hardware against your chosen dimensions.
Materials checklist
Tools & operations
- Framing square
- Level
- Saw
- Drill
- Safe access and lifting equipment
Tool choices may include practical editorial suggestions. Use workholding and guarding appropriate to the actual machine and operation.
Choose dry, sound stock and test unfamiliar joints in scrap. Keep guards, push aids, eye protection, and dust control appropriate to the work.
Keep the numbers close
Measurements to know.
Selected dimensions verified from the source. This is not an automatically scaled cutting list.
| Footprint | 10 × 16 feet | Source p. 2 |
|---|---|---|
| Optional internal division | 4 × 10-foot storage area plus 10 × 12-foot second area | Source p. 2 |
Printed diagrams and concept images are not scale references. Verify measurements, material thickness, hardware fit, and allowances before cutting.
Inches to millimeters
Convert a measurement without changing the design. Enter a decimal or a fraction, such as 1 3/8.
Nominal lumber names and actual finished sizes are different. Converting units does not choose a substitute stock size.
Read, assess & plan
Explore the construction.
Review stages explain the historical design and unresolved decisions; they are not approval to build or use it.
Review site and intended use
- Take the footprint and proposed use to the local building authority. Treat the source’s playroom idea as a separate occupancy and child-safety review, not an automatic permitted use.
Before moving onSetbacks, permits, foundation and use are resolved.
Develop the foundation and floor
- Recover the missing foundation details and obtain a site-specific support and anchorage design. Lay out the treated floor framing and tongue-and-groove deck to the approved drawing.
Before moving onThe floor and hold-down design is complete before assembly.
Engineer the roof assemblies
- Have the historical plywood-gusset roof joints checked for local snow and wind loads. Establish a full-size assembly layout only after the connections are approved.
Before moving onRafter geometry and every connection have a verified specification.
Frame walls and openings
- Coordinate the two door pairs, windows and optional partition in the wall drawings. Plan temporary bracing and a safe raising sequence.
Before moving onOpenings, bracing and wall-to-floor connections agree.
Weatherproof the shell
- Install the reviewed roof structure, sheathing, underlayment and shingles using current product instructions. Flash all openings before completing the plywood siding and trim.
Before moving onThe shell has a continuous weather-shedding path.
Fit doors and inspect
- Fit the cedar batten doors and glazing with suitable hardware and current safety requirements. Complete required inspections before loading or occupying the building.
Before moving onDoors operate freely and the approved use is documented.
1 / 6
Progress and notes stay in this browser. Nothing is uploaded.
Source notes.
- Original PDF
- Shed 10x16 plans.pdf
- Source length
- 8 pages
- Attribution
- Archived Backyard Barn article; original publisher not established from captured pages.
- This edition
- 116 Studio · Original written companion and AI concept image · November 2026
Page references count from the first page of this PDF. The original is retained in the owner’s private woodworking collection; it is not distributed by this website. Consult it for full drawings, templates, and details beyond this companion.
Historical plans can omit essential context. Source references identify where a detail came from; they do not certify the design or replace current manufacturer instructions or applicable professional review.
More from this corner of the shop.
 Design study
Structures
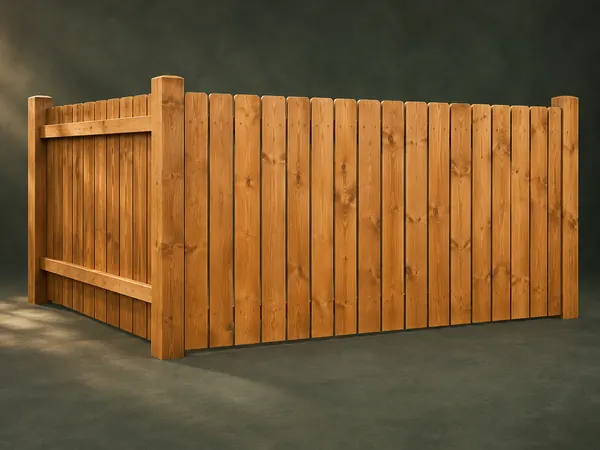
Spaced Board Fence
Vertical boards with small gaps cover horizontal rails housed into upright timber posts.
Advanced5 stages
 Design study
Structures
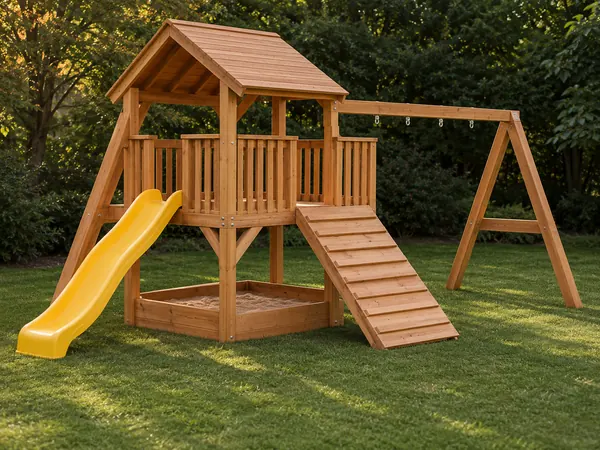
A-Frame Garden Playhouse
A timber play structure combines an elevated roofed platform, sandbox, access ramp and swing beam.
Advanced6 stages
 Design study
Structures
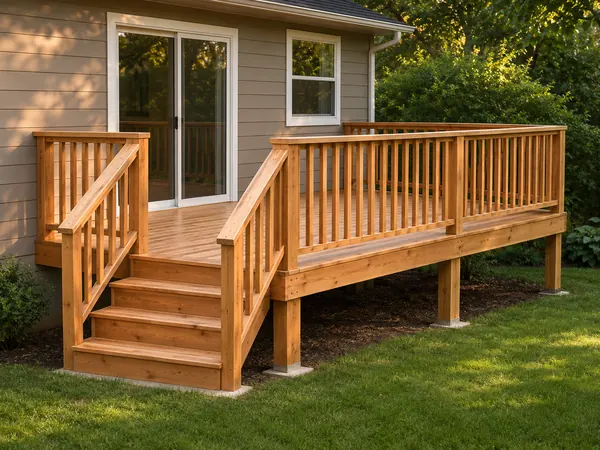
Attached Deck Planner
A planning walkthrough for a post-and-beam timber deck attached to a house, with railing and steps.
Advanced5 stages