Slatted shelves admit light to plants below.
Project library / Garden & outdoor
Garden & outdoor / Build companion
Adjustable Plant Shelves
A tall open plant stand has slatted shelves that slide on four uprights and lock at different heights with wooden pegs.
Intermediate6 stages3-page source
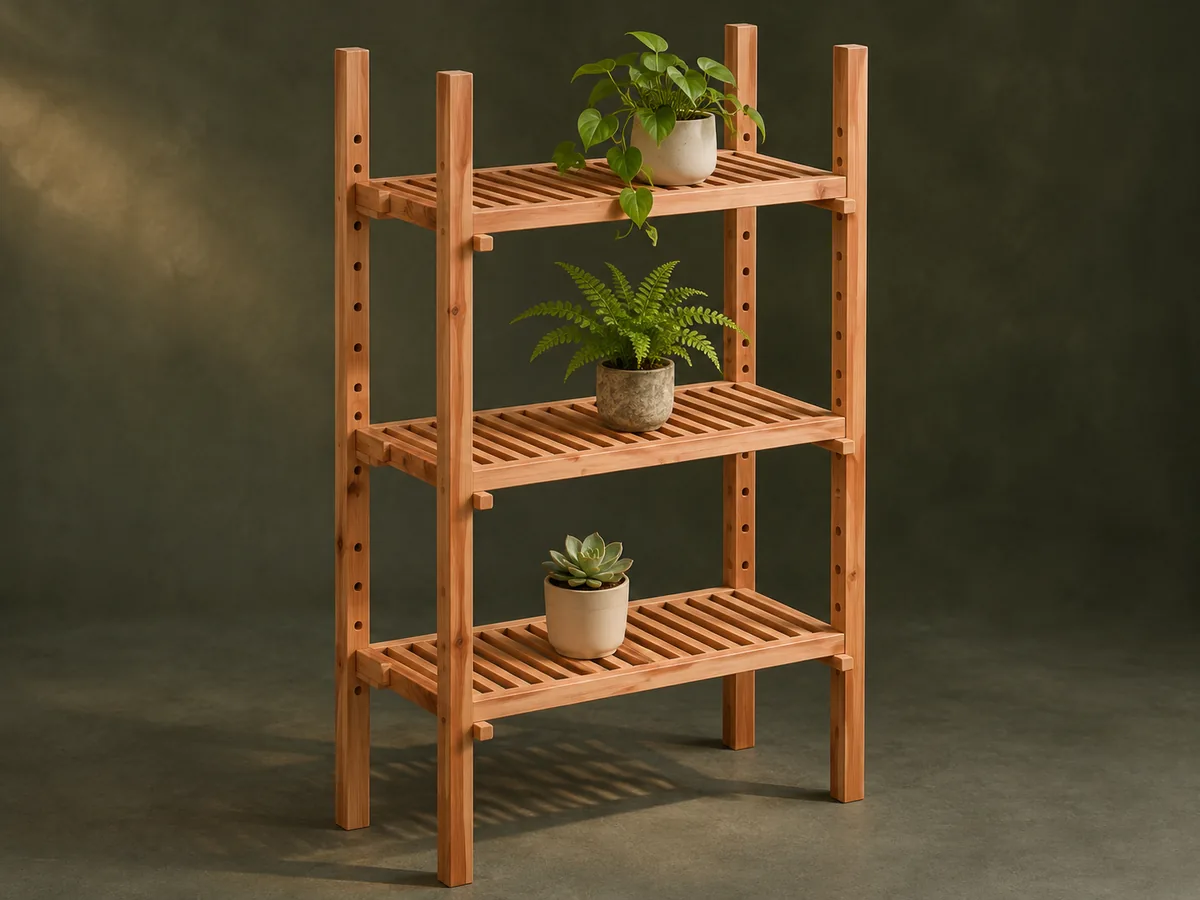
A companion to the original plan. An original study guide based on the supplied historical plan; not shop-tested. Use the privately owned source drawings for full-size patterns and complete cutting details.
Understand the project
What makes this build.
Repeated shelf cross-laps and four matching rows of peg holes must align so the shelves slide and remain level.
Wooden pegs provide the adjustable height setting.
The top shelf includes removable center slats.
Points to resolve before building
- No load capacity is established; heavy wet pots can make a tall stand unstable.
- Secure the stand where children, pets, or wind could tip it.
Prepare the workbench
Materials & tools.
Check what you have, then confirm stock sizes and hardware against your chosen dimensions.
Materials checklist
Tools & operations
- Saw
- Drill
- Lathe for shaped pegs
- Dado-cutting setup
- Clamps
- Sander
Tool choices may include practical editorial suggestions. Use workholding and guarding appropriate to the actual machine and operation.
Choose dry, sound stock and test unfamiliar joints in scrap. Keep guards, push aids, eye protection, and dust control appropriate to the work.
Keep the numbers close
Measurements to know.
Selected dimensions verified from the source. This is not an automatically scaled cutting list.
| Peg-hole diameter | ½ in | Source p. 3 |
|---|---|---|
| Upright hole spacing | 8 in, starting 4 in from either end | Source p. 3 |
Printed diagrams and concept images are not scale references. Verify measurements, material thickness, hardware fit, and allowances before cutting.
Inches to millimeters
Convert a measurement without changing the design. Enter a decimal or a fraction, such as 1 3/8.
Nominal lumber names and actual finished sizes are different. Converting units does not choose a substitute stock size.
From stock to finished project
Let’s make it.
Read the complete sequence before cutting. Mark a stage complete after its fit checks and any required glue cure.
Size for the location
- Measure the window or doorway where the stand will sit. Adjust the complete height and width before cutting, keeping the unit within the opening as the source suggests. Allow access for watering and removing pots at every selected shelf height, including the space above the top shelf.
Before moving onThe planned stand fits without blocking operation of the opening.
Prepare the shelf lattice
- Cut the frame pieces, slats, and peg blocks. Mark complementary cross-lap notches from the source layout, keeping repeated spacing consistent. Test the first pair of cross-laps with offcuts of the actual slat thickness before cutting the repeated joints.
Before moving onA dry shelf lattice lies flat and its joints close.
Drill the shelf fittings
- Drill the peg holes in the front frames and rear blocks, and counterbore the screw locations. Sand the parts before assembly. Keep hole centers referenced from the same shelf edge so the front frame holes and rear peg blocks agree.
Before moving onShelf holes align with the intended uprights.
Assemble the shelves
- Glue and screw the shelf frames together, then cover counterbores with buttons. Leave the five central slats of the top shelf removable as shown so plants can be handled more easily. Dry-fit the removable top slats before finishing and keep adhesive away from their bearing surfaces.
Before moving onFrames are square and the removable slats lift out cleanly.
Make the upright system
- Drill the four stiles with matched peg-hole positions. Turn the pegs to the source profile and fit them individually rather than forcing them into undersize holes. Use a single marked upright or drilling guide to transfer the repeated height settings to the other three stiles.
Before moving onEach peg seats securely and supports its shelf level.
Set up and finish
- Apply a finish appropriate to indoor or outdoor exposure, then slide the shelves onto the stiles and pin them at matching heights. Test stability with the intended pots before placing the stand near traffic. Load the shelves gradually with the intended pot arrangement and correct any uneven peg seating before adding the heaviest plants.
Before moving onShelves are level and the loaded stand does not sway or tip.
1 / 6
Progress and notes stay in this browser. Nothing is uploaded.
Source notes.
- Original PDF
- Adjustable Plant Shelves.pdf
- Source length
- 3 pages
- Attribution
- Collection copyright 2004 Martian Auctions; original authorship unverified.
- This edition
- 116 Studio · Original written companion and AI concept image · November 2026
Page references count from the first page of this PDF. The original is retained in the owner’s private woodworking collection; it is not distributed by this website. Consult it for full drawings, templates, and details beyond this companion.
Historical plans can omit essential context. Source references identify where a detail came from; they do not certify the design or replace current manufacturer instructions or applicable professional review.
More from this corner of the shop.
 Design study
Garden & outdoor
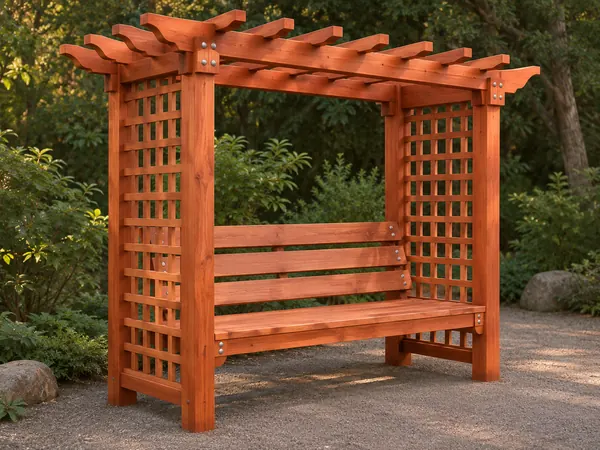
Lattice Arbor Bench
A garden seat sits between lattice side panels beneath an open pergola roof.
Advanced6 stages
Garden & outdoor
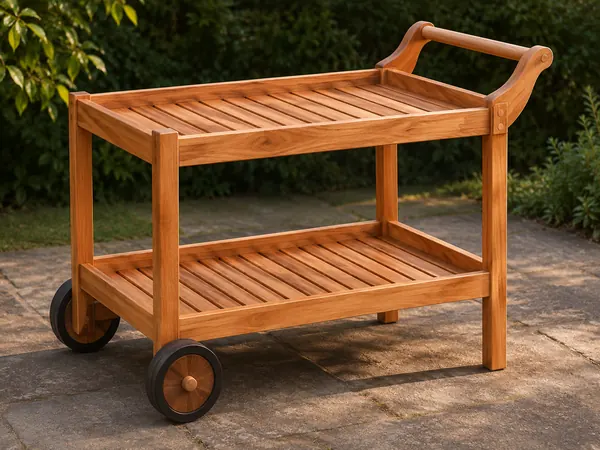
Two-Tier Garden Trolley
A push trolley carries two slatted trays on a timber frame with two wheels and a dowel handle.
Intermediate6 stages
Garden & outdoor
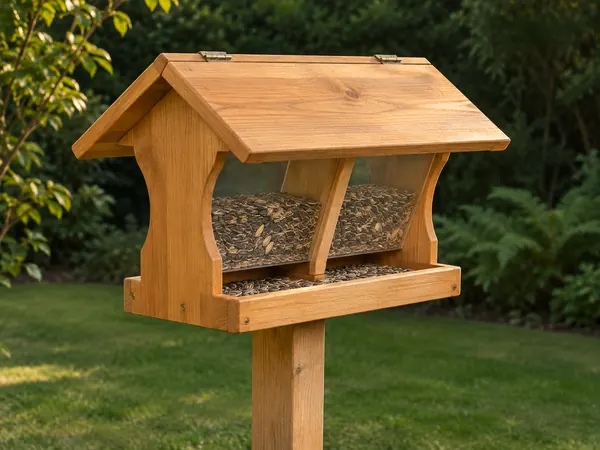
Clear-Sided Seed Feeder
A pitched-roof feeder dispenses seed through a gap below clear sloping hopper panels.
Intermediate5 stages