Lattice is sandwiched between wooden beads.
Project library / Garden & outdoor
Garden & outdoor / Design study
Lattice Arbor Bench
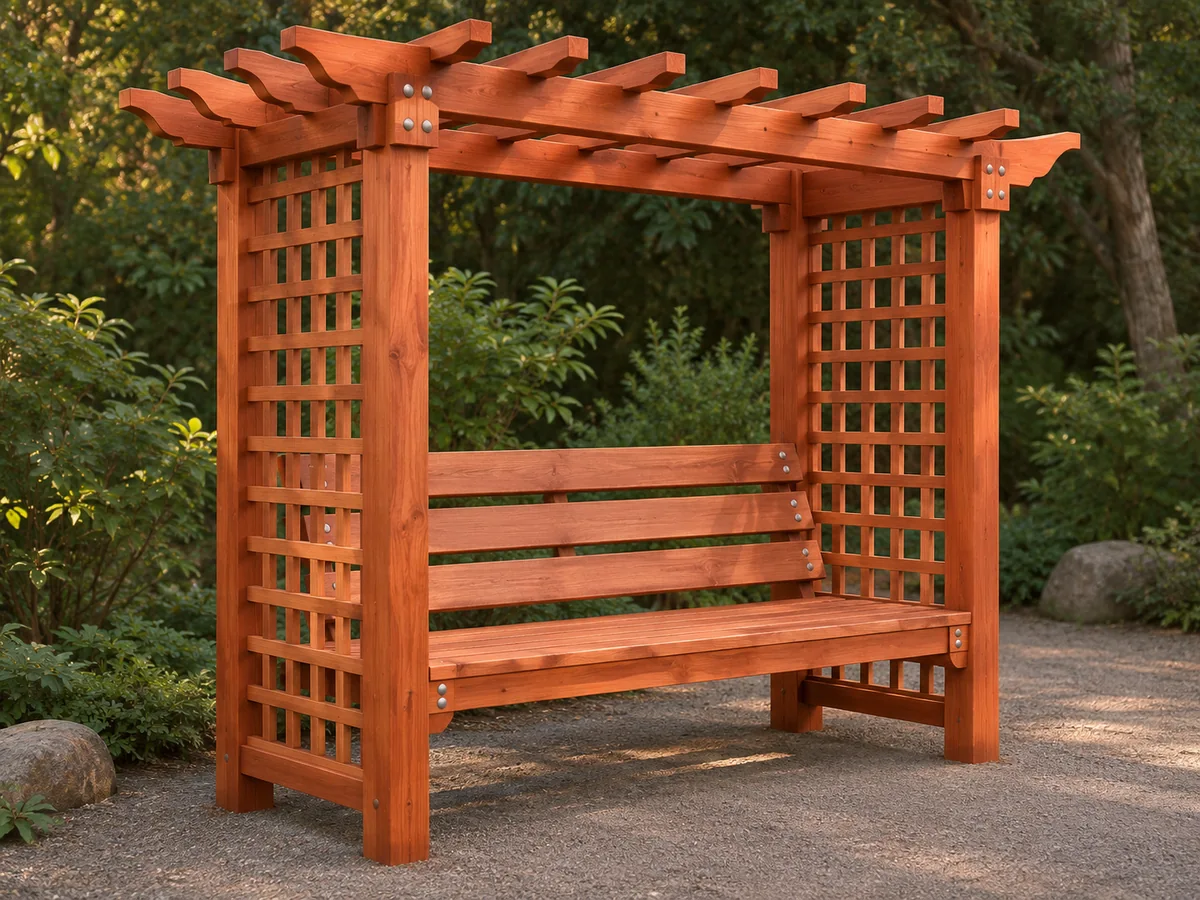
A garden seat sits between lattice side panels beneath an open pergola roof.
Advanced6 stages5-page source
Design review required. Historical arbor concept, not a verified structural plan. Site anchoring, wind resistance, overhead framing and connections need competent review before construction. This guide has not been shop-tested.
Understand the project
What makes this build.
The overhead pergola, bolted posts and outdoor anchoring require structural review in addition to accurate bench and lattice fitting.
The bench has an inclined three-board back.
Paired roof beams have decorative curved tails.
Points to resolve before building
- Overhead framing and wind loads require a site-specific anchoring and structural review.
- The historical plan provides no verified load rating.
Prepare the workbench
Materials & tools.
Check what you have, then confirm stock sizes and hardware against your chosen dimensions.
Materials checklist
Tools & operations
- Saw
- Jigsaw
- Drill
- Clamps
- Square
Tool choices may include practical editorial suggestions. Use workholding and guarding appropriate to the actual machine and operation.
Choose dry, sound stock and test unfamiliar joints in scrap. Keep guards, push aids, eye protection, and dust control appropriate to the work.
Keep the numbers close
Measurements to know.
Selected dimensions verified from the source. This is not an automatically scaled cutting list.
| Post length | 84 in | Source p. 3 |
|---|---|---|
| Seat length | 5 ft | Source p. 3 |
| Roof beams | Four at 7 ft | Source p. 4 |
| Roof crosspieces | Seven at 48 in | Source p. 4 |
Printed diagrams and concept images are not scale references. Verify measurements, material thickness, hardware fit, and allowances before cutting.
Inches to millimeters
Convert a measurement without changing the design. Enter a decimal or a fraction, such as 1 3/8.
Nominal lumber names and actual finished sizes are different. Converting units does not choose a substitute stock size.
Read, assess & plan
Explore the construction.
Review stages explain the historical design and unresolved decisions; they are not approval to build or use it.
Plan the outdoor setting
- Establish a level position and have anchoring, wind exposure, and the overhead framing reviewed for that location. Resolve these details before cutting the posts. Include the intended ground surface, any frost exposure and the open roof area in that review; these affect the foundation and wind response.
Before moving onThe support and anchoring detail is documented.
Build matched lattice sides
- Mark paired decorative grooves on the four posts. Fit the lattice between paired 1 × 1 beads, using the actual panel width to set the side crosspieces. Keep the lattice retention beads clear of the seat connection area so they do not prevent the frame from bearing against the posts.
Before moving onBoth side assemblies are square and equal.
Frame the bench
- Build the ladder-like seat frame between the sides and fit the three crossmembers with suitable joist hangers. Attach the alternating seat boards through the specified underside fastening system. Arrange the seat-board widths before final fastening so the alternating broad and narrow boards finish with balanced edges.
Before moving onAll board ends are supported and the seat frame is square.
Fit the inclined back
- Make the back from two 2 × 4 boards and one 2 × 6 with small gaps. Fit the end backers and establish a comfortable incline using the source arrangement. Check the back angle from both ends before fixing the backers, keeping the bottom gap consistent across the full bench.
Before moving onThe back is symmetrical and securely attached.
Prepare the pergola
- Cut matching curved tails on the four roof beams and fit their bolted post connections. Position the seven top crosspieces only after the reviewed structural details are resolved. Drill opposing beam connections from a common layout and verify washer seating rather than enlarging misaligned holes until bolts fit.
Before moving onConnections match the reviewed layout, with no split bolt seats.
Finish and install
- Ease the exposed edges and finish all accessible wood for weather exposure. Move the assembly with adequate helpers, then complete the site anchoring before use. Leave the fixing heads inspectable; decorative caps should remain removable so the exterior connections can be checked after weathering.
Before moving onThe complete arbor is stable and all fasteners are accessible for inspection.
1 / 6
Progress and notes stay in this browser. Nothing is uploaded.
Source notes.
- Original PDF
- Arbor Bench.pdf
- Source length
- 5 pages
- Attribution
- Collection copyright 2004 Martian Auctions; original authorship unverified.
- This edition
- 116 Studio · Original written companion and AI concept image · November 2026
Page references count from the first page of this PDF. The original is retained in the owner’s private woodworking collection; it is not distributed by this website. Consult it for full drawings, templates, and details beyond this companion.
Historical plans can omit essential context. Source references identify where a detail came from; they do not certify the design or replace current manufacturer instructions or applicable professional review.
More from this corner of the shop.
Garden & outdoor
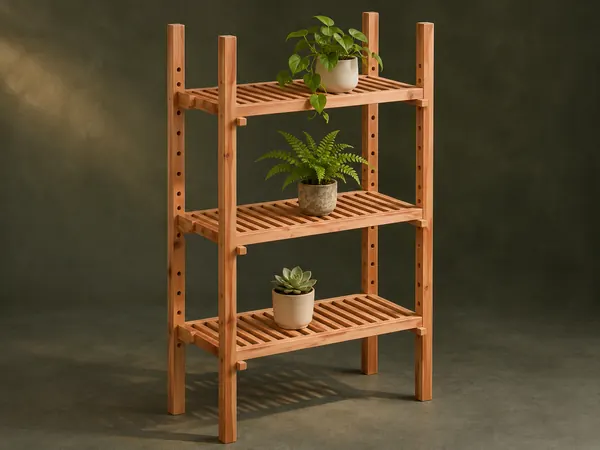
Adjustable Plant Shelves
A tall open plant stand has slatted shelves that slide on four uprights and lock at different heights with wooden pegs.
Intermediate6 stages
Garden & outdoor
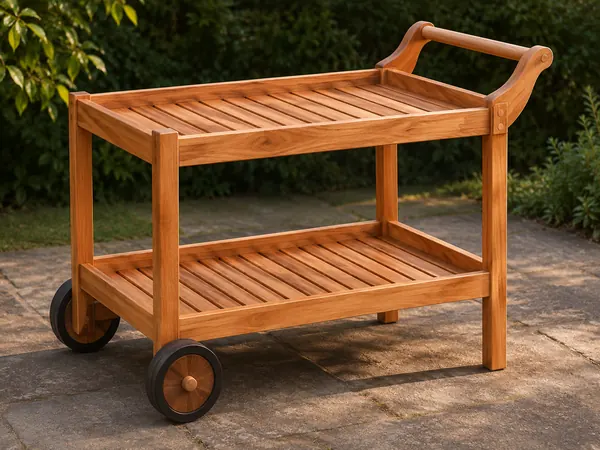
Two-Tier Garden Trolley
A push trolley carries two slatted trays on a timber frame with two wheels and a dowel handle.
Intermediate6 stages
Garden & outdoor
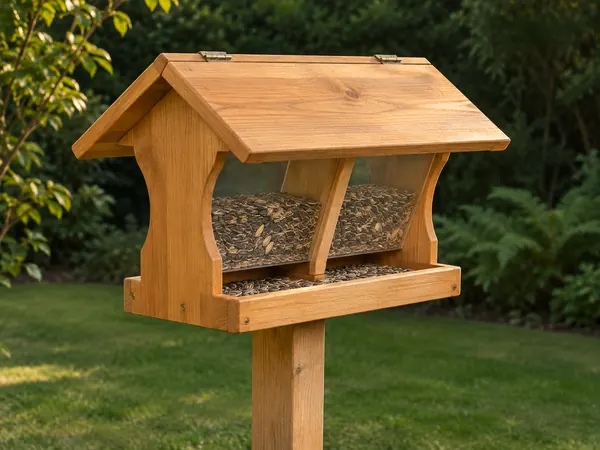
Clear-Sided Seed Feeder
A pitched-roof feeder dispenses seed through a gap below clear sloping hopper panels.
Intermediate5 stages