Thin wall bends around a form instead of being hollowed.
Project library / Boxes & small projects
Boxes & small projects / Build companion
Turned-Lid Bentwood Box
A thin bentwood cylinder carries a turned lid and base, with optional carved lid decoration.
Advanced5 stages3-page source
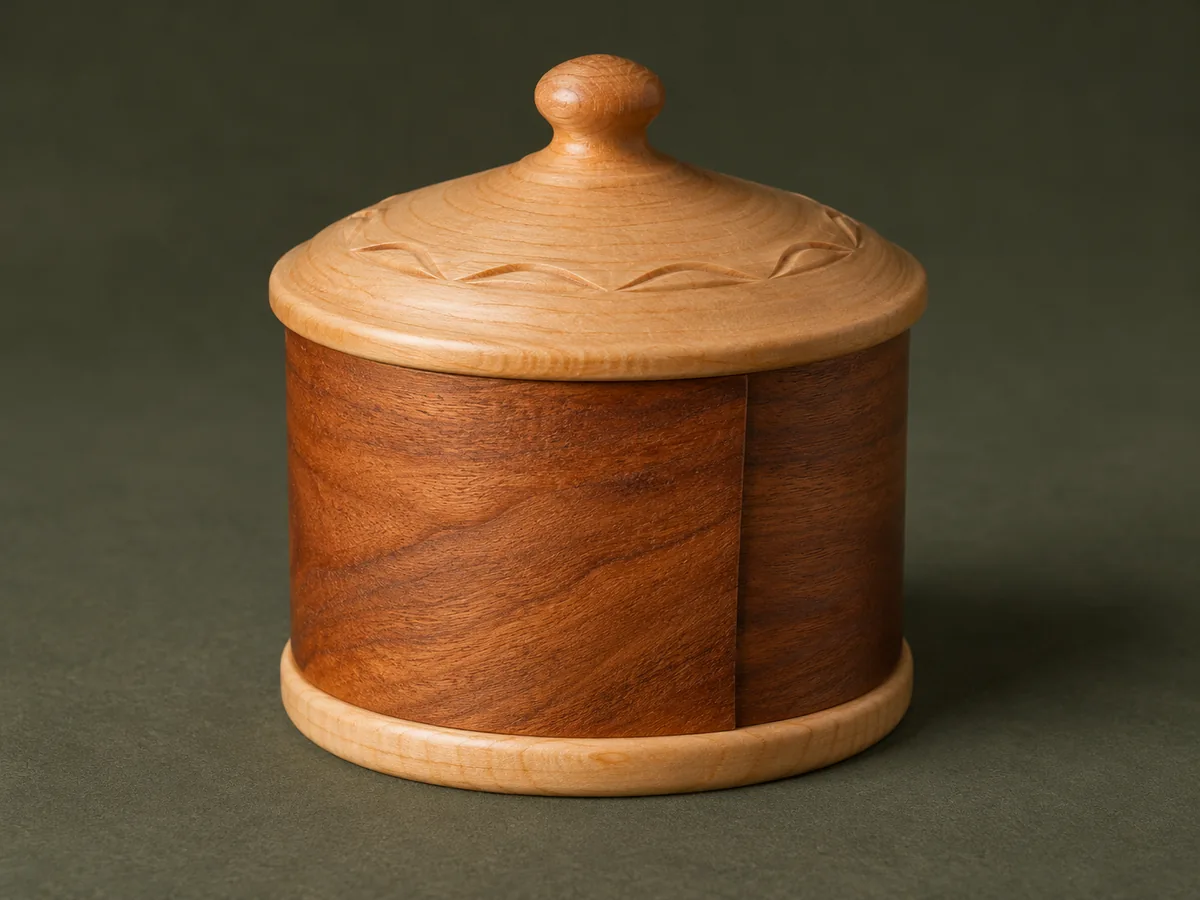
A companion to the original plan. An original study guide based on the supplied historical plan; not shop-tested. Use the privately owned source drawings for full-size patterns and complete cutting details.
Understand the project
What makes this build.
Thin-wall bending, a fitted lap seam and separately turned lid/base flanges require several distinct controlled operations.
Turned locating flanges fit inside the wall.
Optional relief carving contrasts with the turned surfaces.
Points to resolve before building
- Use the lathe manufacturer’s suitable mounting hardware rather than blindly adopting historical screw choices.
- Veneer bendability and adhesive water resistance must be tested on scrap.
Prepare the workbench
Materials & tools.
Check what you have, then confirm stock sizes and hardware against your chosen dimensions.
Materials checklist
Tools & operations
- Bandsaw
- Lathe
- Clamps
- Drill
- Carving gouges if decorating
Tool choices may include practical editorial suggestions. Use workholding and guarding appropriate to the actual machine and operation.
Choose dry, sound stock and test unfamiliar joints in scrap. Keep guards, push aids, eye protection, and dust control appropriate to the work.
Keep the numbers close
Measurements to know.
Selected dimensions verified from the source. This is not an automatically scaled cutting list.
| Sidewall blank | 1/16 × 3½ × 15 in | Source p. 3 |
|---|---|---|
| Bottom pegs | Four at ⅛ × ⅛ × ½ in | Source p. 3 |
Printed diagrams and concept images are not scale references. Verify measurements, material thickness, hardware fit, and allowances before cutting.
Inches to millimeters
Convert a measurement without changing the design. Enter a decimal or a fraction, such as 1 3/8.
Nominal lumber names and actual finished sizes are different. Converting units does not choose a substitute stock size.
From stock to finished project
Let’s make it.
Read the complete sequence before cutting. Mark a stage complete after its fit checks and any required glue cure.
Make the bending form
- Shape a solid form to the box interior and relieve the overlap location. Add a retaining strip and make a slightly larger curved caul. The retaining strip holds the first end during bending, while the relieved form prevents the overlap from creating a flat spot.
Before moving onThe wall can wrap without a sudden kink at the lap.
Bend the thin wall
- Soak and warm the prepared wall as described, then wrap it around the form under the caul. Allow it to dry thoroughly before removing it. Use the caul to distribute pressure rather than concentrating a clamp pad directly on the softened thin wall.
Before moving onThe dry wall retains its shape without cracks.
Fit the overlap
- Support the curved wall on a matching scrap while cutting its lap profile. Glue the lap around the form, keeping it free from the retaining strip this time. Leave the form inside during seam clamping so pressure does not flatten the cylinder into an oval.
Before moving onThe seam lies flat and the wall remains round.
Turn the lid and base
- Use an appropriate secure lathe mounting to turn the pieces to the actual wall diameter. Form the locating flange and check its fit frequently. Check the dry bent wall itself for the final flange diameter, because springback can make it differ from the original form.
Before moving onLid and bottom register without spreading the thin wall.
Peg and decorate
- Predrill for the small bottom pegs before fitting them. If carving the lid, immobilize it with the lathe disconnected or use a bench fixture, then finish the assembled box. Drill the tiny peg holes before inserting pegs and support the opposite wall so it is not crushed during assembly.
Before moving onPegs do not split the wall and the lid lifts smoothly.
1 / 5
Progress and notes stay in this browser. Nothing is uploaded.
Source notes.
- Original PDF
- Bendwood boxes.pdf
- Source length
- 3 pages
- Attribution
- Collection copyright 2004 Martian Auctions; original authorship unverified.
- This edition
- 116 Studio · Original written companion and AI concept image · November 2026
Page references count from the first page of this PDF. The original is retained in the owner’s private woodworking collection; it is not distributed by this website. Consult it for full drawings, templates, and details beyond this companion.
Historical plans can omit essential context. Source references identify where a detail came from; they do not certify the design or replace current manufacturer instructions or applicable professional review.
More from this corner of the shop.

Boxes & small projects
Raised-Letter Address Plaque
A wood house sign combines individually fretted letters with a beveled backing board.
Intermediate5 stages
Boxes & small projects
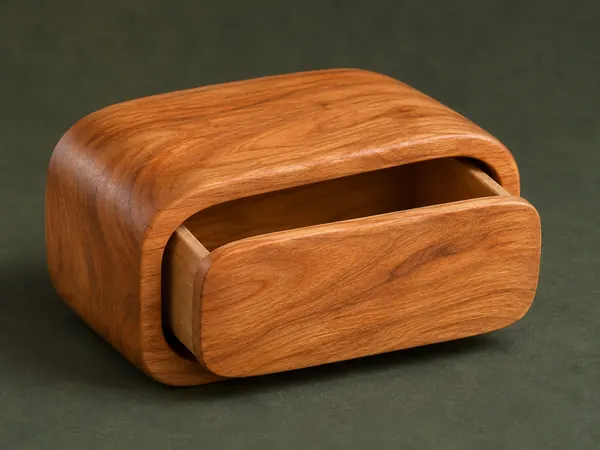
One-Drawer Bandsaw Box
A single wooden block becomes a rounded little case and a matching pull-out drawer.
Intermediate5 stages

Boxes & small projects
Arched Bathroom Mirror
A narrow timber mirror frame has a gently peaked curved top and doweled corner joints.
Intermediate5 stages