Two unequal-width roof boards overlap at the ridge.
Project library / Garden & outdoor
Garden & outdoor / Design study
Cedar Birdhouse — L&R Edition
A simple cedar gable-roof birdhouse is preserved as a distinct source edition of the same L&R design.
Advanced5 stages3-page source
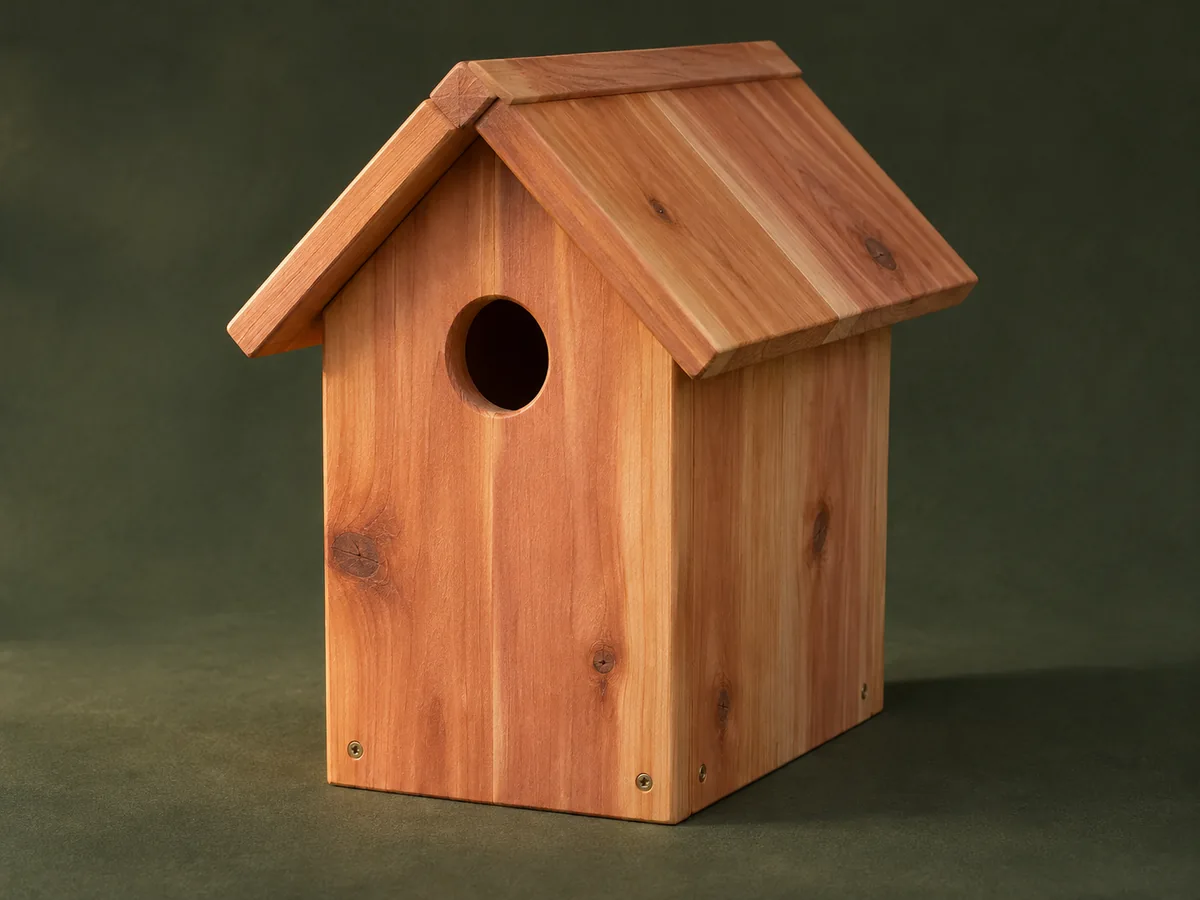
Design review required. Historical decorative concept. Species-specific entrance, cleanout, ventilation, drainage and mounting must be resolved against current wildlife guidance before nesting use. This guide has not been shop-tested.
Understand the project
What makes this build.
The woodworking is simple, but the historical birdhouse omits the cleanout, ventilation and species-specific details needed for nesting use.
The bottom is scribed from the assembled walls.
This edition duplicates the same L&R design while preserving its original file identity.
Points to resolve before building
- The source lacks cleanout, ventilation and drainage details for responsible nesting use.
- The 1½-inch entrance is a source dimension, not a universal birdhouse specification.
Prepare the workbench
Materials & tools.
Check what you have, then confirm stock sizes and hardware against your chosen dimensions.
Materials checklist
Tools & operations
- Saw
- Drill
- Hole saw or Forstner bit
- Clamps
Tool choices may include practical editorial suggestions. Use workholding and guarding appropriate to the actual machine and operation.
Choose dry, sound stock and test unfamiliar joints in scrap. Keep guards, push aids, eye protection, and dust control appropriate to the work.
Keep the numbers close
Measurements to know.
Selected dimensions verified from the source. This is not an automatically scaled cutting list.
| Source entrance diameter | 1½ in; verify against intended species | Source p. 1 |
|---|---|---|
| Roof panels | 9 in long; widths 5½ and 4¾ in | Source p. 2 |
Printed diagrams and concept images are not scale references. Verify measurements, material thickness, hardware fit, and allowances before cutting.
Inches to millimeters
Convert a measurement without changing the design. Enter a decimal or a fraction, such as 1 3/8.
Nominal lumber names and actual finished sizes are different. Converting units does not choose a substitute stock size.
Read, assess & plan
Explore the construction.
Review stages explain the historical design and unresolved decisions; they are not approval to build or use it.
Choose decorative or nesting use
- Use the historical design as a decorative house unless a species-specific nesting review is completed. That review must address entrance size, ventilation, drainage, cleanout and the unnecessary perch. Preserve this branded L&R edition separately from the collection copy while documenting any changes needed for an actual nesting installation.
Before moving onThe intended use and required revisions are recorded.
Cut the paired wall shapes
- Prepare the two rectangular sides and matching peaked front and back. Use the front as a template for the back before drilling the front opening. The front and back are a matched pair; transfer their peak geometry before drilling the front entrance.
Before moving onThe roof peaks and side heights match.
Fit the wall box
- Dry-fit the four walls with the side panels between front and rear as drawn. Check squareness before using the selected exterior fasteners. Check the wall assembly from above before fastening the second side, since an out-of-square box complicates both roof and floor fit.
Before moving onThe four walls form a square box.
Size the bottom to the assembly
- Trace the inside opening onto the bottom stock and cut to that actual fit. For nesting use, resolve a removable cleanout arrangement before permanently fixing the floor. Leave the cleanout decision open until the intended species and mounting arrangement have been reviewed together.
Before moving onThe floor fits without spreading the walls.
Fit the overlapping roof
- Cut the two differently sized roof panels and overlap them at the ridge. Retain the source edition’s silhouette while resolving any functional birdhouse revisions before installation. Check front and rear roof overhangs after the ridge overlap is fitted, rather than aligning each panel independently by eye.
Before moving onRoof overhangs are even and the ridge closes.
1 / 5
Progress and notes stay in this browser. Nothing is uploaded.
Source notes.
- Original PDF
- Bird House.pdf
- Source length
- 3 pages
- Attribution
- L & R Designs, LLC.
- This edition
- 116 Studio · Original written companion and AI concept image · November 2026
Page references count from the first page of this PDF. The original is retained in the owner’s private woodworking collection; it is not distributed by this website. Consult it for full drawings, templates, and details beyond this companion.
Historical plans can omit essential context. Source references identify where a detail came from; they do not certify the design or replace current manufacturer instructions or applicable professional review.
More from this corner of the shop.
Garden & outdoor
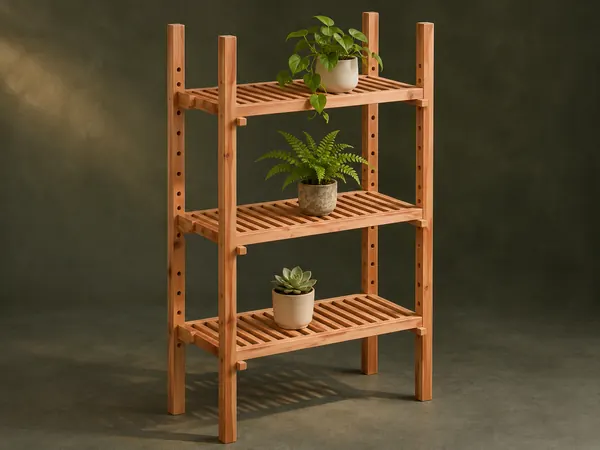
Adjustable Plant Shelves
A tall open plant stand has slatted shelves that slide on four uprights and lock at different heights with wooden pegs.
Intermediate6 stages
 Design study
Garden & outdoor
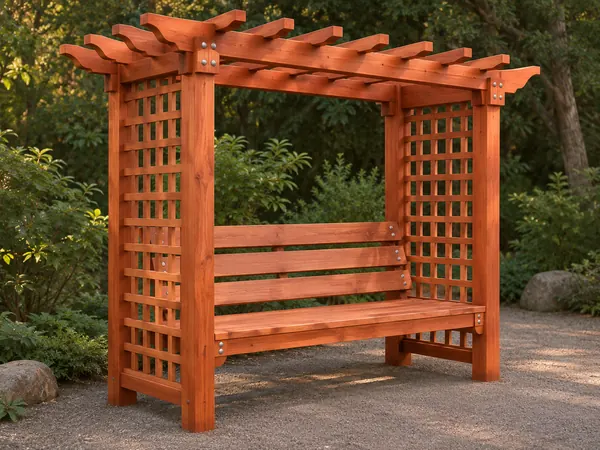
Lattice Arbor Bench
A garden seat sits between lattice side panels beneath an open pergola roof.
Advanced6 stages
Garden & outdoor
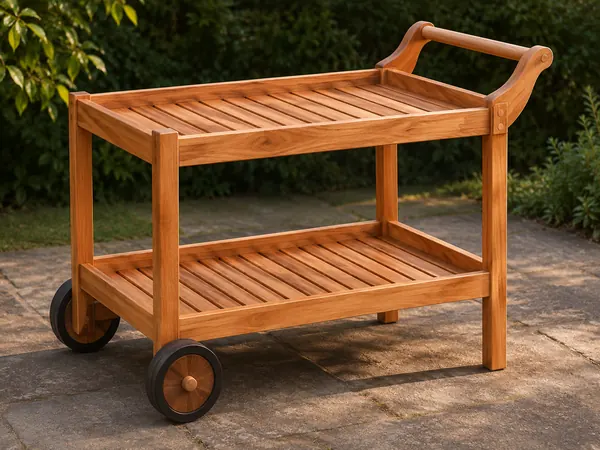
Two-Tier Garden Trolley
A push trolley carries two slatted trays on a timber frame with two wheels and a dowel handle.
Intermediate6 stages