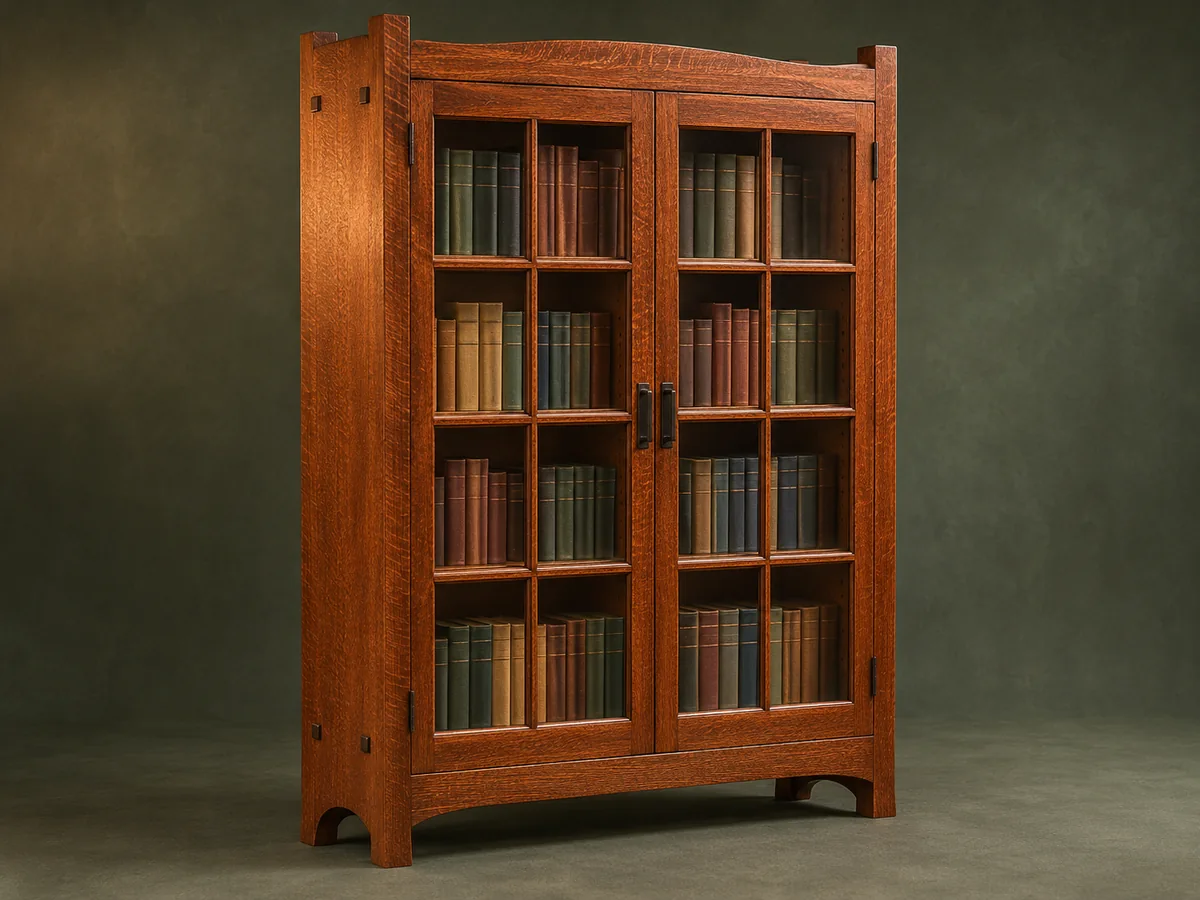
Sixteen individual glass panes form the two door grids.
Project library / Storage & cabinets
Storage & cabinets / Build companion
Mission Glass-Door Bookcase
A quarter-sawn oak bookcase displays books behind two divided-light glass doors and exposed through tenons.
Advanced6 stages8-page source
A companion to the original plan. An original study guide based on the supplied historical plan; not shop-tested. Use the privately owned source drawings for full-size patterns and complete cutting details.
Understand the project
What makes this build.
Through case tenons and sixteen divided-light panes require accurate mortises, half-lapped muntins and careful glazing fit.
Chamfered through tenons remain visible at the case sides.
Arched foot cutouts lift the broad side panels.
Points to resolve before building
- The extracted glass cut list contains an obvious corrupted dimension; order from measured openings.
- Use appropriate glazing and anti-tip anchoring for the location.
Prepare the workbench
Materials & tools.
Check what you have, then confirm stock sizes and hardware against your chosen dimensions.
Materials checklist
Tools & operations
- Saw
- Bandsaw or jigsaw
- Plunge router
- Biscuit joiner
- Drill press
- Chisels
- Clamps
Tool choices may include practical editorial suggestions. Use workholding and guarding appropriate to the actual machine and operation.
Choose dry, sound stock and test unfamiliar joints in scrap. Keep guards, push aids, eye protection, and dust control appropriate to the work.
Keep the numbers close
Measurements to know.
Selected dimensions verified from the source. This is not an automatically scaled cutting list.
| Side panels | 13/16 × 12 × 60 in | Source p. 2 |
|---|---|---|
| Adjustable shelves | Six at 13/16 × 10⅜ × 22¾ in | Source p. 2 |
Printed diagrams and concept images are not scale references. Verify measurements, material thickness, hardware fit, and allowances before cutting.
Inches to millimeters
Convert a measurement without changing the design. Enter a decimal or a fraction, such as 1 3/8.
Nominal lumber names and actual finished sizes are different. Converting units does not choose a substitute stock size.
From stock to finished project
Let’s make it.
Read the complete sequence before cutting. Mark a stage complete after its fit checks and any required glue cure.
Prepare the oak panels
- Glue and flatten matched panels for the sides, top, bottom, partition and shelves. Cut the side feet arches and upper front profiles from the drawing. Quarter-sawn boards may be narrower than the finished panels, so arrange attractive grain before cutting the joining-plate slots.
Before moving onPanel thicknesses match and paired side curves agree.
Fit exposed case tenons
- Cut the top and bottom through tenons and corresponding side mortises. Fit them before adding the small end chamfers. Cut the waste between tenons from both faces to reduce breakout, and preserve the mortise edges that will remain visible.
Before moving onTenon shoulders close while the case remains square.
Assemble the divided case
- Join the partition to top and bottom with the specified plate joints, then fit the sides. Pin the through tenons and screw on the fitted plywood back. The center partition fixes the two door openings, so compare their widths before the case glue sets.
Before moving onThe central partition is plumb and diagonals agree.
Build divided-light doors
- Mortise the rails and stiles and fit half-lapped muntin intersections. Assemble the muntin grid first, then add the outer frame in controlled stages. Fit the small muntin laps on scrap before cutting the complete set, because a loose intersection remains visible through the glass.
Before moving onBoth door grids are square and their openings match.
Hang and glaze
- Fit the doors with even margins and install hinges, pulls and catches. Finish first, then fit measured glass panes with removable stops. Measure each pane after finishing the frames and allow the glass supplier to specify appropriate edge clearances.
Before moving onDoors close freely and glass is retained without pressure.
Install the shelves
- Fit the shelf pins and shelves, then anchor the cabinet against tipping. Recheck door action after leveling the case. Keep the shelf pins seated fully and distribute heavy books across the two compartments rather than concentrating them on one shelf.
Before moving onShelves seat on all supports and the cabinet is restrained.
1 / 6
Progress and notes stay in this browser. Nothing is uploaded.
Source notes.
- Original PDF
- Book Case (Mission Style).pdf
- Source length
- 8 pages
- Attribution
- Neal Barrett, Popular Mechanics; illustration by Eugene Thompson.
- This edition
- 116 Studio · Original written companion and AI concept image · November 2026
Page references count from the first page of this PDF. The original is retained in the owner’s private woodworking collection; it is not distributed by this website. Consult it for full drawings, templates, and details beyond this companion.
Historical plans can omit essential context. Source references identify where a detail came from; they do not certify the design or replace current manufacturer instructions or applicable professional review.
More from this corner of the shop.
Storage & cabinets
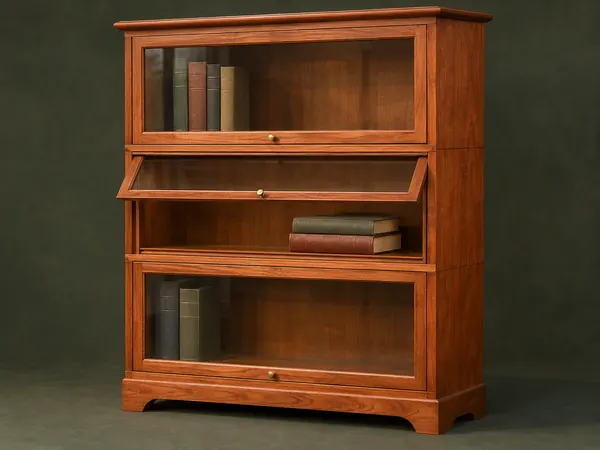
Stacking Barrister Bookcase
Modular cherry cases stack over a shaped base and close with glass doors that lift and slide inward.
Advanced6 stages
Storage & cabinets
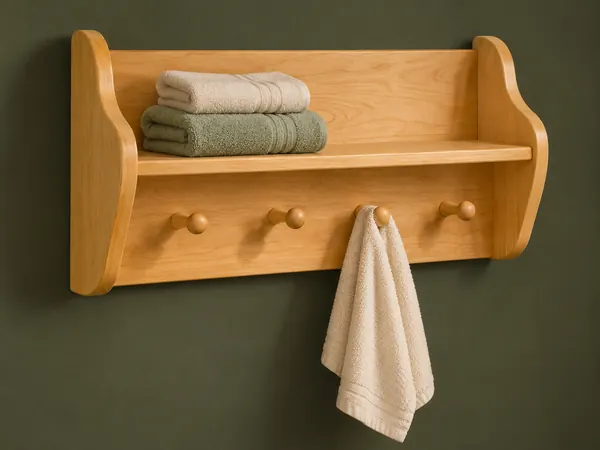
Four-Peg Bathroom Shelf
A wall shelf combines shaped end panels with four upward-tilted wooden towel pegs.
Beginner5 stages
Storage & cabinets
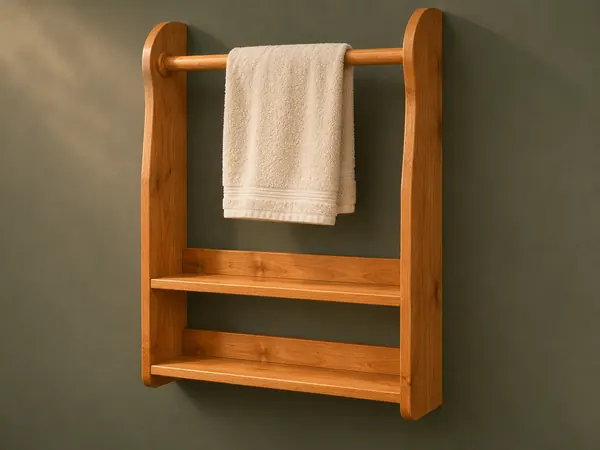
Two-Shelf Towel Rack
A wall rack combines two low shelves with a towel rod held between curved side panels.
Intermediate5 stages