Book compartments face four directions.
Project library / Tables & desks
Tables & desks / Build companion
Four-Sided Book Table
A square end table offers small book compartments on four sides beneath a projecting top.
Intermediate5 stages3-page source
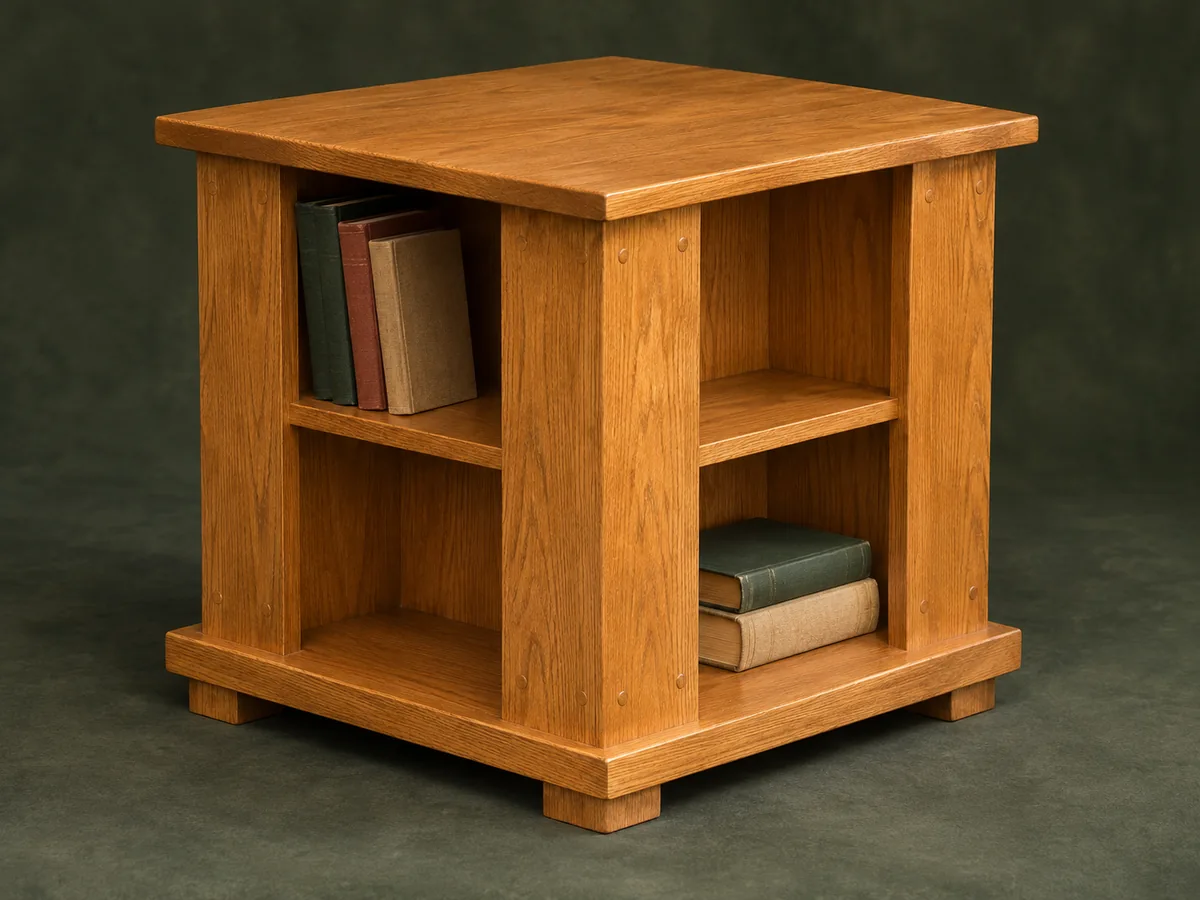
A companion to the original plan. An original study guide based on the supplied historical plan; not shop-tested. Use the privately owned source drawings for full-size patterns and complete cutting details.
Understand the project
What makes this build.
The rotating arrangement of unequal-width panels and four-piece top requires careful labeling and a complete dry layout.
The top and bottom use four square panels apiece.
Small inset block feet lift the plinth.
Points to resolve before building
- The multi-panel top overlap needs the source diagram; do not infer a solid-wood substitute without movement allowance.
- No rotating hardware is included in this plan.
Prepare the workbench
Materials & tools.
Check what you have, then confirm stock sizes and hardware against your chosen dimensions.
Materials checklist
Tools & operations
- Saw
- Drill
- Clamps
- Square
- Sander
Tool choices may include practical editorial suggestions. Use workholding and guarding appropriate to the actual machine and operation.
Choose dry, sound stock and test unfamiliar joints in scrap. Keep guards, push aids, eye protection, and dust control appropriate to the work.
Keep the numbers close
Measurements to know.
Selected dimensions verified from the source. This is not an automatically scaled cutting list.
| Side height | 24 in | Source p. 1 |
|---|---|---|
| Individual top/bottom panels | 10½ × 10½ in | Source p. 1 |
Printed diagrams and concept images are not scale references. Verify measurements, material thickness, hardware fit, and allowances before cutting.
Inches to millimeters
Convert a measurement without changing the design. Enter a decimal or a fraction, such as 1 3/8.
Nominal lumber names and actual finished sizes are different. Converting units does not choose a substitute stock size.
From stock to finished project
Let’s make it.
Read the complete sequence before cutting. Mark a stage complete after its fit checks and any required glue cure.
Label the different side widths
- Cut the three side-panel types and mark them A, B and C. Follow their rotating layout rather than treating all four bays as identical boxes. Keep the narrower B and C panels distinct; swapping them changes the relationships between the four open sides.
Before moving onEach panel has its assigned position.
Fit the concealed cleats
- Position short and long cleats on the specified faces of each panel. Predrill them to avoid splitting the narrow stock. The long and short cleats appear on different faces of the internal panels, so mark those faces before drilling.
Before moving onCleats meet the same shelf level in every bay.
Assemble the book bays
- Join the side-panel groups in the source arrangement and fit the four small shelves from underneath. Check the rotating assembly for squareness as each bay is added. Fasten the small shelves from below while access is open, and plug only the visible holes identified in the final arrangement.
Before moving onAll four openings remain clear and square.
Lay out top and bottom panels
- Arrange four squares at each end with the grain orientation shown. Check the source overlap detail against actual plywood thickness before fastening from underneath. Lay the four panels on the dry case first and compare all overhangs before committing the first screw.
Before moving onThe top perimeter is square and its overhang is even.
Add feet and finish
- Fit the four inset block feet, plug visible holes and ease the edges. Apply the chosen finish after checking that the table sits without rocking. The block feet are inset from the perimeter, leaving a light shadow line under the otherwise broad square base.
Before moving onFeet support the base evenly.
1 / 5
Progress and notes stay in this browser. Nothing is uploaded.
Source notes.
- Original PDF
- Bookcase End Table.pdf
- Source length
- 3 pages
- Attribution
- Georgia-Pacific Hardwood Plywood project sheet.
- This edition
- 116 Studio · Original written companion and AI concept image · November 2026
Page references count from the first page of this PDF. The original is retained in the owner’s private woodworking collection; it is not distributed by this website. Consult it for full drawings, templates, and details beyond this companion.
Historical plans can omit essential context. Source references identify where a detail came from; they do not certify the design or replace current manufacturer instructions or applicable professional review.
More from this corner of the shop.
Tables & desks
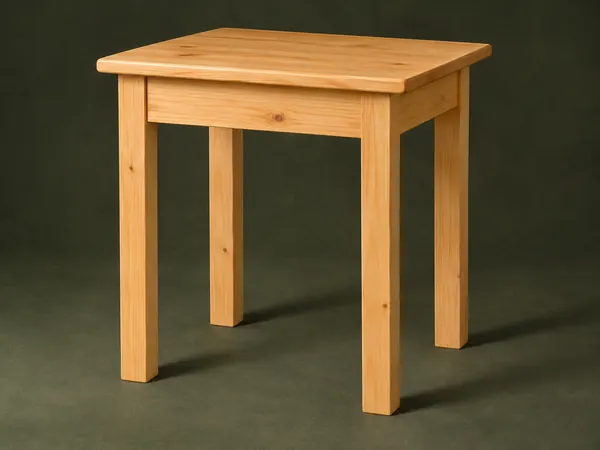
Hand-Tool Side Table
A small pine table uses square legs, mortise-and-tenon aprons and a solid board top.
Intermediate5 stages
Tables & desks
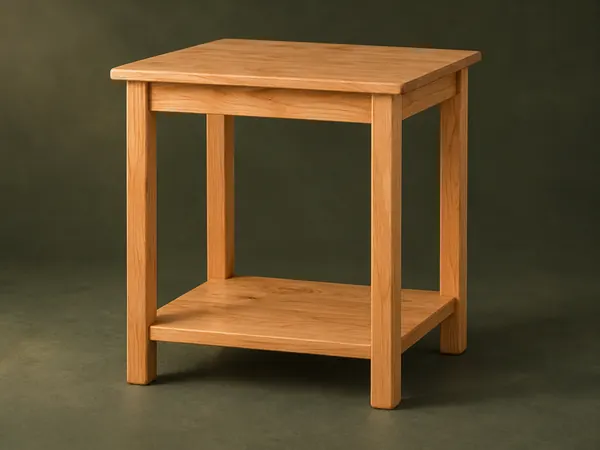
Open-Shelf Bedside Table
A small table has rounded square legs, a solid top and a low shelf captured in leg notches.
Intermediate5 stages
Tables & desks
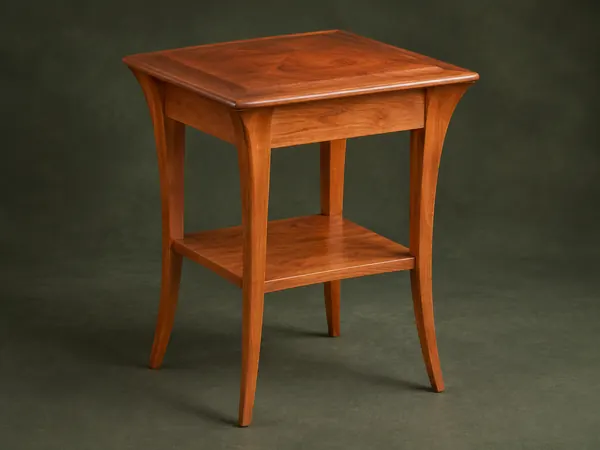
Wing-Leg Cherry Table
A refined cherry end table has curved tapered legs, a fitted lower shelf and a raised-center top.
Advanced6 stages