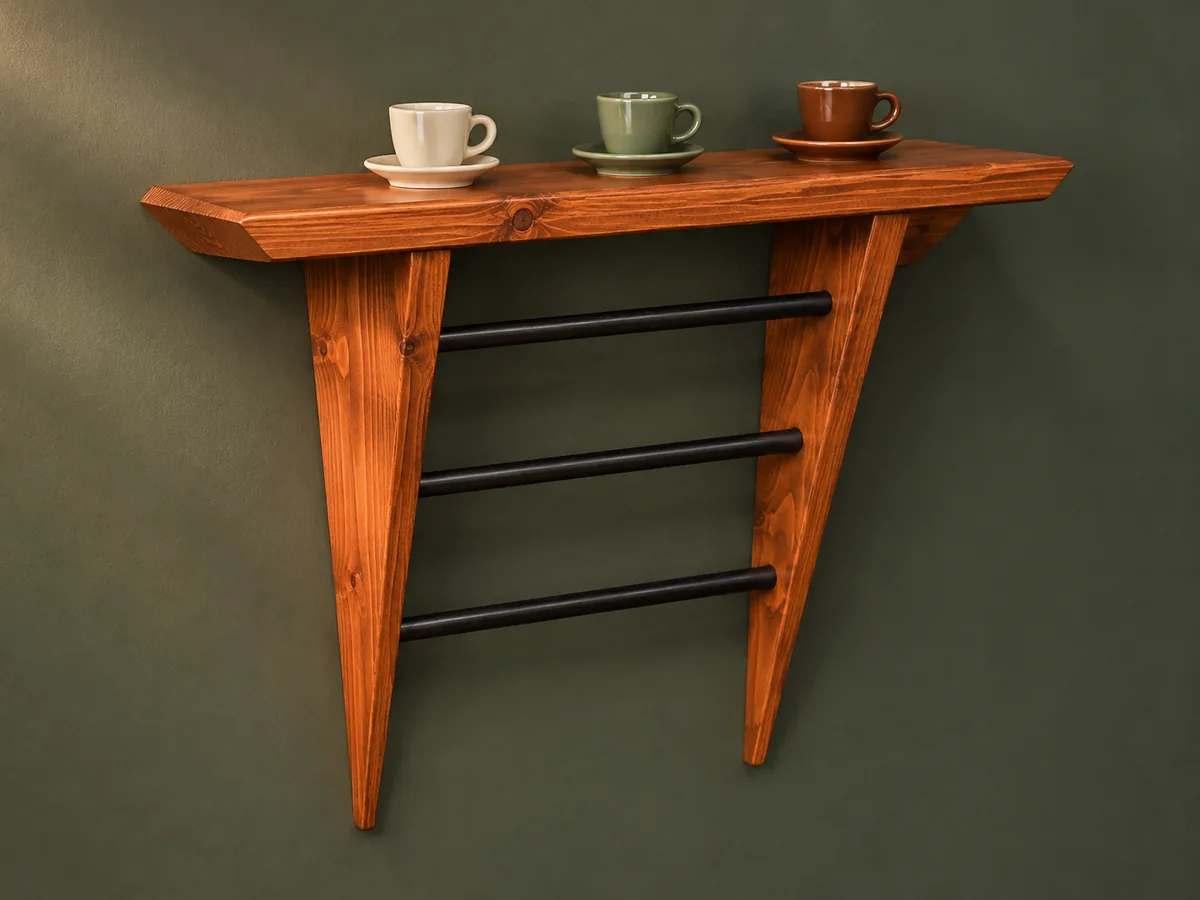
Long tapered brackets continue well below the shelf.
Project library / Storage & cabinets
Storage & cabinets / Build companion
Tapered Espresso Shelf
A narrow wall shelf rests on two long tapering brackets linked by dark horizontal dowels.
Intermediate5 stages3-page source
A companion to the original plan. An original study guide based on the supplied historical plan; not shop-tested. Use the privately owned source drawings for full-size patterns and complete cutting details.
Understand the project
What makes this build.
Matching the tapered brackets and drilling aligned cross-dowel holes are the main fabrication tasks; wall mounting controls usable load.
Three horizontal dowels create a contrasting ladder-like detail.
The shelf ends are clipped on a diagonal.
Points to resolve before building
- Replace historical drywall screws and picture hangers with fittings appropriate to the actual shelf load.
- No capacity for a heavy espresso machine is established.
Prepare the workbench
Materials & tools.
Check what you have, then confirm stock sizes and hardware against your chosen dimensions.
Materials checklist
Tools & operations
- Circular saw with guide
- Drill with guide
- Clamps
- Sander
Tool choices may include practical editorial suggestions. Use workholding and guarding appropriate to the actual machine and operation.
Choose dry, sound stock and test unfamiliar joints in scrap. Keep guards, push aids, eye protection, and dust control appropriate to the work.
Keep the numbers close
Measurements to know.
Selected dimensions verified from the source. This is not an automatically scaled cutting list.
| Top blank length | 29 in | Source p. 2 |
|---|---|---|
| Bracket blanks | 21 in | Source p. 2 |
| Cross dowels | One 20 in at ¾ in diameter; two 12 in at ½ in diameter | Source p. 2 |
Printed diagrams and concept images are not scale references. Verify measurements, material thickness, hardware fit, and allowances before cutting.
Inches to millimeters
Convert a measurement without changing the design. Enter a decimal or a fraction, such as 1 3/8.
Nominal lumber names and actual finished sizes are different. Converting units does not choose a substitute stock size.
From stock to finished project
Let’s make it.
Read the complete sequence before cutting. Mark a stage complete after its fit checks and any required glue cure.
Lay out the long brackets
- Mark matching diagonal bracket profiles on the pine and cut them with the work securely supported. Keep the wide bracket ends at the shelf top. Save a full-size bracket pattern after the first cut so the second piece is checked against the intended shape, not the saw kerf.
Before moving onBoth tapered brackets match.
Shape the shelf ends
- Cut the top to length and mark its angled end cuts from the source layout. Verify the remaining bearing area over the brackets before sawing. Keep the back edge straight for mounting and mark the show face before making the angled end cuts.
Before moving onThe shelf has balanced angled ends.
Drill the dowel system
- Clamp the paired brackets and use a guided drill setup for the two dowel diameters. Transfer the hole locations carefully rather than relying on unsupported freehand alignment. Test the hole pattern and dowel fit in scrap first, since mismatched holes will force the two long brackets out of parallel.
Before moving onDowels pass through both brackets without forcing.
Glue the bracket assembly
- Use a spacer to maintain the bracket separation and center the dowels. Glue the dowel joints, then predrill and attach the shelf with suitable wood screws. Mark the centered position on every dowel before gluing so the projections can be restored quickly during assembly.
Before moving onThe top is level across both brackets.
Finish and mount
- Color the dowels dark as in the illustrated version and finish the pine. Install load-appropriate fixings into suitable wall structure before adding cups or equipment. Place wall fixings according to available structure rather than assuming the historical hanger spacing suits every wall.
Before moving onThe mounting carries the intended load without movement.
1 / 5
Progress and notes stay in this browser. Nothing is uploaded.
Source notes.
- Original PDF
- Cappucino Bar.pdf
- Source length
- 3 pages
- Attribution
- Collection copyright 2004 Martian Auctions; original authorship unverified.
- This edition
- 116 Studio · Original written companion and AI concept image · November 2026
Page references count from the first page of this PDF. The original is retained in the owner’s private woodworking collection; it is not distributed by this website. Consult it for full drawings, templates, and details beyond this companion.
Historical plans can omit essential context. Source references identify where a detail came from; they do not certify the design or replace current manufacturer instructions or applicable professional review.
More from this corner of the shop.
Storage & cabinets
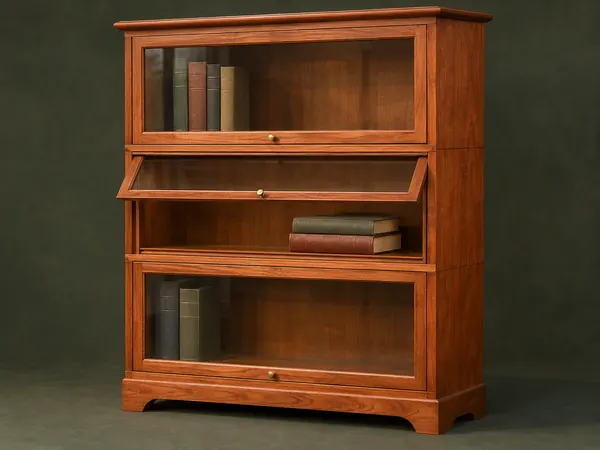
Stacking Barrister Bookcase
Modular cherry cases stack over a shaped base and close with glass doors that lift and slide inward.
Advanced6 stages
Storage & cabinets
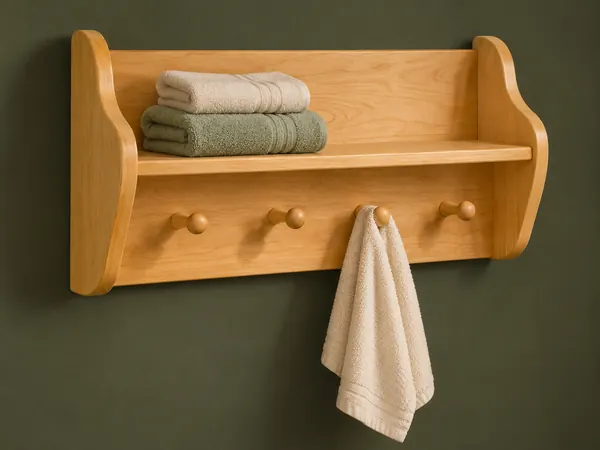
Four-Peg Bathroom Shelf
A wall shelf combines shaped end panels with four upward-tilted wooden towel pegs.
Beginner5 stages
Storage & cabinets
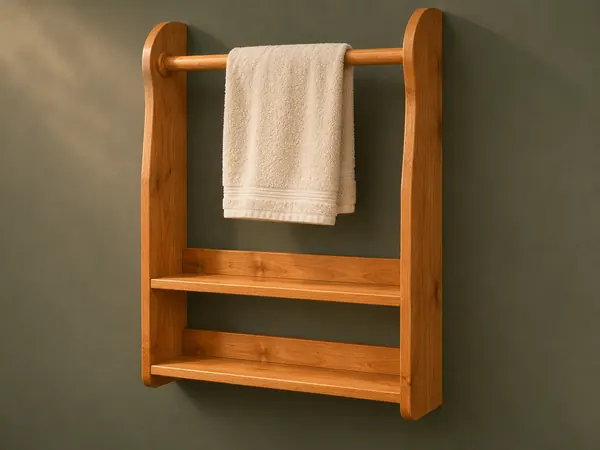
Two-Shelf Towel Rack
A wall rack combines two low shelves with a towel rod held between curved side panels.
Intermediate5 stages