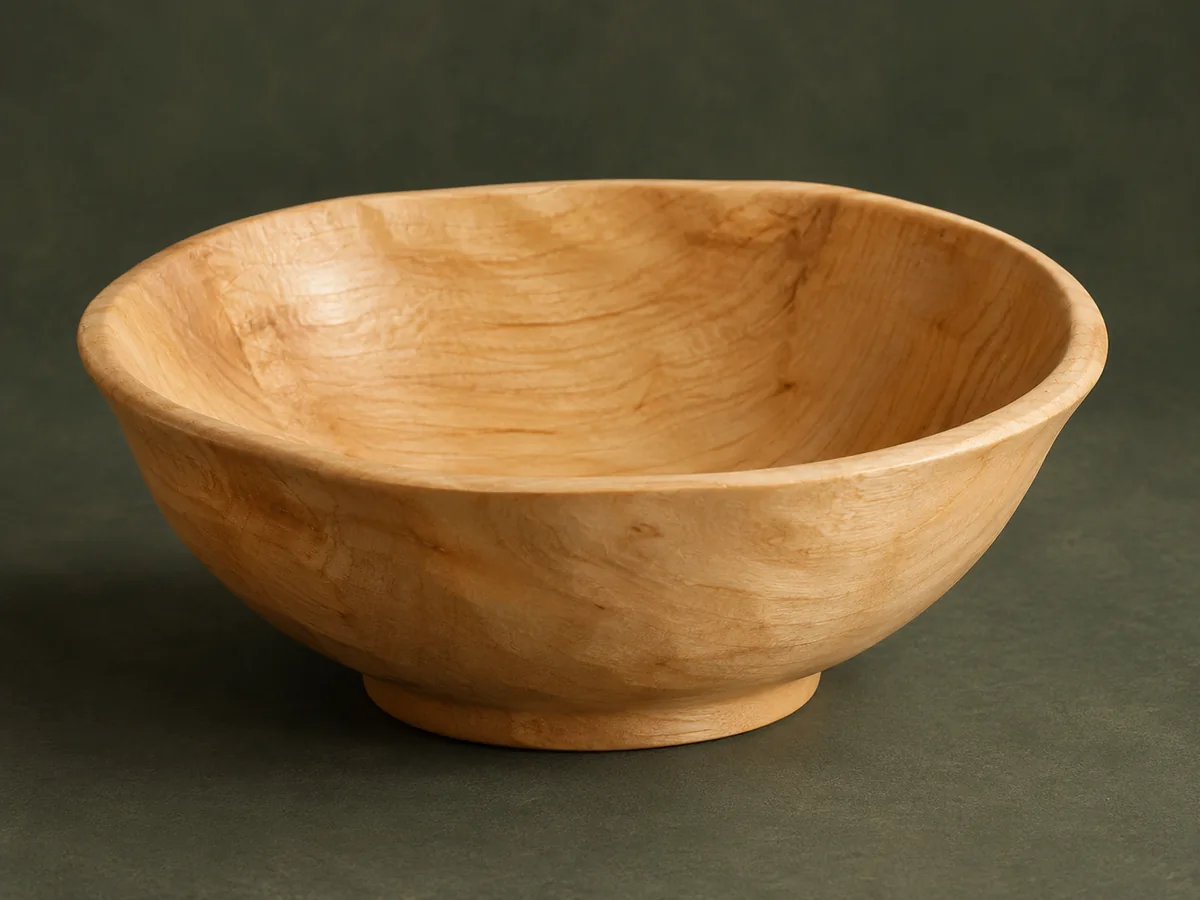
The foot ring is carved from the same solid blank.
Project library / Boxes & small projects
Boxes & small projects / Build companion
Hand-Carved Fruit Bowl
A round hand-carved bowl has a gently flared rim and a low integral foot ring.
Intermediate6 stages5-page source
A companion to the original plan. An original study guide based on the supplied historical plan; not shop-tested. Use the privately owned source drawings for full-size patterns and complete cutting details.
Understand the project
What makes this build.
Controlling grain direction and wall thickness while carving both sides of the bowl is harder than cutting the initial round blank.
Interior and exterior are developed alternately.
Calipers control the changing wall thickness.
Points to resolve before building
- Secure the bowl in a fixture; the source’s lap-holding method is not endorsed.
- The old species guide contains broad and conflicting common names; verify the actual wood identity.
Prepare the workbench
Materials & tools.
Check what you have, then confirm stock sizes and hardware against your chosen dimensions.
Materials checklist
Tools & operations
- Bandsaw
- Drill press
- Carving gouges
- Mallet
- Hook knife if trained
- Calipers
- Secure carving fixture
Tool choices may include practical editorial suggestions. Use workholding and guarding appropriate to the actual machine and operation.
Choose dry, sound stock and test unfamiliar joints in scrap. Keep guards, push aids, eye protection, and dust control appropriate to the work.
Keep the numbers close
Measurements to know.
Selected dimensions verified from the source. This is not an automatically scaled cutting list.
| Starting blank | About 4 × 12 × 12 in | Source p. 1 |
|---|---|---|
| Interior depth-stop hole | 3¼ in from the top, for the stated blank only | Source p. 2 |
| Source wall targets | About ⅜ in at rim to ⅝ in outside foot | Source p. 2 |
Printed diagrams and concept images are not scale references. Verify measurements, material thickness, hardware fit, and allowances before cutting.
Inches to millimeters
Convert a measurement without changing the design. Enter a decimal or a fraction, such as 1 3/8.
Nominal lumber names and actual finished sizes are different. Converting units does not choose a substitute stock size.
From stock to finished project
Let’s make it.
Read the complete sequence before cutting. Mark a stage complete after its fit checks and any required glue cure.
Mark both faces
- Find the center and draw the outer and inner rim circles. On the underside, mark the foot ring circles before cutting the round blank. The smaller underside circles define both edges of the foot ring, so keep those lines visible until the outside profile is well established.
Before moving onTop and foot centers are coaxial.
Establish a depth reference
- Secure the blank for drilling and set a positive depth stop from the actual blank thickness. The source’s 3¼-inch depth applies only to its four-inch blank. Account for any later flattening of the top or bottom when setting the depth stop; do not let the drill define an unintentionally thin base.
Before moving onThe depth reference leaves the planned solid base.
Hollow in controlled layers
- Clamp the bowl in a suitable carving fixture and remove waste outward from the pilot hole in shallow passes. Change cutting direction as the grain changes. Alternate short carving sessions with sharpening and visual checks, following the source’s emphasis on sharp tools and controlled progress.
Before moving onThe interior curve is smooth with no deep tear-out.
Shape the foot and outside
- Reverse the secured blank and work from the foot ring toward the rim. Preserve the ring while reducing the outer bulk gradually. Use a shaped support or padded fixture that holds the rim without crushing it while the outside is being carved.
Before moving onThe bowl sits on a continuous foot ring.
Refine the wall and rim
- Check thickness frequently with calipers and use bent gouges that clear the fragile rim. Do not lever tools against the rim or hold the bowl in the lap as the old text suggests. Take readings at several points around the circumference, because an apparently smooth surface can still conceal one thin area.
Before moving onWall thickness transitions gradually with no thin spots.
Finish for the intended use
- Refine the surface and select a finish and wood species appropriate for decorative or food-contact service. Let the finish fully cure according to its directions. For a decorative bowl, avoid adding unnecessary food-service claims; for food contact, verify the actual species and cured coating.
Before moving onThe surface is smooth and free of loose fibers.
1 / 6
Progress and notes stay in this browser. Nothing is uploaded.
Source notes.
- Original PDF
- Carved Fruit Bowl.pdf
- Source length
- 5 pages
- Attribution
- Collection copyright 2004 Martian Auctions; original authorship unverified.
- This edition
- 116 Studio · Original written companion and AI concept image · November 2026
Page references count from the first page of this PDF. The original is retained in the owner’s private woodworking collection; it is not distributed by this website. Consult it for full drawings, templates, and details beyond this companion.
Historical plans can omit essential context. Source references identify where a detail came from; they do not certify the design or replace current manufacturer instructions or applicable professional review.
More from this corner of the shop.
Boxes & small projects
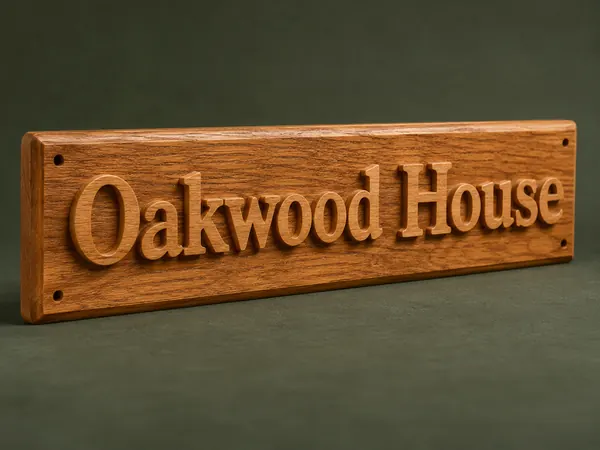
Raised-Letter Address Plaque
A wood house sign combines individually fretted letters with a beveled backing board.
Intermediate5 stages
Boxes & small projects
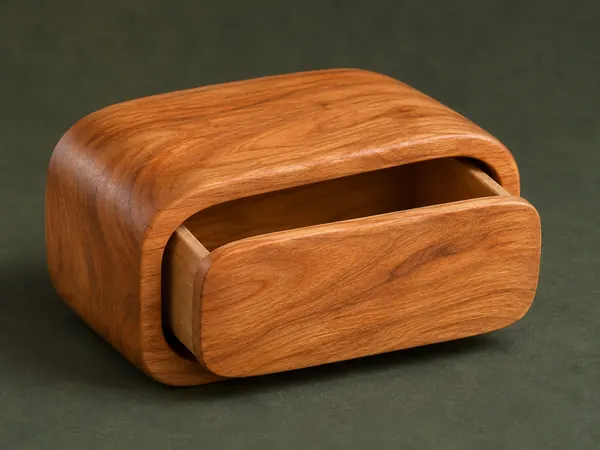
One-Drawer Bandsaw Box
A single wooden block becomes a rounded little case and a matching pull-out drawer.
Intermediate5 stages
Boxes & small projects
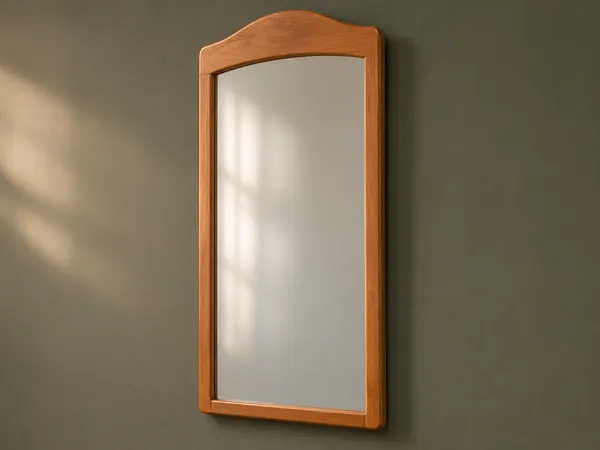
Arched Bathroom Mirror
A narrow timber mirror frame has a gently peaked curved top and doweled corner joints.
Intermediate5 stages