Compound leg geometry repeats in triangular apron details.
Project library / Tables & desks
Tables & desks / Build companion
Walnut Chess Table
A walnut game table combines splayed legs, dovetailed stretchers and a concealed apron drawer around an inset chessboard.
Advanced6 stages5-page source
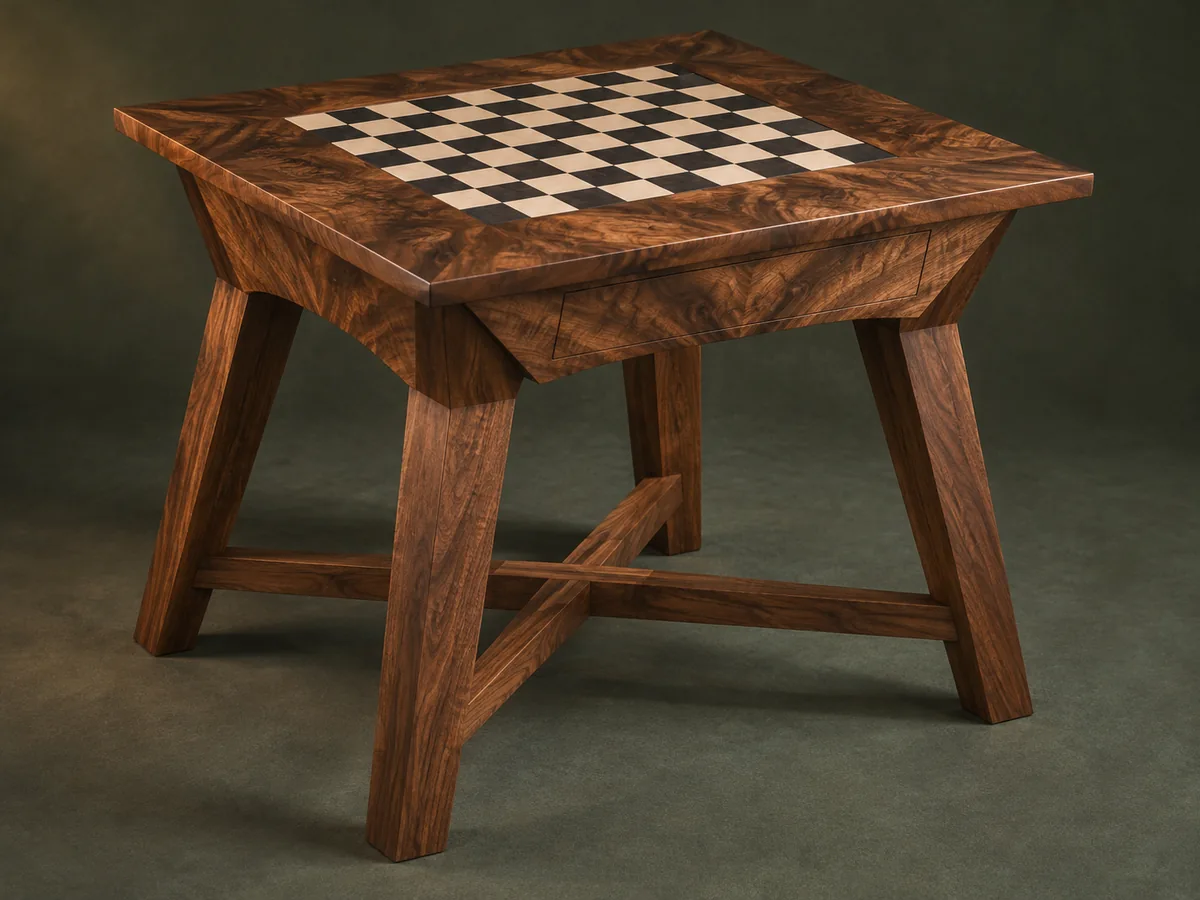
A companion to the original plan. An original study guide based on the supplied historical plan; not shop-tested. Use the privately owned source drawings for full-size patterns and complete cutting details.
Understand the project
What makes this build.
Compound leg and apron angles, dovetailed stretchers and a concealed angled drawer front require an advanced full dry layout.
A hidden drawer stores pieces.
Broad dovetails join the lower stretchers.
Points to resolve before building
- Full drawings are essential for the compound angles and cross-grain glue strategy.
- The inset chessboard is a separate component; this is not a wood-square board-making plan.
Prepare the workbench
Materials & tools.
Check what you have, then confirm stock sizes and hardware against your chosen dimensions.
Materials checklist
Tools & operations
- Saw with secured angle fixtures
- Router
- Chisels
- Plane
- Drill
- Clamps
Tool choices may include practical editorial suggestions. Use workholding and guarding appropriate to the actual machine and operation.
Choose dry, sound stock and test unfamiliar joints in scrap. Keep guards, push aids, eye protection, and dust control appropriate to the work.
Keep the numbers close
Measurements to know.
Selected dimensions verified from the source. This is not an automatically scaled cutting list.
| Key apron/leg relationship | 83° | Source p. 2 |
|---|---|---|
| Drawer-guide groove | ½ × ⅝ in | Source p. 2 |
Printed diagrams and concept images are not scale references. Verify measurements, material thickness, hardware fit, and allowances before cutting.
Inches to millimeters
Convert a measurement without changing the design. Enter a decimal or a fraction, such as 1 3/8.
Nominal lumber names and actual finished sizes are different. Converting units does not choose a substitute stock size.
From stock to finished project
Let’s make it.
Read the complete sequence before cutting. Mark a stage complete after its fit checks and any required glue cure.
Build an angle reference
- Make a full layout of the splayed leg and apron geometry around the actual chessboard. Use test joints to confirm the compound shoulders before cutting figured stock. Use the chessboard and its border as fixed references, then work outward to the apron corners rather than scaling the photograph.
Before moving onThe dry side frame meets the intended angle.
Fit the side assemblies
- Cut the broad apron tenons and transfer stretcher dovetails from the dry-fitted legs. Follow the limited glue area described for the wide cross-grain apron joints. Fit the dovetailed stretcher ends only after the apron tenons locate the legs, so the lower joint positions match the actual assembly.
Before moving onBoth side assemblies match and remain untwisted.
Join the lower frame
- Fit the long dovetailed center stretcher between the side stretchers. Fit the rear apron and its reinforcing blocks before installing the canted drawer guides. Keep the drawer guides parallel despite their canted outer faces; the grooves must still define a straight sliding path.
Before moving onThe base stands evenly and the drawer guides are parallel.
Frame the chessboard
- Shape the figured walnut border and fit its miter splines. Install the recessed base after checking the actual board and felt thickness. The frame splines reinforce its miters, while the separate recessed base supports the chessboard itself.
Before moving onThe board sits evenly within the frame.
Conceal the drawer
- Make the drawer box and fit external runners to the guide grooves. Use the tapered front shim so the applied apron and molding follow the same angle as the fixed parts. Fit the applied apron face with the drawer fully closed and check the triangular tips for fragile short grain.
Before moving onClosed drawer lines continue the surrounding apron.
Fit stops and top
- Install the withdrawal stop, attach the top through the planned molding connection and finish. Place the chessboard on its felt support after the coating cures. The stop screws must engage the strip reliably without dragging along the guides during ordinary opening.
Before moving onThe drawer stops before falling out and the board is level.
1 / 6
Progress and notes stay in this browser. Nothing is uploaded.
Source notes.
- Original PDF
- Chess Table.pdf
- Source length
- 5 pages
- Attribution
- Collection copyright 2004 Martian Auctions; original authorship unverified.
- This edition
- 116 Studio · Original written companion and AI concept image · November 2026
Page references count from the first page of this PDF. The original is retained in the owner’s private woodworking collection; it is not distributed by this website. Consult it for full drawings, templates, and details beyond this companion.
Historical plans can omit essential context. Source references identify where a detail came from; they do not certify the design or replace current manufacturer instructions or applicable professional review.
More from this corner of the shop.
Tables & desks
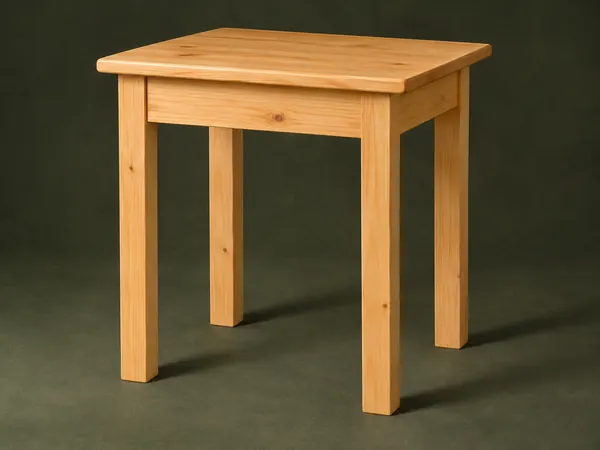
Hand-Tool Side Table
A small pine table uses square legs, mortise-and-tenon aprons and a solid board top.
Intermediate5 stages
Tables & desks
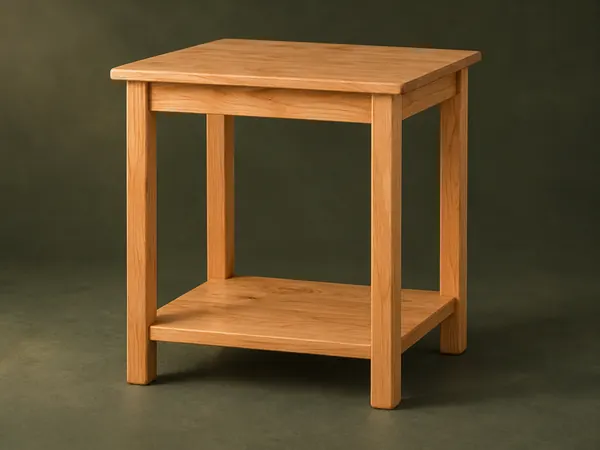
Open-Shelf Bedside Table
A small table has rounded square legs, a solid top and a low shelf captured in leg notches.
Intermediate5 stages
Tables & desks
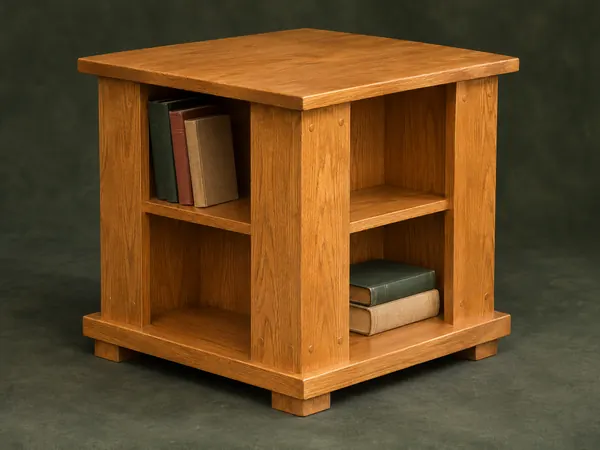
Four-Sided Book Table
A square end table offers small book compartments on four sides beneath a projecting top.
Intermediate5 stages