Two drawing faces share a folding A-frame.
Project library / Workshop
Workshop / Build companion
Folding Double-Sided Easel
A child-sized folding easel has two hardboard drawing faces, shallow trays and a hinged A-frame.
Intermediate5 stages2-page source
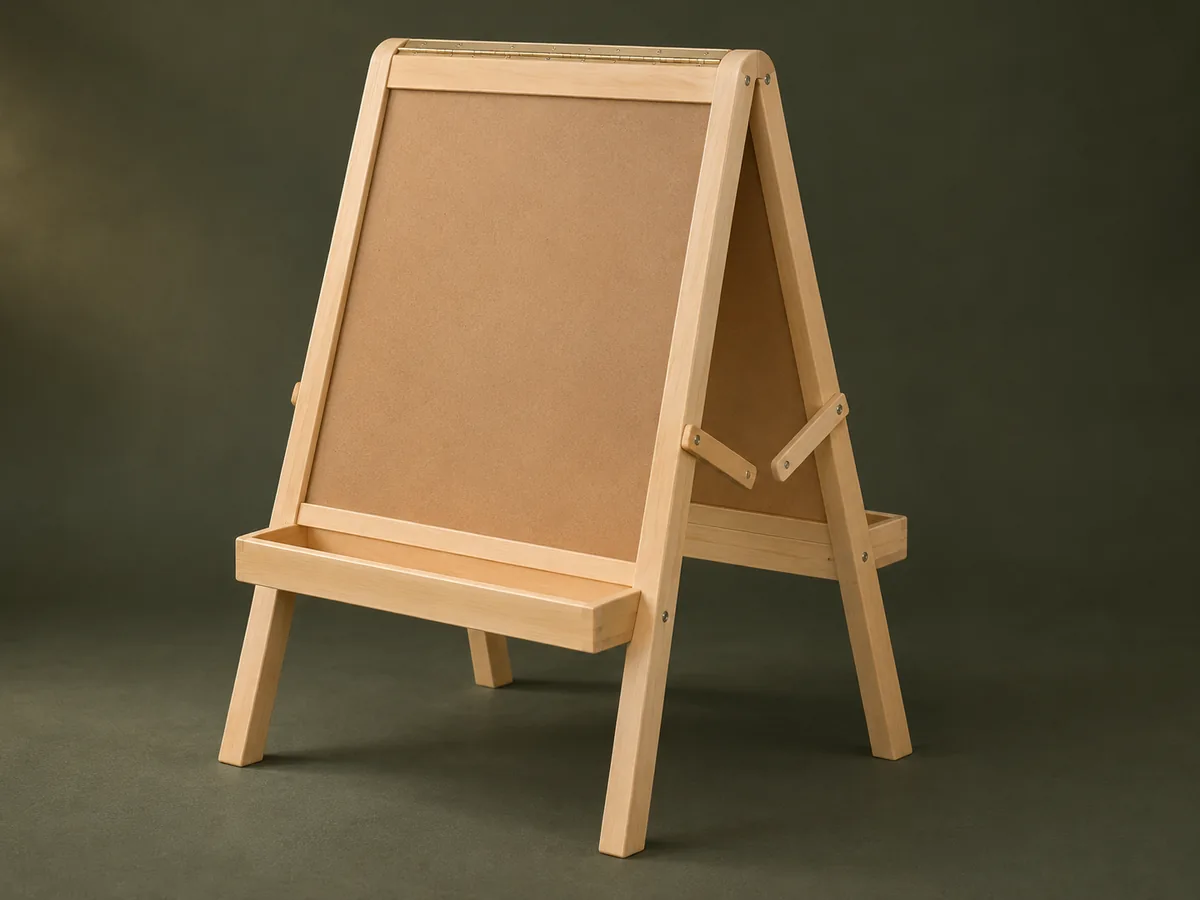
A companion to the original plan. An original study guide based on the supplied historical plan; not shop-tested. Use the privately owned source drawings for full-size patterns and complete cutting details.
Understand the project
What makes this build.
Matching half-lapped frames and angled trays is straightforward, but the folding restraint and child-accessible edges need careful attention.
Mitered trays have angled rear ends.
A piano hinge runs across the top.
Points to resolve before building
- Supervise folding because braces and hinges can pinch fingers.
- Do not leave pointed dowel ends or rely on a friction-only opening restraint.
Prepare the workbench
Materials & tools.
Check what you have, then confirm stock sizes and hardware against your chosen dimensions.
Materials checklist
Tools & operations
- Saw
- Router
- Drill
- Clamps
- Sander
Tool choices may include practical editorial suggestions. Use workholding and guarding appropriate to the actual machine and operation.
Choose dry, sound stock and test unfamiliar joints in scrap. Keep guards, push aids, eye protection, and dust control appropriate to the work.
Keep the numbers close
Measurements to know.
Selected dimensions verified from the source. This is not an automatically scaled cutting list.
| Frame half-laps | ⅜ in deep × 2½ in wide | Source p. 1 |
|---|---|---|
| Drawing faces | ¼-inch hardboard | Source p. 1 |
| Tray side rear cut | 10° | Source p. 1 |
Printed diagrams and concept images are not scale references. Verify measurements, material thickness, hardware fit, and allowances before cutting.
Inches to millimeters
Convert a measurement without changing the design. Enter a decimal or a fraction, such as 1 3/8.
Nominal lumber names and actual finished sizes are different. Converting units does not choose a substitute stock size.
From stock to finished project
Let’s make it.
Read the complete sequence before cutting. Mark a stage complete after its fit checks and any required glue cure.
Build the paired frames
- Cut matching legs and crosspieces and fit their half-lap joints. Glue each frame flat and compare diagonals before cure. The lower crosspiece housings are located from the leg bottoms, so use one reference to keep both trays at the same height.
Before moving onBoth frames match without twist.
Make the shallow trays
- Cut the tray front miters and angled rear ends of the sides. Groove the lower edges and capture the thin tray bottoms during assembly. Fit the tray bottoms before gluing the miters, since they cannot be inserted after all four edges are closed.
Before moving onEach tray is square at its front corners and fits the easel slope.
Fit the folding hardware
- Join the frames with the piano hinge and suitable locking or controlled braces. Set an opening angle that provides stability and keeps accessible pinch points addressed. Check the braces with both faces and trays installed; those added parts change the weight and available finger clearance.
Before moving onThe frame cannot collapse unexpectedly in use.
Attach the drawing faces
- Fit the hardboard with flush upper edges and recessed screw heads. Replace or blunt the source paper pegs as needed so no sharp projection remains. Countersink gently in hardboard and avoid crushing the face around screw heads when tightening.
Before moving onDrawing faces are flat and all edges are smooth.
Install trays and finish
- Attach each tray through its glue blocks, centered on the face. Apply a suitable cured finish and check the easel for tipping under expected drawing pressure. Supervise the first setup and teach adults to fold the easel with fingers clear of the hinge and brace paths.
Before moving onTrays are secure and the easel is stable.
1 / 5
Progress and notes stay in this browser. Nothing is uploaded.
Source notes.
- Original PDF
- Child's Easel.pdf
- Source length
- 2 pages
- Attribution
- Collection copyright 2004 Martian Auctions; original authorship unverified.
- This edition
- 116 Studio · Original written companion and AI concept image · November 2026
Page references count from the first page of this PDF. The original is retained in the owner’s private woodworking collection; it is not distributed by this website. Consult it for full drawings, templates, and details beyond this companion.
Historical plans can omit essential context. Source references identify where a detail came from; they do not certify the design or replace current manufacturer instructions or applicable professional review.
More from this corner of the shop.
Workshop
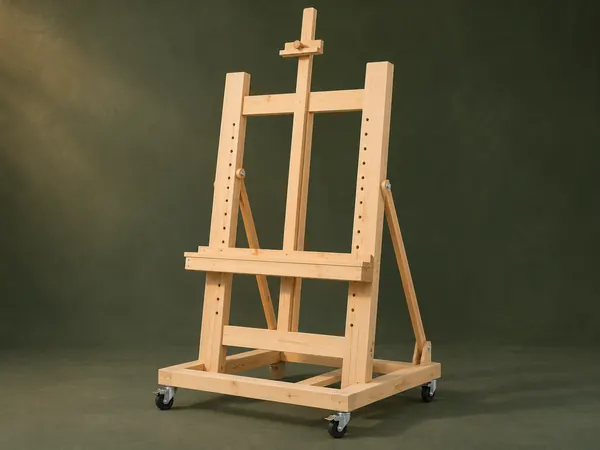
Adjustable Studio Easel
A tall H-frame easel has a pegged canvas shelf, sliding top clamp and hinged rear tilt supports.
Intermediate6 stages
Workshop
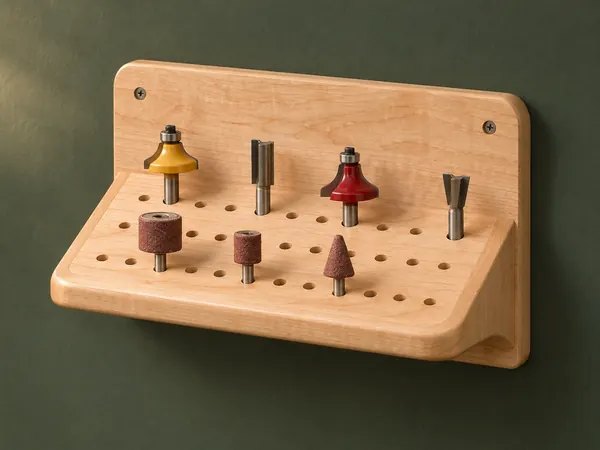
Angled Router-Bit Shelf
A sloping drilled shelf presents router bits and other shanked accessories against a wall backboard.
Beginner5 stages
Workshop
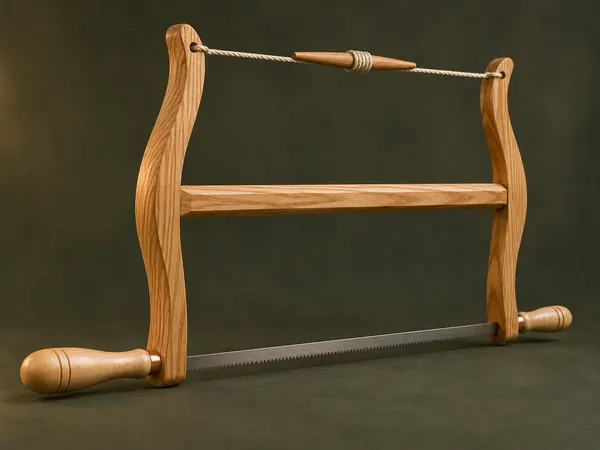
Classic Wooden Bow Saw
An ash H-frame tensions a narrow saw blade with twisted cord and turned maple handles.
Advanced5 stages