Three circular instruments share one long plaque.
Project library / Boxes & small projects
Boxes & small projects / Build companion
Nautical Instrument Plaque
A molded wooden wall plaque holds a central clock and two matching circular weather instruments.
Beginner5 stages5-page source
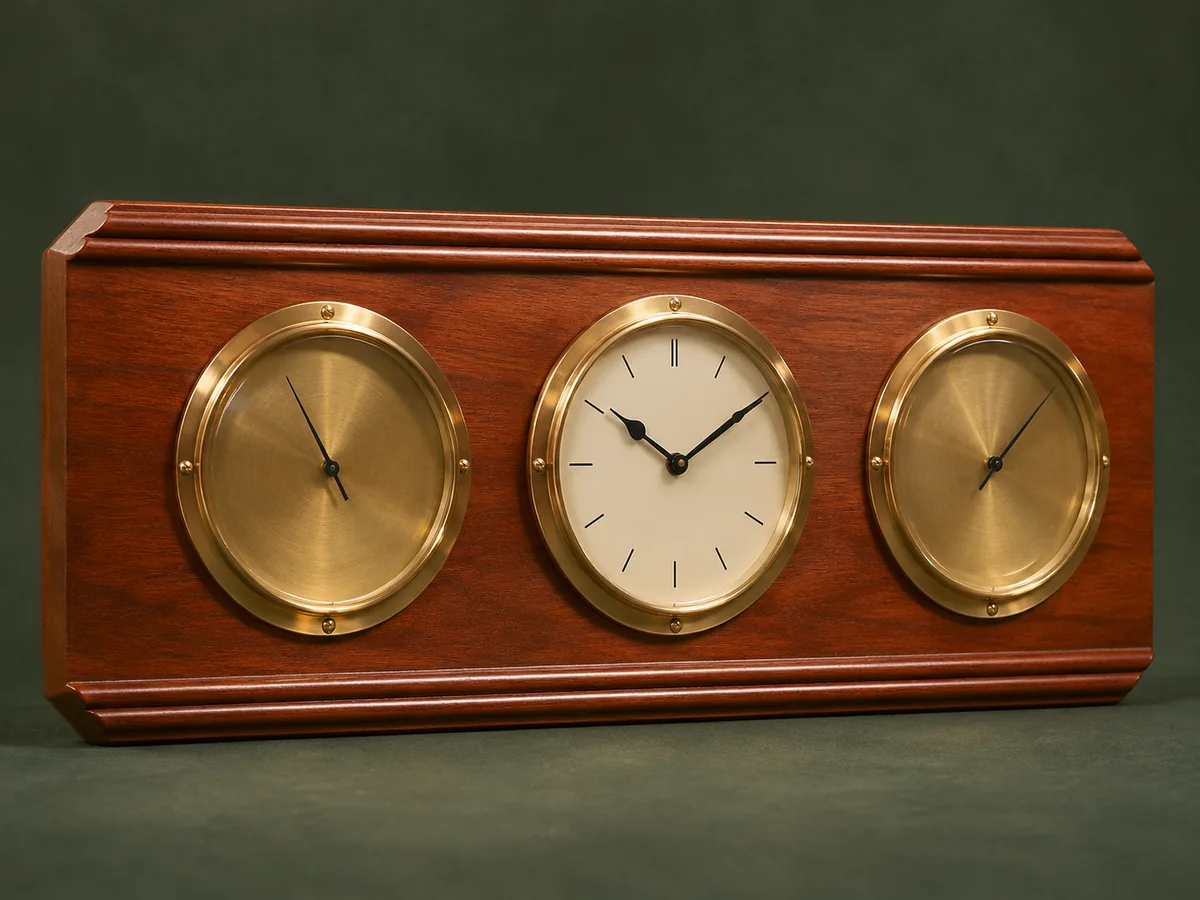
A companion to the original plan. An original study guide based on the supplied historical plan; not shop-tested. Use the privately owned source drawings for full-size patterns and complete cutting details.
Understand the project
What makes this build.
The project is mainly accurate recess boring and profile work, with fit determined by the purchased instrument inserts.
Double beads frame the long edges.
The source also offers a sculpted driftwood variation.
Points to resolve before building
- No dimensions should be inferred before purchasing the actual inserts.
- Do not treat uncalibrated decorative gauges as reliable weather instruments.
Prepare the workbench
Materials & tools.
Check what you have, then confirm stock sizes and hardware against your chosen dimensions.
Materials checklist
Tools & operations
- Plane
- Beading plane or router
- Drill press and Forstner bits
- Files
- Sanding tools
Tool choices may include practical editorial suggestions. Use workholding and guarding appropriate to the actual machine and operation.
Choose dry, sound stock and test unfamiliar joints in scrap. Keep guards, push aids, eye protection, and dust control appropriate to the work.
Keep the numbers close
Measurements to know.
Selected dimensions verified from the source. This is not an automatically scaled cutting list.
| Molded-board bead cutter | ⅜ in wide in the source example | Source p. 5 |
|---|
Printed diagrams and concept images are not scale references. Verify measurements, material thickness, hardware fit, and allowances before cutting.
Inches to millimeters
Convert a measurement without changing the design. Enter a decimal or a fraction, such as 1 3/8.
Nominal lumber names and actual finished sizes are different. Converting units does not choose a substitute stock size.
From stock to finished project
Let’s make it.
Read the complete sequence before cutting. Mark a stage complete after its fit checks and any required glue cure.
Select the instrument set
- Obtain the three inserts and their fitting instructions first. Arrange them on the board with enough material around every recess and access for adjustment or batteries. Choose the mounting orientation before marking centers so the instruments can be read and serviced in the finished position.
Before moving onAll instrument dimensions and mounting depths are known.
Prepare the plaque
- For the illustrated formal version, flatten and square a clean rectangular board. If choosing found wood, remove embedded metal and contamination before machining. A found board needs enough sound thickness behind every recess; decorative weathering must not leave the instrument supported by fragile fibers.
Before moving onThe instrument seating areas are flat and sound.
Form the border detail
- Cut the paired beads along each long edge with a guided molding plane or suitable router setup. Chamfer the ends and soften sharp corners. Cut the inner bead first when using a single-bead plane for the paired profile, then reset the fence for the outer bead.
Before moving onThe paired edge profiles are even.
Bore and fit the recesses
- Clamp the work and drill controlled-depth recesses to the actual insert sizes. Refine the openings gradually rather than forcing an oversize instrument into the wood. Use a positive depth stop and back the board securely, checking remaining thickness before enlarging any recess.
Before moving onEach bezel seats flat and can be removed for service.
Finish and install
- Finish the wood before installing the instruments. Set or calibrate each unit to its manufacturer’s instructions and hang the plaque securely. Align the instrument faces after hanging the board level, and preserve access to any rear adjustment screws.
Before moving onInserts are aligned, serviceable and retained.
1 / 5
Progress and notes stay in this browser. Nothing is uploaded.
Source notes.
- Original PDF
- Clock and Weather Station.pdf
- Source length
- 5 pages
- Attribution
- Collection copyright 2004 Martian Auctions; original authorship unverified.
- This edition
- 116 Studio · Original written companion and AI concept image · November 2026
Page references count from the first page of this PDF. The original is retained in the owner’s private woodworking collection; it is not distributed by this website. Consult it for full drawings, templates, and details beyond this companion.
Historical plans can omit essential context. Source references identify where a detail came from; they do not certify the design or replace current manufacturer instructions or applicable professional review.
More from this corner of the shop.
Boxes & small projects
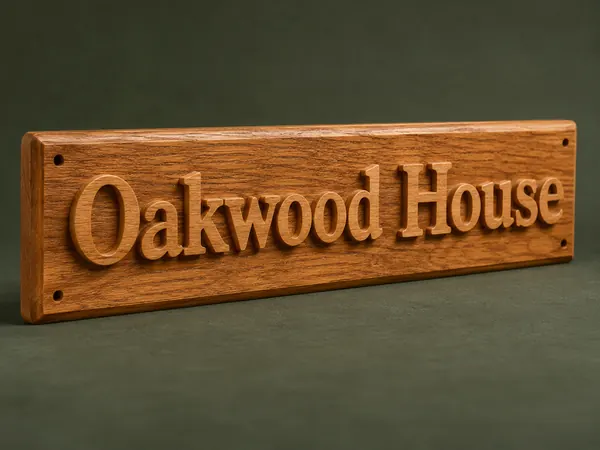
Raised-Letter Address Plaque
A wood house sign combines individually fretted letters with a beveled backing board.
Intermediate5 stages
Boxes & small projects
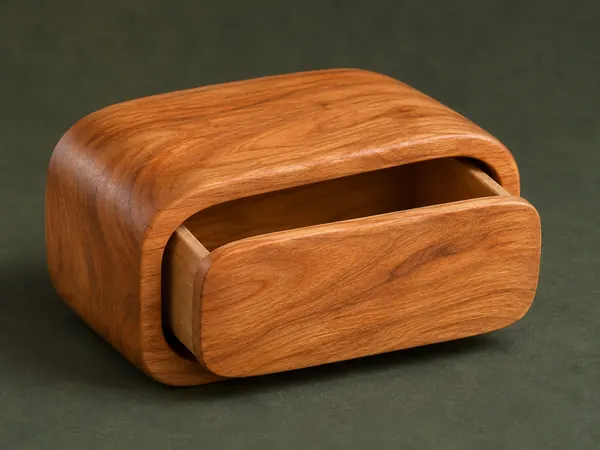
One-Drawer Bandsaw Box
A single wooden block becomes a rounded little case and a matching pull-out drawer.
Intermediate5 stages
Boxes & small projects
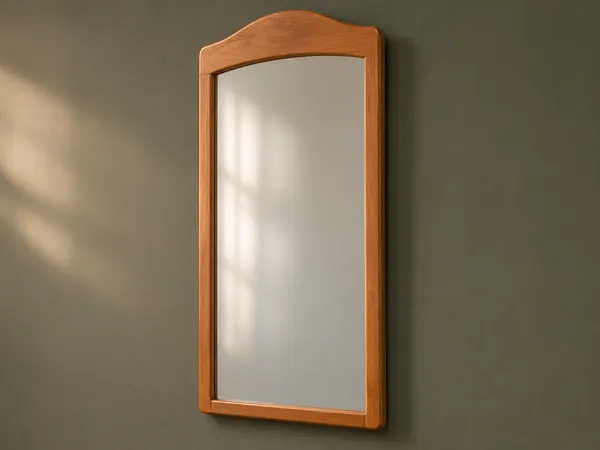
Arched Bathroom Mirror
A narrow timber mirror frame has a gently peaked curved top and doweled corner joints.
Intermediate5 stages