A wedged beam makes the base separable.
Project library / Tables & desks
Tables & desks / Build companion
Pine Trestle Coffee Table
A pine coffee table uses two broad trestle ends locked together by a wedged through beam.
Advanced6 stages8-page source
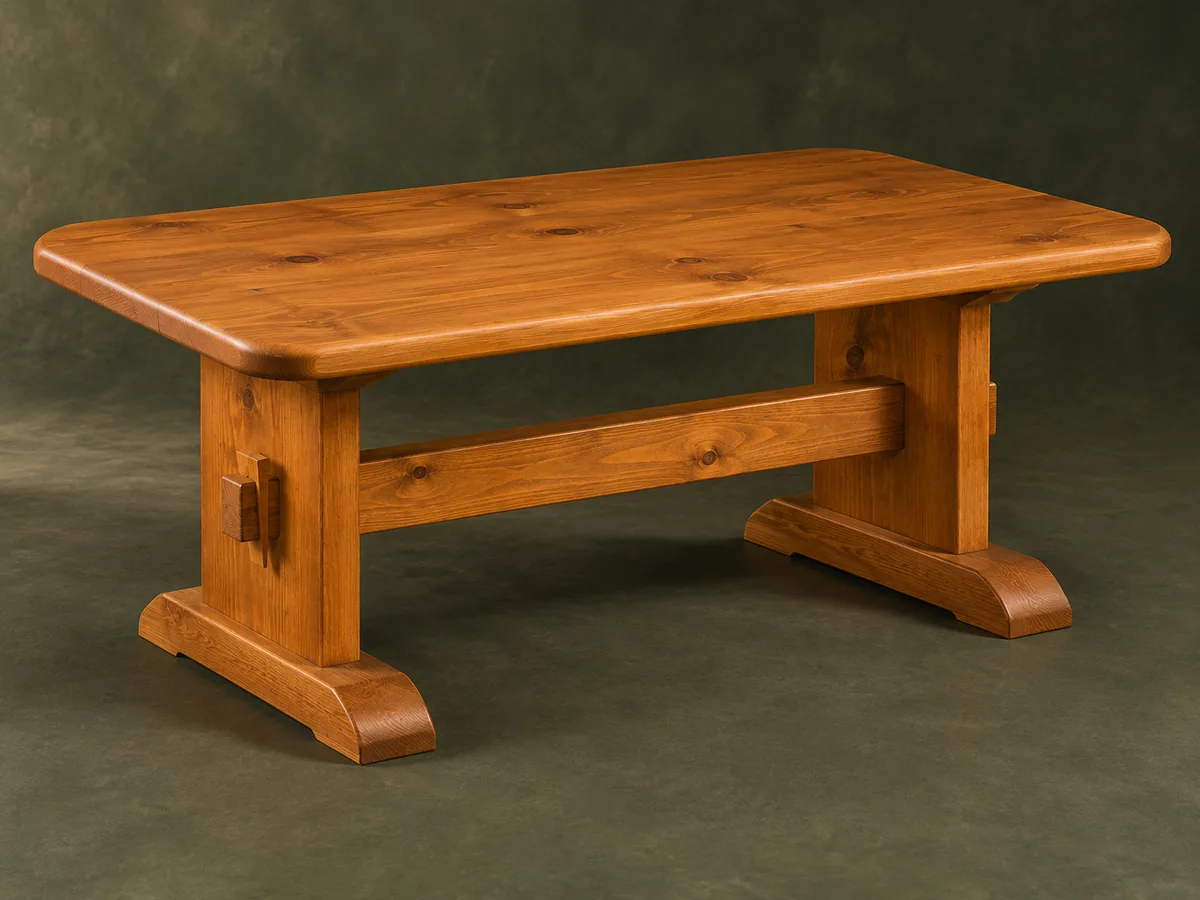
A companion to the original plan. An original study guide based on the supplied historical plan; not shop-tested. Use the privately owned source drawings for full-size patterns and complete cutting details.
Understand the project
What makes this build.
The wedged through-beam joints and compound foot bevels require careful fitting, while the broad top needs a stable movement-friendly mounting plan.
Broad shaped feet support two trestle uprights.
Rounded top corners contrast with angular foot bevels.
Points to resolve before building
- The text omits some details shown only in the dimensioned drawing; retain that source page.
- Locating dowels alone do not prevent the top being lifted; assess retention for the intended setting.
Prepare the workbench
Materials & tools.
Check what you have, then confirm stock sizes and hardware against your chosen dimensions.
Materials checklist
Tools & operations
- Circular saw with guide
- Jigsaw
- Router
- Biscuit joiner
- Plane
- Chisels
- Drill
- Clamps
Tool choices may include practical editorial suggestions. Use workholding and guarding appropriate to the actual machine and operation.
Choose dry, sound stock and test unfamiliar joints in scrap. Keep guards, push aids, eye protection, and dust control appropriate to the work.
Keep the numbers close
Measurements to know.
Selected dimensions verified from the source. This is not an automatically scaled cutting list.
| Top corner radius | 3 in | Source p. 5 |
|---|---|---|
| Beam blank length | Two 48-inch lengths laminated to 1½-inch thickness | Source p. 5 |
| Top locating dowels | ½ in diameter | Source p. 7 |
Printed diagrams and concept images are not scale references. Verify measurements, material thickness, hardware fit, and allowances before cutting.
Inches to millimeters
Convert a measurement without changing the design. Enter a decimal or a fraction, such as 1 3/8.
Nominal lumber names and actual finished sizes are different. Converting units does not choose a substitute stock size.
From stock to finished project
Let’s make it.
Read the complete sequence before cutting. Mark a stage complete after its fit checks and any required glue cure.
Glue the broad top
- Joint the five top boards and cut matching biscuit slots from one reference face. Clamp with cauls, then scrape and sand the cured panel flat. Use one consistent face reference for the biscuit slots and check the panel with a straightedge before the clamps are fully tightened.
Before moving onThe top is flat without open glue lines.
Round and bevel the top
- Trim to the source drawing size and cut the four rounded corners. Route the underside chamfer in controlled passes and smooth the transition around each corner. Smooth the jigsawed corners before routing so the bit bearing follows a fair curve rather than reproducing saw marks.
Before moving onAll four corners share the same radius.
Make the laminated beam
- Lay out the wedge mortises in the paired beam halves before glue-up. Fit the end tenons using supported router guides and leave enough length for final trimming. Keep the beam halves aligned during layout and glue-up, preserving access to the wedge mortises after lamination.
Before moving onBoth tenons match the intended leg mortises.
Fit the trestle ends
- Laminate the legs, feet and upper battens, then cut and refine the beam mortises. Fit the paired biscuit joints at feet and battens before shaping their compound bevels. The two biscuit rows in each foot and batten joint use different height settings, so mark the reference face and test the stack first.
Before moving onBoth end assemblies are square and sit flat.
Wedge and locate the top
- Fit the beam through the legs and tune the wedges to tighten without splitting. Transfer the batten locating-dowel holes to the top and confirm how the lift-off top will be retained for its intended use. Fit each wedge to its own mortise and tighten gradually; excessive wedge force can split the beam end rather than improve the joint.
Before moving onThe base is firm and the top cannot shift unexpectedly.
Finish for service
- Ease the stopped bevel details and apply a compatible stain and clear finish. Recheck the wedges and top fit after the finish cures. Keep finish off the critical wedge-bearing surfaces until their fit is confirmed, then avoid a thick coating that could glue the joint together.
Before moving onThe knock-down joints operate without binding.
1 / 6
Progress and notes stay in this browser. Nothing is uploaded.
Source notes.
- Original PDF
- Coffee Table 2.pdf
- Source length
- 8 pages
- Attribution
- Collection copyright 2004 Martian Auctions; original authorship unverified.
- This edition
- 116 Studio · Original written companion and AI concept image · November 2026
Page references count from the first page of this PDF. The original is retained in the owner’s private woodworking collection; it is not distributed by this website. Consult it for full drawings, templates, and details beyond this companion.
Historical plans can omit essential context. Source references identify where a detail came from; they do not certify the design or replace current manufacturer instructions or applicable professional review.
More from this corner of the shop.
Tables & desks
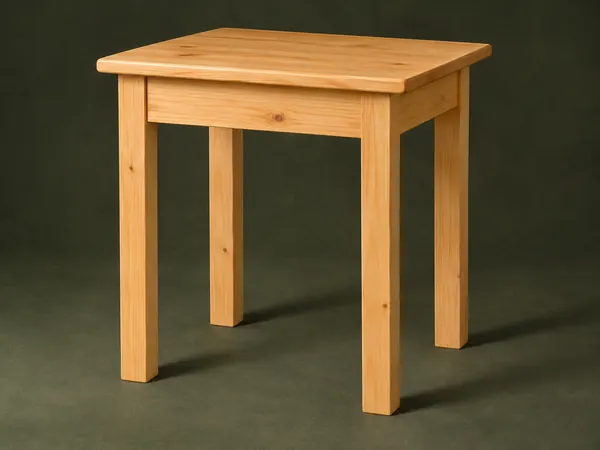
Hand-Tool Side Table
A small pine table uses square legs, mortise-and-tenon aprons and a solid board top.
Intermediate5 stages
Tables & desks
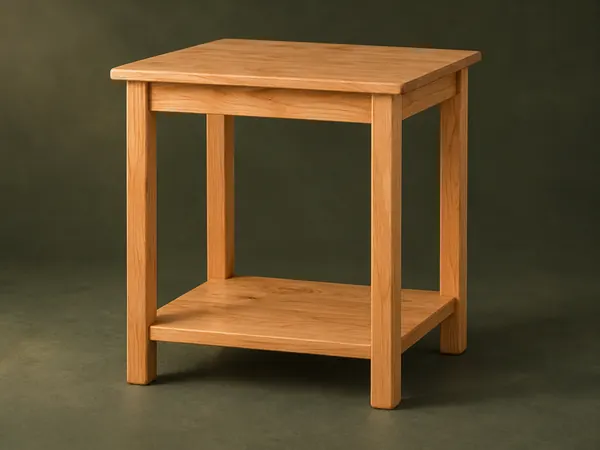
Open-Shelf Bedside Table
A small table has rounded square legs, a solid top and a low shelf captured in leg notches.
Intermediate5 stages
Tables & desks
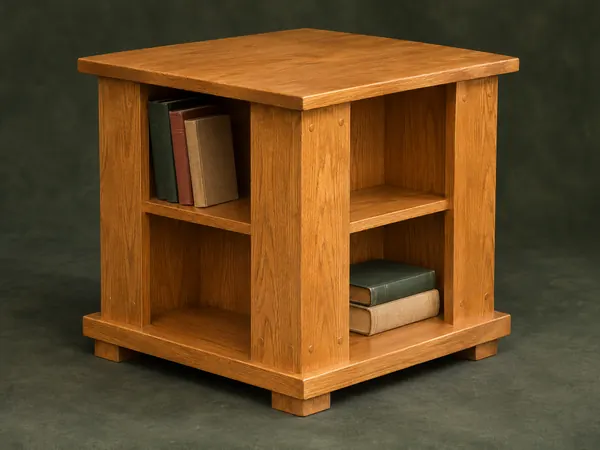
Four-Sided Book Table
A square end table offers small book compartments on four sides beneath a projecting top.
Intermediate5 stages