A shallow storage cavity occupies the apron depth.
Project library / Tables & desks
Tables & desks / Build companion
Lift-Lid Maple Coffee Table
A maple coffee table conceals a shallow storage compartment under its hinged top.
Intermediate5 stages6-page source
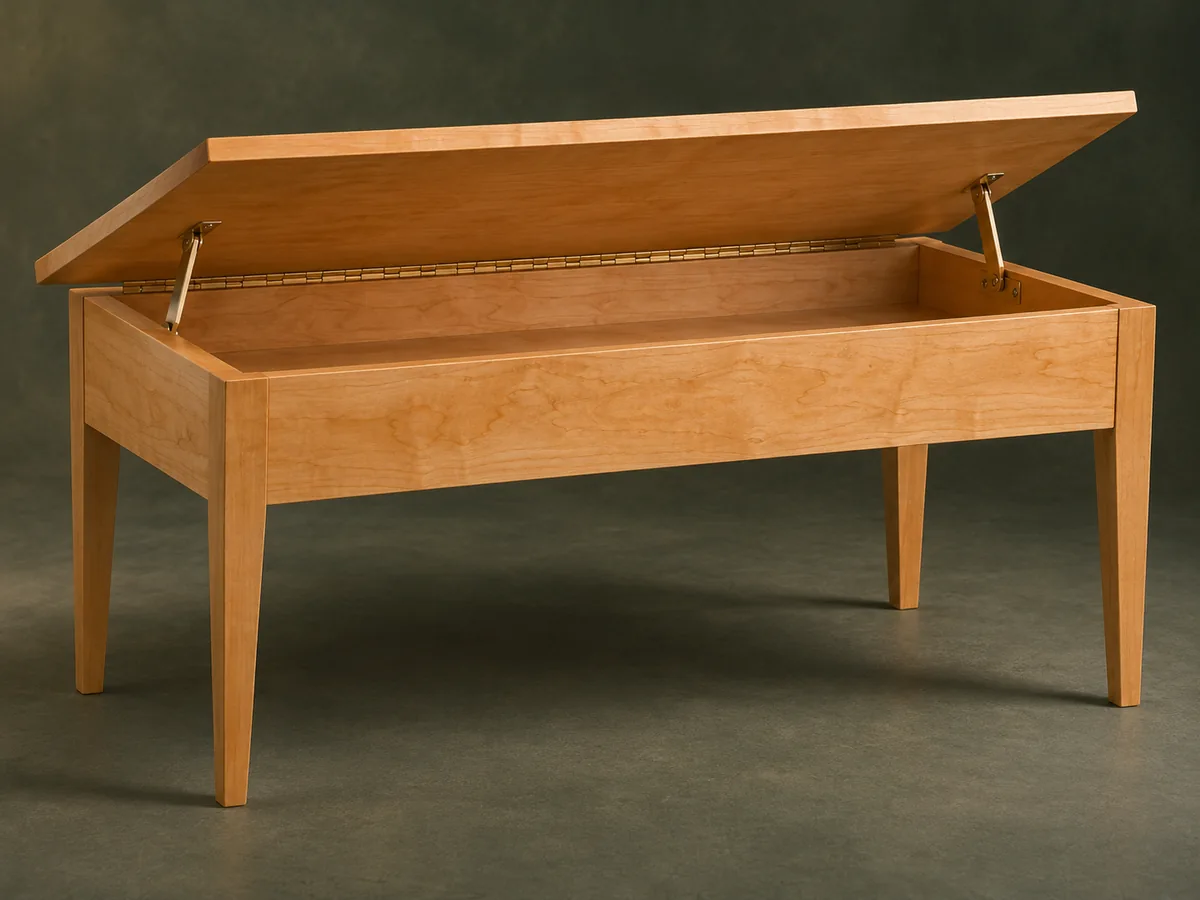
A companion to the original plan. An original study guide based on the supplied historical plan; not shop-tested. Use the privately owned source drawings for full-size patterns and complete cutting details.
Understand the project
What makes this build.
The tapered mortised legs are conventional joinery, but hinge offset and weight-matched lid supports require careful hardware fitting.
Tapered legs keep the silhouette light.
The rear hinge offset clears the leg corners.
Points to resolve before building
- Select support hardware by actual lid weight and installation instructions; old part numbers may be obsolete.
- This is not a child’s toy chest; assess access and pinch hazards for the location.
Prepare the workbench
Materials & tools.
Check what you have, then confirm stock sizes and hardware against your chosen dimensions.
Materials checklist
Tools & operations
- Saw
- Router with mortise jig
- Taper jig
- Drill
- Clamps
Tool choices may include practical editorial suggestions. Use workholding and guarding appropriate to the actual machine and operation.
Choose dry, sound stock and test unfamiliar joints in scrap. Keep guards, push aids, eye protection, and dust control appropriate to the work.
Keep the numbers close
Measurements to know.
Selected dimensions verified from the source. This is not an automatically scaled cutting list.
| Top | ¾ × 22 × 34 in | Source p. 3 |
|---|---|---|
| Leg blanks | 1¾ × 1¾ × 16⅛ in | Source p. 3 |
| Source hinge rabbet | ½ in wide × 5/32 in deep; verify with actual hinge | Source p. 5 |
Printed diagrams and concept images are not scale references. Verify measurements, material thickness, hardware fit, and allowances before cutting.
Inches to millimeters
Convert a measurement without changing the design. Enter a decimal or a fraction, such as 1 3/8.
Nominal lumber names and actual finished sizes are different. Converting units does not choose a substitute stock size.
From stock to finished project
Let’s make it.
Read the complete sequence before cutting. Mark a stage complete after its fit checks and any required glue cure.
Glue the maple lid
- Prepare the top boards and use cauls to hold them flat during glue-up. Flatten and trim the cured panel before measuring it for hardware selection. Use the finished lid dimensions and weight when choosing support hardware, because substituting a denser species changes the required support.
Before moving onThe lid is flat and its final weight is known.
Mortise then taper the legs
- Cut matched apron mortises while leg blanks are square. Use a secure taper jig and retain the flat upper joint surfaces while smoothing the legs. Keep a leg reference face marked through the tapering sequence so the apron mortises remain correctly oriented at all four corners.
Before moving onThe four legs match and mortise faces remain true.
Fit the storage aprons
- Cut apron tenons and the lower inside rabbets for the bottom panel. Dry-fit, then glue the legs and aprons square with protective cauls. Check the upper apron edges together on a flat surface before the glue sets, because they define the closed lid plane.
Before moving onThe storage opening is square and the bottom recess aligns.
Fit hinge and supports
- Cut the hinge recess with a stable router support surface and verify its offset against the actual hardware. Fit lid supports rated for the lid so it cannot drop unexpectedly. Test the complete opening arc before tightening all hinge screws, particularly where the lid passes the rear leg corners.
Before moving onThe lid clears the leg corners and stays controlled throughout travel.
Close and finish the compartment
- Fit the plywood bottom and stiffener, then remove the lid for finishing. Reinstall hardware after cure and check pinch points and closing action. Remove finish buildup from hinge seats and support pivots, then confirm the lid remains controlled after the hardware is reinstalled.
Before moving onThe compartment bottom is secure and the lid closes evenly.
1 / 5
Progress and notes stay in this browser. Nothing is uploaded.
Source notes.
- Original PDF
- Coffee Table .pdf
- Source length
- 6 pages
- Attribution
- Collection copyright 2004 Martian Auctions; original authorship unverified.
- This edition
- 116 Studio · Original written companion and AI concept image · November 2026
Page references count from the first page of this PDF. The original is retained in the owner’s private woodworking collection; it is not distributed by this website. Consult it for full drawings, templates, and details beyond this companion.
Historical plans can omit essential context. Source references identify where a detail came from; they do not certify the design or replace current manufacturer instructions or applicable professional review.
More from this corner of the shop.
Tables & desks
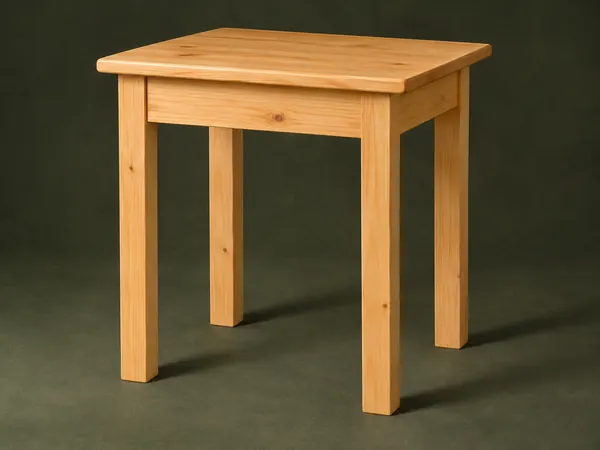
Hand-Tool Side Table
A small pine table uses square legs, mortise-and-tenon aprons and a solid board top.
Intermediate5 stages
Tables & desks
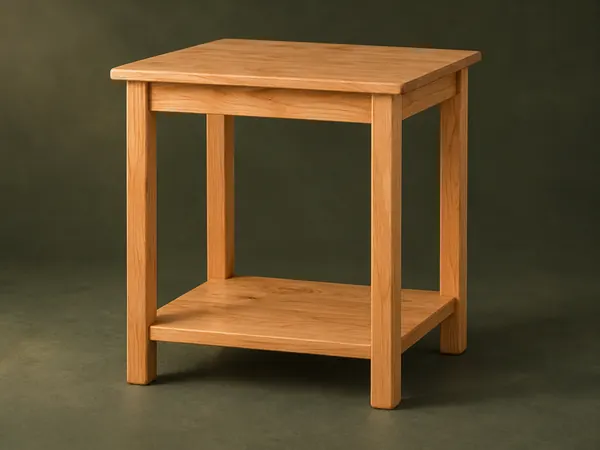
Open-Shelf Bedside Table
A small table has rounded square legs, a solid top and a low shelf captured in leg notches.
Intermediate5 stages
Tables & desks
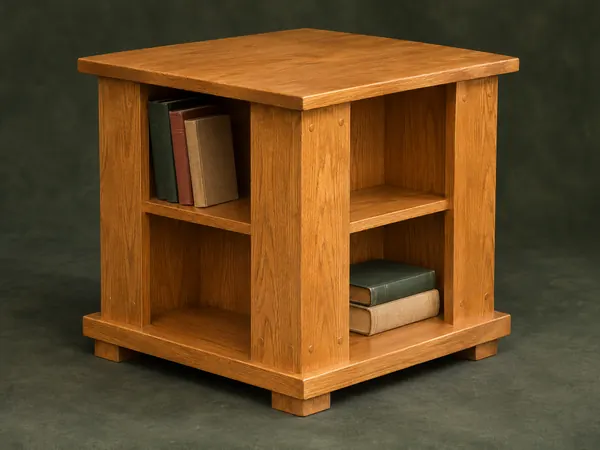
Four-Sided Book Table
A square end table offers small book compartments on four sides beneath a projecting top.
Intermediate5 stages