Stacking corner-post registers let the same lid serve growing plants.
Project library / Garden & outdoor
Garden & outdoor / Build companion
Stacking Cold Frame
A cedar cold frame with a salvaged glazed lid and stackable booster rings for taller plants.
Intermediate6 stages2-page source
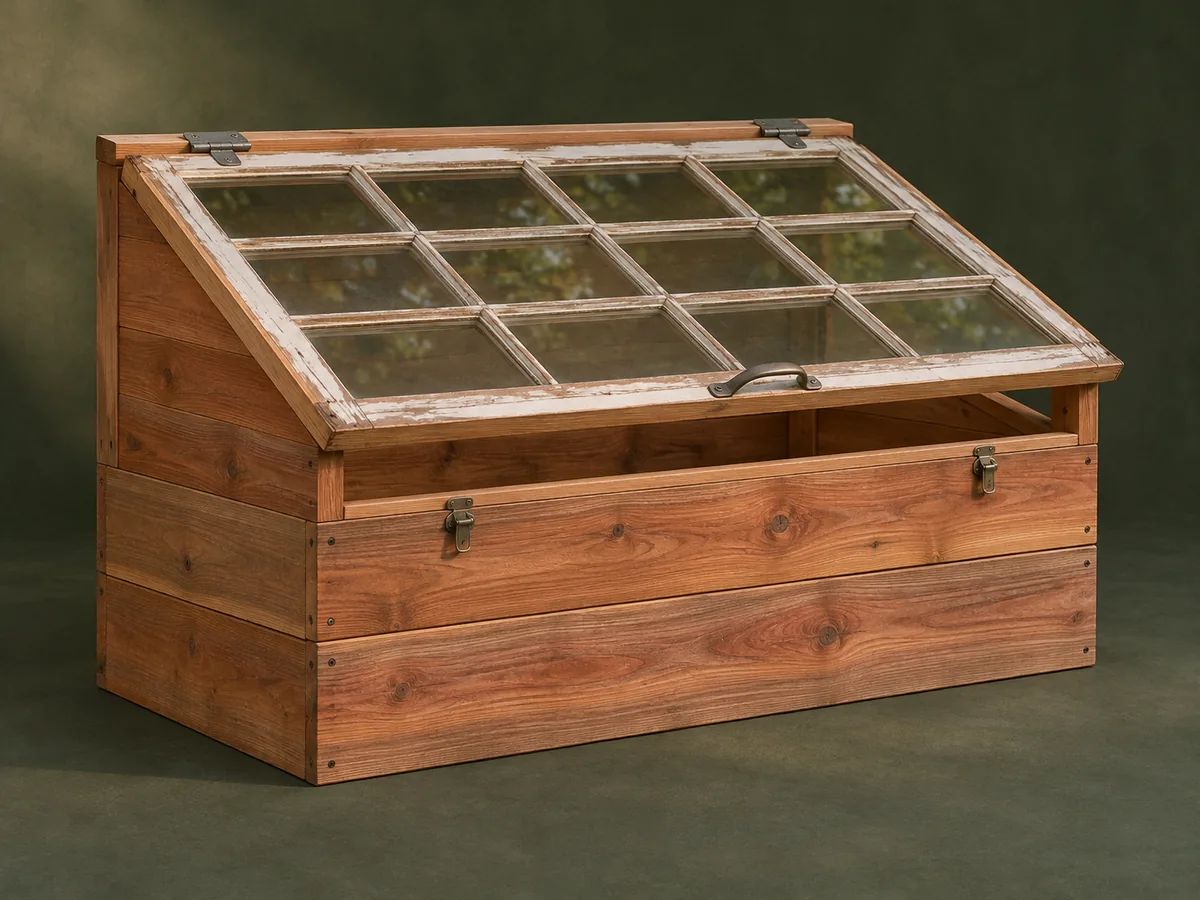
A companion to the original plan. Original guide to an archival plan; not shop-tested. Check the source drawings and actual material sizes before cutting.
Understand the project
What makes this build.
Matching sloped frame sides and registering booster corners require consistent layout and a careful fit to the salvaged lid.
Sloping glazing and front/side overhangs help admit light and shed rain.
Points to resolve before building
- Inspect old glazing and painted frames for hazards before reuse. Secure the lid against wind and manage overheating.
Prepare the workbench
Materials & tools.
Check what you have, then confirm stock sizes and hardware against your chosen dimensions.
Materials checklist
Tools & operations
- Saw
- Square
- Drill
- Clamps
Tool choices may include practical editorial suggestions. Use workholding and guarding appropriate to the actual machine and operation.
Choose dry, sound stock and test unfamiliar joints in scrap. Keep guards, push aids, eye protection, and dust control appropriate to the work.
Keep the numbers close
Measurements to know.
Selected dimensions verified from the source. This is not an automatically scaled cutting list.
| Lid overhang | ¼ in at front and sides; back flush for hinges | Source p. 1 |
|---|---|---|
| Stacking register | Corner blocks offset ¼ in | Source p. 1 |
Printed diagrams and concept images are not scale references. Verify measurements, material thickness, hardware fit, and allowances before cutting.
Inches to millimeters
Convert a measurement without changing the design. Enter a decimal or a fraction, such as 1 3/8.
Nominal lumber names and actual finished sizes are different. Converting units does not choose a substitute stock size.
From stock to finished project
Let’s make it.
Read the complete sequence before cutting. Mark a stage complete after its fit checks and any required glue cure.
Size from the lid
- Check the salvaged window for sound joints and intact glazing. Establish the frame footprint from the actual lid, keeping the small front and side overhangs and a flush hinged back.
Before moving onLid closes squarely on the proposed footprint.
Cut the sloped main frame
- Prepare the high back, low front and matching sloping sides. Dry-fit the box beneath the lid before joining it with weather-resistant glue, screws and corner blocks.
Before moving onBoth slopes match and the lid bears evenly.
Make the booster rings
- Build rectangular rings of matching length and width. Set their corner posts proud at the top and recessed below so each ring registers in the next.
Before moving onRings stack without sliding or rocking.
Fit the hinged lid
- Install the T hinges at the flush back edge. Add the handle, retaining chains and latches so wind cannot readily lift or overextend the glazing.
Before moving onLid opens freely and chains stop it before hinge damage.
Add adjustable ventilation
- Fit the two pivoting lid props with washers and secure nuts. Check that they can hold a small opening as well as a larger ventilating position.
Before moving onProps hold securely without stressing the glass.
Set up in the garden
- Place the frame level and check access to seedlings with boosters installed. Monitor ventilation and temperature rather than leaving the closed glazing unattended in strong sun.
Before moving onThe lid can be operated safely and plants have room to grow.
1 / 6
Progress and notes stay in this browser. Nothing is uploaded.
Source notes.
- Original PDF
- Cold Frame 1.pdf
- Source length
- 2 pages
- Attribution
- Phil Barley, Frost-Free Flora; source references plansinwood.com.
- This edition
- 116 Studio · Original written companion and AI concept image · November 2026
Page references count from the first page of this PDF. The original is retained in the owner’s private woodworking collection; it is not distributed by this website. Consult it for full drawings, templates, and details beyond this companion.
Historical plans can omit essential context. Source references identify where a detail came from; they do not certify the design or replace current manufacturer instructions or applicable professional review.
More from this corner of the shop.
Garden & outdoor
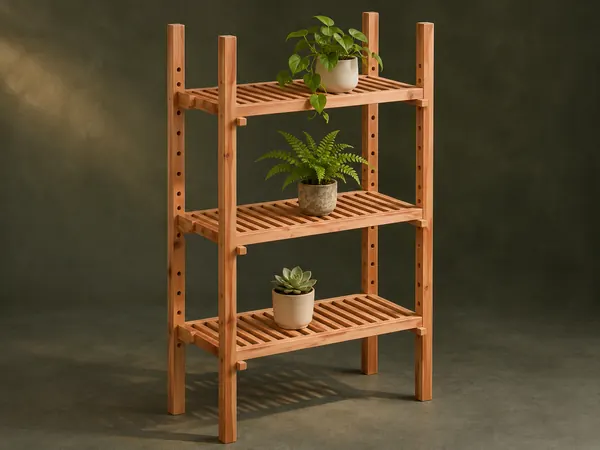
Adjustable Plant Shelves
A tall open plant stand has slatted shelves that slide on four uprights and lock at different heights with wooden pegs.
Intermediate6 stages
 Design study
Garden & outdoor
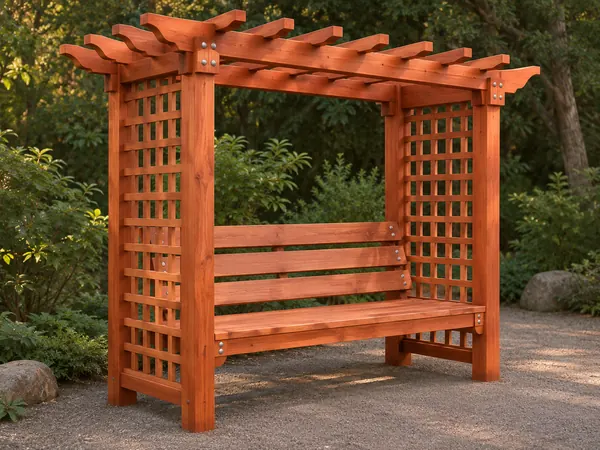
Lattice Arbor Bench
A garden seat sits between lattice side panels beneath an open pergola roof.
Advanced6 stages
Garden & outdoor
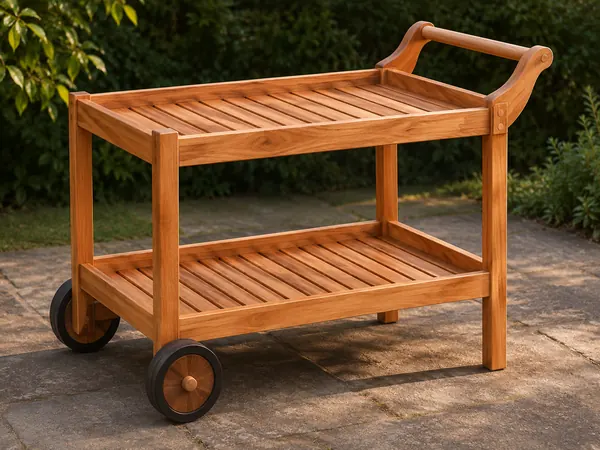
Two-Tier Garden Trolley
A push trolley carries two slatted trays on a timber frame with two wheels and a dowel handle.
Intermediate6 stages