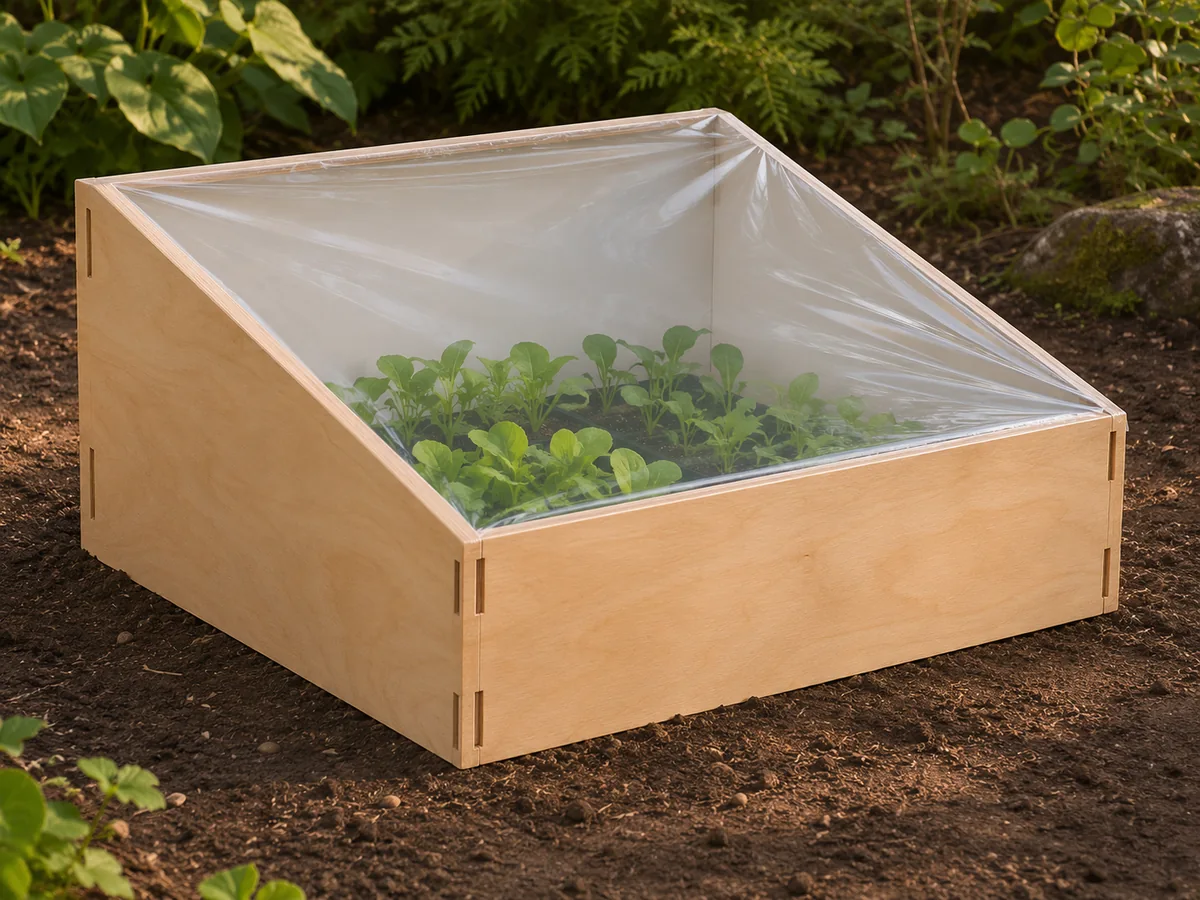
The corners use intersecting plywood slots rather than permanent joinery.
Project library / Garden & outdoor
Garden & outdoor / Build companion
Flat-Pack Cold Frame
A lightweight plywood cold frame whose slotted walls slide apart for seasonal storage.
Intermediate6 stages2-page source
A companion to the original plan. Original guide to an archival plan; not shop-tested. Check the source drawings and actual material sizes before cutting.
Understand the project
What makes this build.
Interlocking plywood slots must match the actual sheet thickness so the removable panels stand square.
A white interior reflects daylight into the covered space.
Points to resolve before building
- The source’s suggestion to prop the whole frame up needs a stable support and wind restraint; do not balance it precariously.
Prepare the workbench
Materials & tools.
Check what you have, then confirm stock sizes and hardware against your chosen dimensions.
Materials checklist
Tools & operations
- Saw or jigsaw
- Square
- Drill for slot starts if needed
- Stapler
- Paint brush
Tool choices may include practical editorial suggestions. Use workholding and guarding appropriate to the actual machine and operation.
Choose dry, sound stock and test unfamiliar joints in scrap. Keep guards, push aids, eye protection, and dust control appropriate to the work.
Keep the numbers close
Measurements to know.
Selected dimensions verified from the source. This is not an automatically scaled cutting list.
| Wall material | ½-in plywood | Source p. 1 |
|---|---|---|
| Slot clearance | Actual plywood thickness plus ⅛ in | Source p. 1 |
Printed diagrams and concept images are not scale references. Verify measurements, material thickness, hardware fit, and allowances before cutting.
Inches to millimeters
Convert a measurement without changing the design. Enter a decimal or a fraction, such as 1 3/8.
Nominal lumber names and actual finished sizes are different. Converting units does not choose a substitute stock size.
From stock to finished project
Let’s make it.
Read the complete sequence before cutting. Mark a stage complete after its fit checks and any required glue cure.
Measure the growing trays
- Arrange the trays or plants you intend to shelter and choose the footprint around them. Use the source drawing to establish the taller back and lower front rather than guessing the wall profiles.
Before moving onThe interior accepts trays and hands with usable clearance.
Lay out the interlocking walls
- Mark two side pieces, one front and one back. Lay out mating slots from the actual plywood thickness with the source’s extra clearance for sliding assembly.
Before moving onEach corner has a complementary pair of slots.
Cut and test the slots
- Saw the wall profiles and slots with supported sheet stock. Ease rough edges, then assemble all four panels without forcing the joints.
Before moving onWalls seat to equal depth and form a stable enclosure.
Prepare the interior
- Paint the inner faces white as described, allowing the coating to fully dry before plants are enclosed. Avoid a coating that remains odorous or unsuitable around seedlings.
Before moving onNo wet coating or strong trapped fumes remain.
Fit the clear cover
- Attach the heavy clear plastic to the assembled upper edges. Keep it taut enough to shed water and plan a secure way to ventilate without letting the frame fall onto plants.
Before moving onCover is continuous and a controllable ventilation opening is available.
Pack it away
- Remove or release the cover as needed at season’s end. Slide the panels apart, dry them and store them flat for the next growing season.
Before moving onAll four panels separate without damaged slots.
1 / 6
Progress and notes stay in this browser. Nothing is uploaded.
Source notes.
- Original PDF
- Cold Frame 2.pdf
- Source length
- 2 pages
- Attribution
- Easy Cold Frame, design credited in the supplied source to Ray Anderson of Rhode Island.
- This edition
- 116 Studio · Original written companion and AI concept image · November 2026
Page references count from the first page of this PDF. The original is retained in the owner’s private woodworking collection; it is not distributed by this website. Consult it for full drawings, templates, and details beyond this companion.
Historical plans can omit essential context. Source references identify where a detail came from; they do not certify the design or replace current manufacturer instructions or applicable professional review.
More from this corner of the shop.
Garden & outdoor
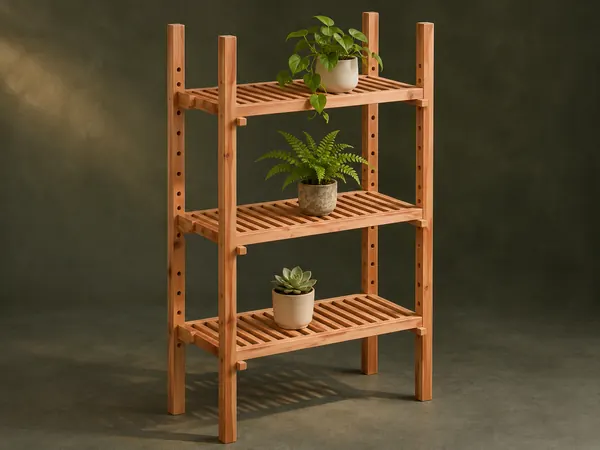
Adjustable Plant Shelves
A tall open plant stand has slatted shelves that slide on four uprights and lock at different heights with wooden pegs.
Intermediate6 stages
 Design study
Garden & outdoor
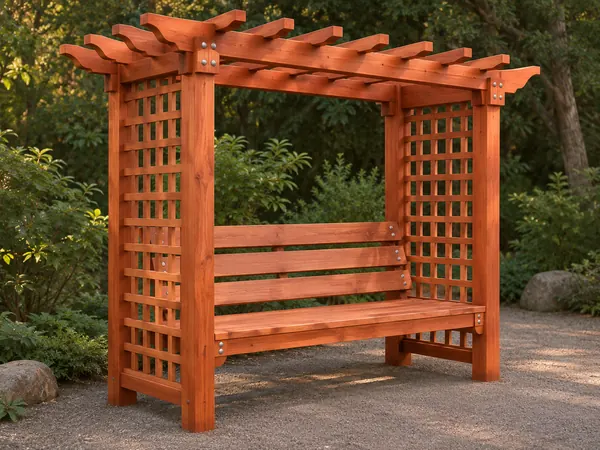
Lattice Arbor Bench
A garden seat sits between lattice side panels beneath an open pergola roof.
Advanced6 stages
Garden & outdoor
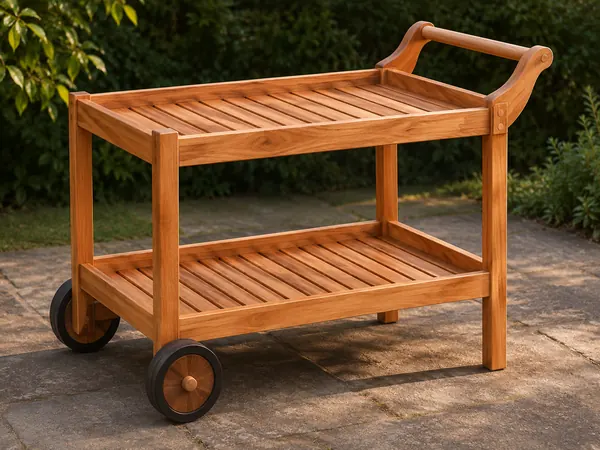
Two-Tier Garden Trolley
A push trolley carries two slatted trays on a timber frame with two wheels and a dowel handle.
Intermediate6 stages