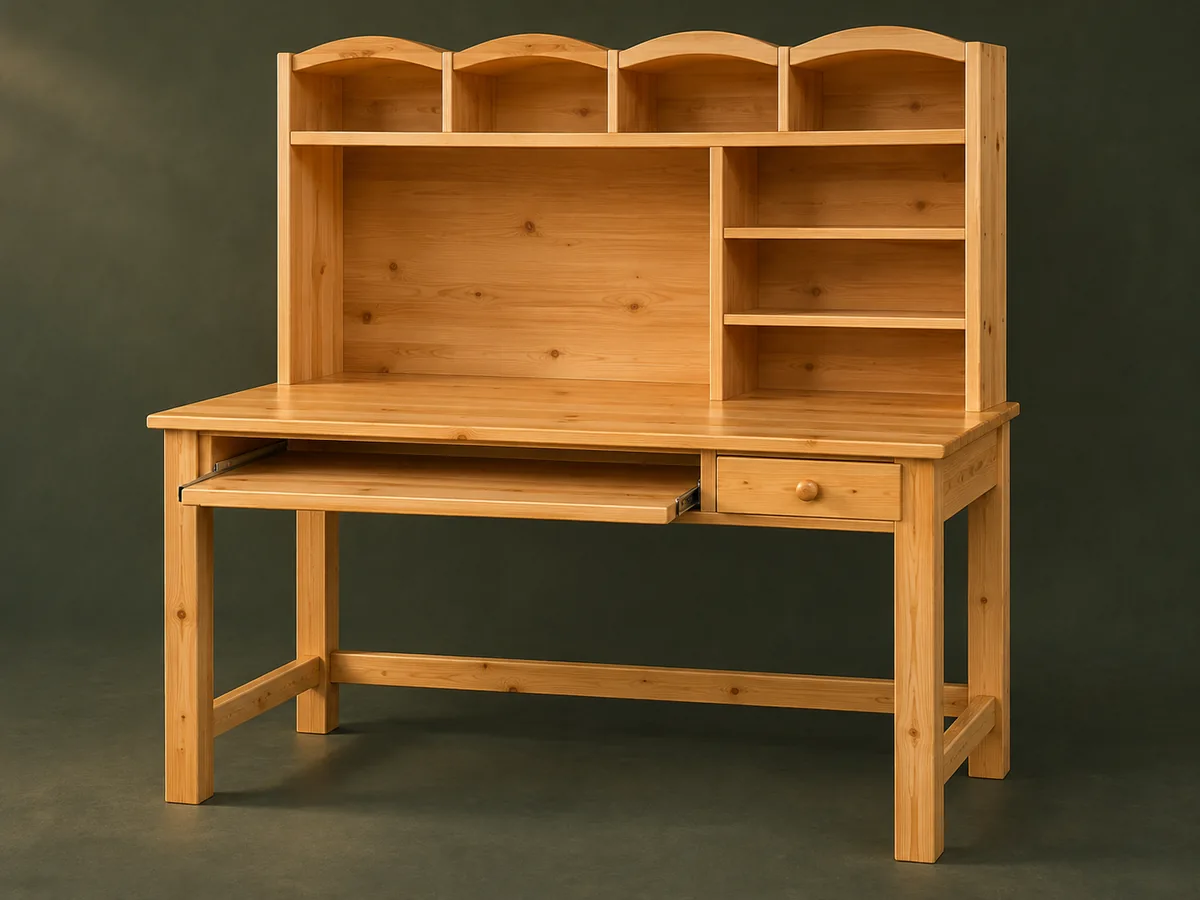
Mortise-and-tenon base construction is combined with a separately assembled two-piece hutch.
Project library / Tables & desks
Tables & desks / Build companion
Pine Workstation
A pine desk with a sliding keyboard platform, a small drawer and a two-part open hutch with curved-top dividers.
Advanced7 stages8-page source
A companion to the original plan. Original guide to an archival plan; not shop-tested. Check the source drawings and actual material sizes before cutting.
Understand the project
What makes this build.
Mortise-and-tenon base construction is combined with a separately assembled two-piece hutch.
Curved hutch sides and dividers repeat one template shape.
A wide keyboard platform shares the apron area with a small drawer.
Points to resolve before building
- Use safe clamped templates and fixtures rather than copying the source’s stacked brad-tacked cutting shortcuts. Verify hutch stability and current equipment ergonomics.
Prepare the workbench
Materials & tools.
Check what you have, then confirm stock sizes and hardware against your chosen dimensions.
Materials checklist
Tools & operations
- Saw
- Jointer or edge-jointing hand plane
- Biscuit joiner
- Router
- Drill
- Chisels
- Bandsaw or jigsaw
- Clamps
Tool choices may include practical editorial suggestions. Use workholding and guarding appropriate to the actual machine and operation.
Choose dry, sound stock and test unfamiliar joints in scrap. Keep guards, push aids, eye protection, and dust control appropriate to the work.
Keep the numbers close
Measurements to know.
Selected dimensions verified from the source. This is not an automatically scaled cutting list.
| Top panel before edging | ¾ × 26¾ × 47⅞ in | Source p. 2 |
|---|---|---|
| Legs | Four at 2 × 2 × 28½ in | Source p. 2 |
| Hutch side panels | 13 × 29 in after glue-up | Source p. 5 |
Printed diagrams and concept images are not scale references. Verify measurements, material thickness, hardware fit, and allowances before cutting.
Inches to millimeters
Convert a measurement without changing the design. Enter a decimal or a fraction, such as 1 3/8.
Nominal lumber names and actual finished sizes are different. Converting units does not choose a substitute stock size.
From stock to finished project
Let’s make it.
Read the complete sequence before cutting. Mark a stage complete after its fit checks and any required glue cure.
Plan the equipment bays
- Compare your equipment and seated working height with the original layout. Adjust the left monitor bay and right storage section together so the assembled hutch stays centered on the desk.
Before moving onEquipment, knee space and keyboard position work as a set.
Glue up the tabletop
- Joint and arrange the pine boards, add alignment biscuits if used, and clamp the panel flat. Trim it only after curing, then fit the front and end edging while accommodating solid-wood movement.
Before moving onPanel is flat and edging joints fit cleanly.
Fit the undercarriage
- Cut matching mortises and tenons for the legs and stretchers, dry-fit the complete base, and prepare grooves for tabletop hold-downs. Assemble square before fastening the top with appropriate movement clearance.
Before moving onBase stands evenly and the top is not rigidly cross-grain restrained.
Build the drawer and keyboard tray
- Measure their openings from the assembled desk before cutting. Fit the drawer stop, keyboard slides and removable stop blocks, then shape a comfortable hand rest.
Before moving onTray closes flush and neither moving component can pull free unintentionally.
Shape and assemble the hutch halves
- Glue up the side panels and cut their curved upper profiles using a template. Rout matched fixed-shelf housings and back rabbets; add shelf-pin holes and divider grooves before assembly.
Before moving onTwo square units align at their fixed shelves.
Connect and secure the hutch
- Locate the two halves on the desk, join their middle panels with the specified bolts and T-nuts, and fit keeper dowels and mending plates. Review stability and add suitable anti-tip restraint for the actual installation.
Before moving onHutch alignment is repeatable and its connections are secure.
Finish the small fittings
- Fit the shaped dividers and optional storage box to the completed openings. Sand and finish disassembled accessible components, then reassemble and test the drawer, tray and shelves.
Before moving onAll edges are smooth and hardware still operates after finishing.
1 / 7
Progress and notes stay in this browser. Nothing is uploaded.
Source notes.
- Original PDF
- Computer Workstation.pdf
- Source length
- 8 pages
- Attribution
- Collection copyright 2004 Martian Auctions; original authorship unverified
- This edition
- 116 Studio · Original written companion and AI concept image · November 2026
Page references count from the first page of this PDF. The original is retained in the owner’s private woodworking collection; it is not distributed by this website. Consult it for full drawings, templates, and details beyond this companion.
Historical plans can omit essential context. Source references identify where a detail came from; they do not certify the design or replace current manufacturer instructions or applicable professional review.
More from this corner of the shop.
Tables & desks
Hand-Tool Side Table
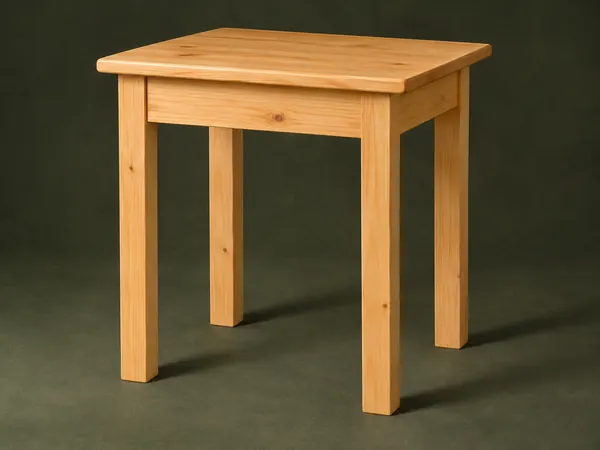
A small pine table uses square legs, mortise-and-tenon aprons and a solid board top.
Intermediate5 stages
Tables & desks
Open-Shelf Bedside Table
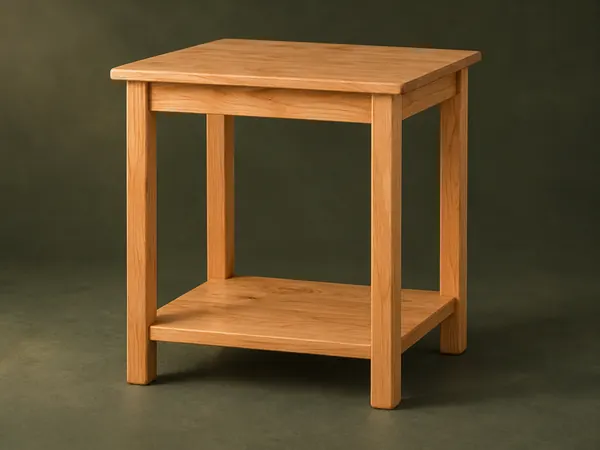
A small table has rounded square legs, a solid top and a low shelf captured in leg notches.
Intermediate5 stages
Tables & desks
Four-Sided Book Table
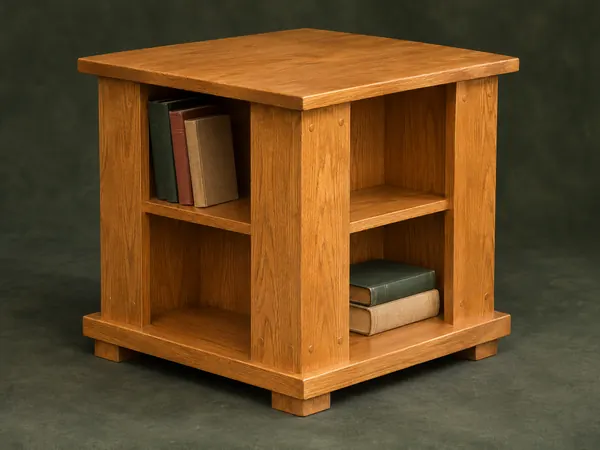
A square end table offers small book compartments on four sides beneath a projecting top.
Intermediate5 stages