A measured historical cabinet requires independent interpretation of joints and dimensions.
Project library / Storage & cabinets
Storage & cabinets / Design study
Cherry Corner Hutch
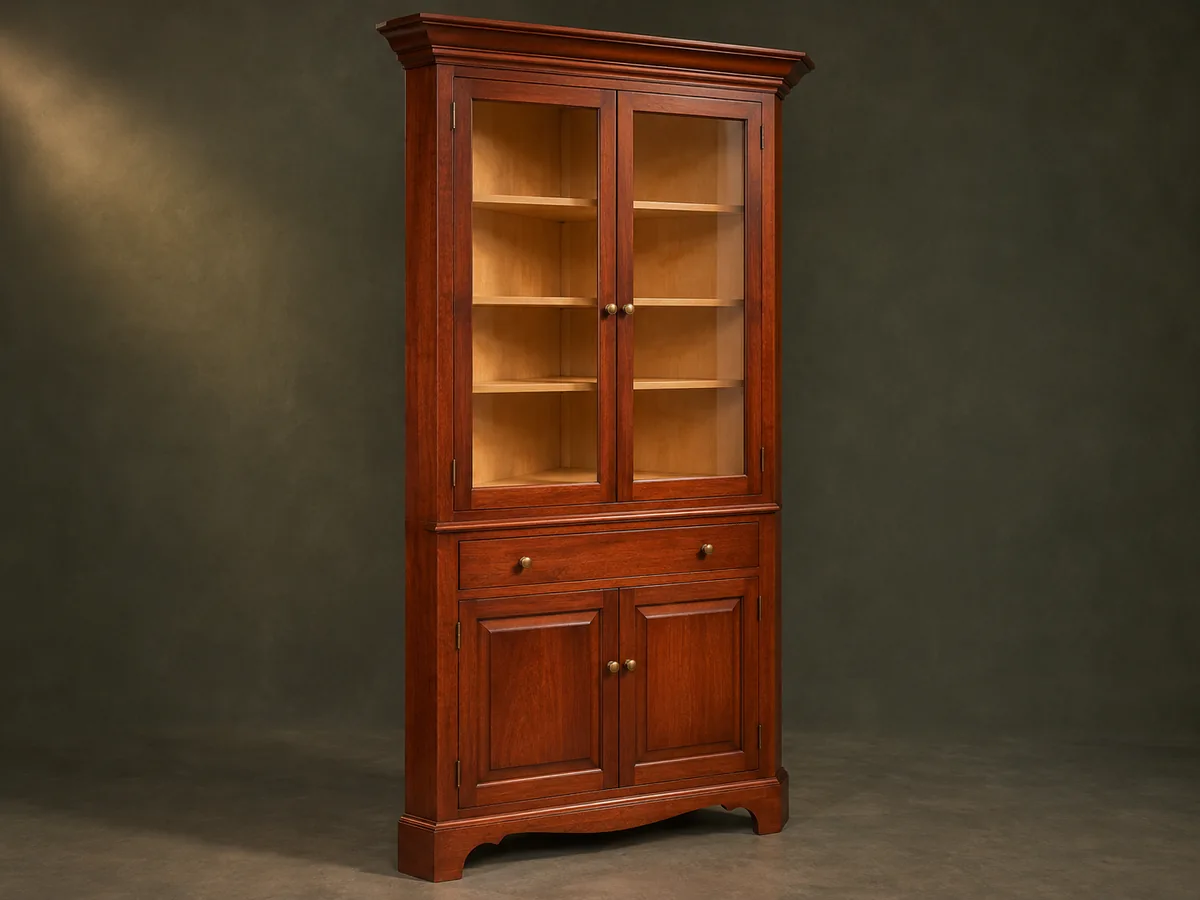
A two-section traditional cherry corner hutch with glazed upper doors, a center drawer and paneled lower doors.
Advanced5 stages5-page source
Design review required. Measured historical drawings require a complete joinery and installation plan before construction; not shop-tested.
Understand the project
What makes this build.
A measured historical cabinet requires independent interpretation of joints and dimensions.
Upper glass doors, a single drawer and lower paneled doors define the original facade.
Points to resolve before building
- These are measured drawings rather than a complete modern construction sequence. Verify joinery and restraint before building.
Prepare the workbench
Materials & tools.
Check what you have, then confirm stock sizes and hardware against your chosen dimensions.
Materials checklist
Tools & operations
- Saw
- Router or molding planes
- Drill
- Chisels
- Clamps
Tool choices may include practical editorial suggestions. Use workholding and guarding appropriate to the actual machine and operation.
Choose dry, sound stock and test unfamiliar joints in scrap. Keep guards, push aids, eye protection, and dust control appropriate to the work.
Keep the numbers close
Measurements to know.
Selected dimensions verified from the source. This is not an automatically scaled cutting list.
| Upper case height | 49 in in elevation | Source pp. 2, 3 |
|---|---|---|
| Lower case height | 36 in in elevation | Source pp. 2, 3 |
| Original back boards | ¾-in poplar | Source p. 4 |
Printed diagrams and concept images are not scale references. Verify measurements, material thickness, hardware fit, and allowances before cutting.
Inches to millimeters
Convert a measurement without changing the design. Enter a decimal or a fraction, such as 1 3/8.
Nominal lumber names and actual finished sizes are different. Converting units does not choose a substitute stock size.
Read, assess & plan
Explore the construction.
Review stages explain the historical design and unresolved decisions; they are not approval to build or use it.
Check room clearance
- Study the full elevations and mark the cabinet footprint and height in the intended corner. Confirm doors and nearby room openings will remain usable.
Before moving onThe large cabinet fits without blocking required access.
Plan the two cases
- Translate the measured original into a joinery and cutting schedule, choosing either its boarded carcass or the author’s plywood alternative. Retain the trim band that hides the case joint.
Before moving onEvery shelf and back is assigned to the upper or lower case.
Assemble the lower cabinet
- Build the lower box square and fit its facework, door-stop shelves and drawer guides. Make the drawer to the completed opening rather than relying on disconnected dimension labels.
Before moving onDrawer runs level and doors have a positive stop.
Build the glazed upper section
- Assemble the upper box and shelves, then fit the glazed door frames and the specified glass-retaining detail. Shape the plate grooves and shelf edging where shown.
Before moving onGlazing is retained without stress and doors close evenly.
Join, trim and secure
- Fit the cornice and the band concealing the section joint. Connect the cases and secure the tall cabinet to appropriate wall structure before loading it.
Before moving onBoth cases are connected and anti-tip restraint is installed.
1 / 5
Progress and notes stay in this browser. Nothing is uploaded.
Source notes.
- Original PDF
- Corner Cabinet.pdf
- Source length
- 5 pages
- Attribution
- Dale Austin, Corner Cabinet, copyright 2002.
- This edition
- 116 Studio · Original written companion and AI concept image · November 2026
Page references count from the first page of this PDF. The original is retained in the owner’s private woodworking collection; it is not distributed by this website. Consult it for full drawings, templates, and details beyond this companion.
Historical plans can omit essential context. Source references identify where a detail came from; they do not certify the design or replace current manufacturer instructions or applicable professional review.
More from this corner of the shop.
Storage & cabinets
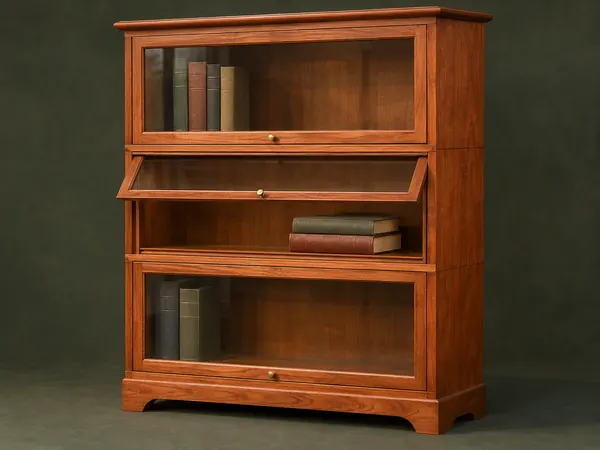
Stacking Barrister Bookcase
Modular cherry cases stack over a shaped base and close with glass doors that lift and slide inward.
Advanced6 stages
Storage & cabinets
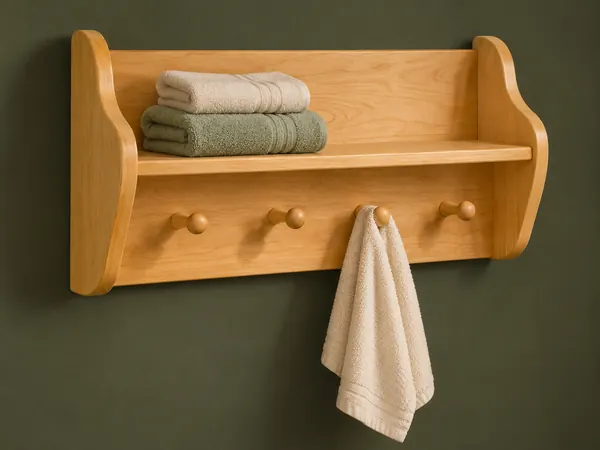
Four-Peg Bathroom Shelf
A wall shelf combines shaped end panels with four upward-tilted wooden towel pegs.
Beginner5 stages
Storage & cabinets
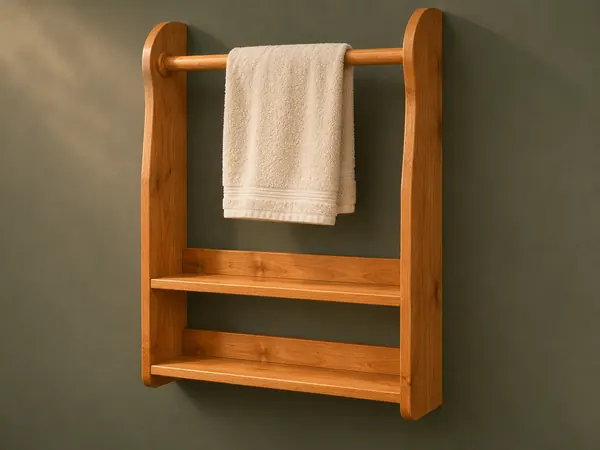
Two-Shelf Towel Rack
A wall rack combines two low shelves with a towel rod held between curved side panels.
Intermediate5 stages