Dowel alignment and coordinated drawer-runner grooves require accurate casework.
Project library / Tables & desks
Tables & desks / Build companion
Glass Display Coffee Table
An oak coffee table with a recessed glass top and two shallow display/storage drawers.
Intermediate5 stages5-page source
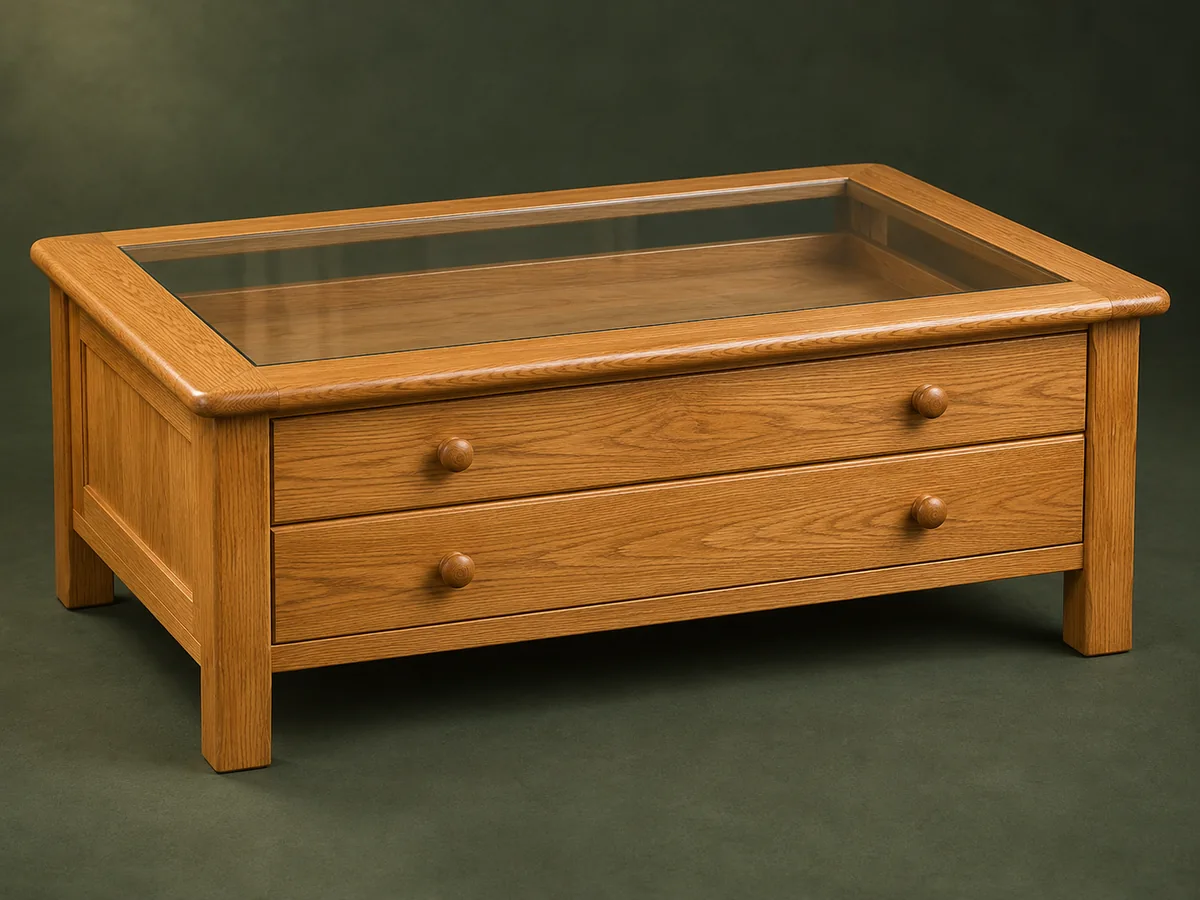
A companion to the original plan. Original guide to an archival plan; not shop-tested. Check the source drawings and actual material sizes before cutting.
Understand the project
What makes this build.
Dowel alignment and coordinated drawer-runner grooves require accurate casework.
The top drawer displays its contents beneath glass.
Points to resolve before building
- Tempered glass must be ordered to finished size; it cannot be cut after tempering.
Prepare the workbench
Materials & tools.
Check what you have, then confirm stock sizes and hardware against your chosen dimensions.
Materials checklist
Tools & operations
- Saw
- Router
- Drill
- Clamps
Tool choices may include practical editorial suggestions. Use workholding and guarding appropriate to the actual machine and operation.
Choose dry, sound stock and test unfamiliar joints in scrap. Keep guards, push aids, eye protection, and dust control appropriate to the work.
Keep the numbers close
Measurements to know.
Selected dimensions verified from the source. This is not an automatically scaled cutting list.
| Approximate overall | 38 × 24 × 17 in high | Source p. 1 |
|---|
Printed diagrams and concept images are not scale references. Verify measurements, material thickness, hardware fit, and allowances before cutting.
Inches to millimeters
Convert a measurement without changing the design. Enter a decimal or a fraction, such as 1 3/8.
Nominal lumber names and actual finished sizes are different. Converting units does not choose a substitute stock size.
From stock to finished project
Let’s make it.
Read the complete sequence before cutting. Mark a stage complete after its fit checks and any required glue cure.
Make the side frames
- Join the legs and upper/lower rails with dowels and rout the panel rabbets. Fit the plywood panels without distorting the frames. Check the frames for equal diagonals before fitting the panels so the captured plywood does not lock in a twist.
Before moving onBoth sides match.
Connect the case
- Fit the rear panel/rails and front crossmembers, then install the bottom and edging in the order shown. Leave the lower front edging off until the bottom is fitted; installing it early blocks the documented assembly order.
Before moving onCase is square and drawer openings align.
Fit drawer runners
- Install the thin runners and retaining strips at the section-drawing heights. Build the drawer boxes with grooves matching those runners and captured bottoms. Test a drawer side on each runner before completing the boxes, keeping the runner groove separate from the bottom groove.
Before moving onEach drawer runs without binding.
Make the top frame
- Dowel the oak perimeter frame, round exposed edges and attach it to the base. Rout the glass recess after checking the actual frame opening. Measure the completed rabbet at several points and check it is flat before ordering the final tempered glass size.
Before moving onRecess supports the glass evenly.
Finish and glaze
- Fit fronts and knobs, finish the wood and order polished-edge tempered glass to the measured opening with proper clearance. Install it only after the finish cures. Tempered glass must be fabricated to its final dimensions before tempering; fit the finished pane gently without forcing it into wood.
Before moving onGlass is unforced and drawers clear it.
1 / 5
Progress and notes stay in this browser. Nothing is uploaded.
Source notes.
- Original PDF
- Curio Table.pdf
- Source length
- 5 pages
- Attribution
- U-Bild, Curio Table plan 854, copyright 2003.
- This edition
- 116 Studio · Original written companion and AI concept image · November 2026
Page references count from the first page of this PDF. The original is retained in the owner’s private woodworking collection; it is not distributed by this website. Consult it for full drawings, templates, and details beyond this companion.
Historical plans can omit essential context. Source references identify where a detail came from; they do not certify the design or replace current manufacturer instructions or applicable professional review.
More from this corner of the shop.
Tables & desks
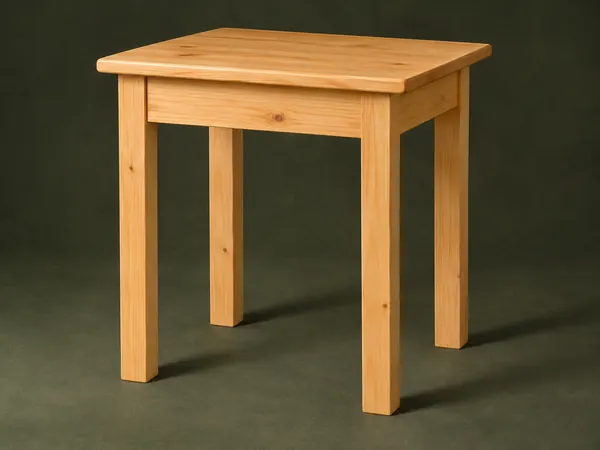
Hand-Tool Side Table
A small pine table uses square legs, mortise-and-tenon aprons and a solid board top.
Intermediate5 stages
Tables & desks
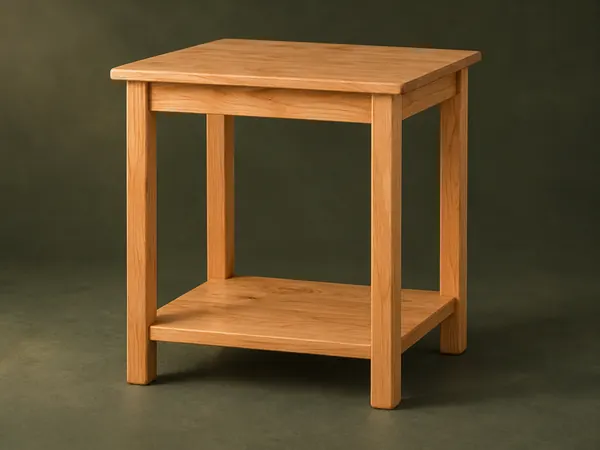
Open-Shelf Bedside Table
A small table has rounded square legs, a solid top and a low shelf captured in leg notches.
Intermediate5 stages
Tables & desks
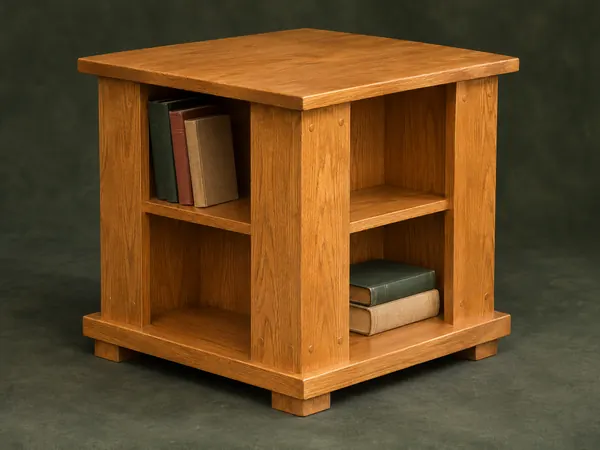
Four-Sided Book Table
A square end table offers small book compartments on four sides beneath a projecting top.
Intermediate5 stages