Joinery choice, material movement and support clearances must be considered together.
Project library / Workshop
Workshop / Build companion
Drawer Building Workshop
A drawer-design exercise covering fronts, corner joints, bottoms, runners and stops.
Intermediate5 stages15-page source
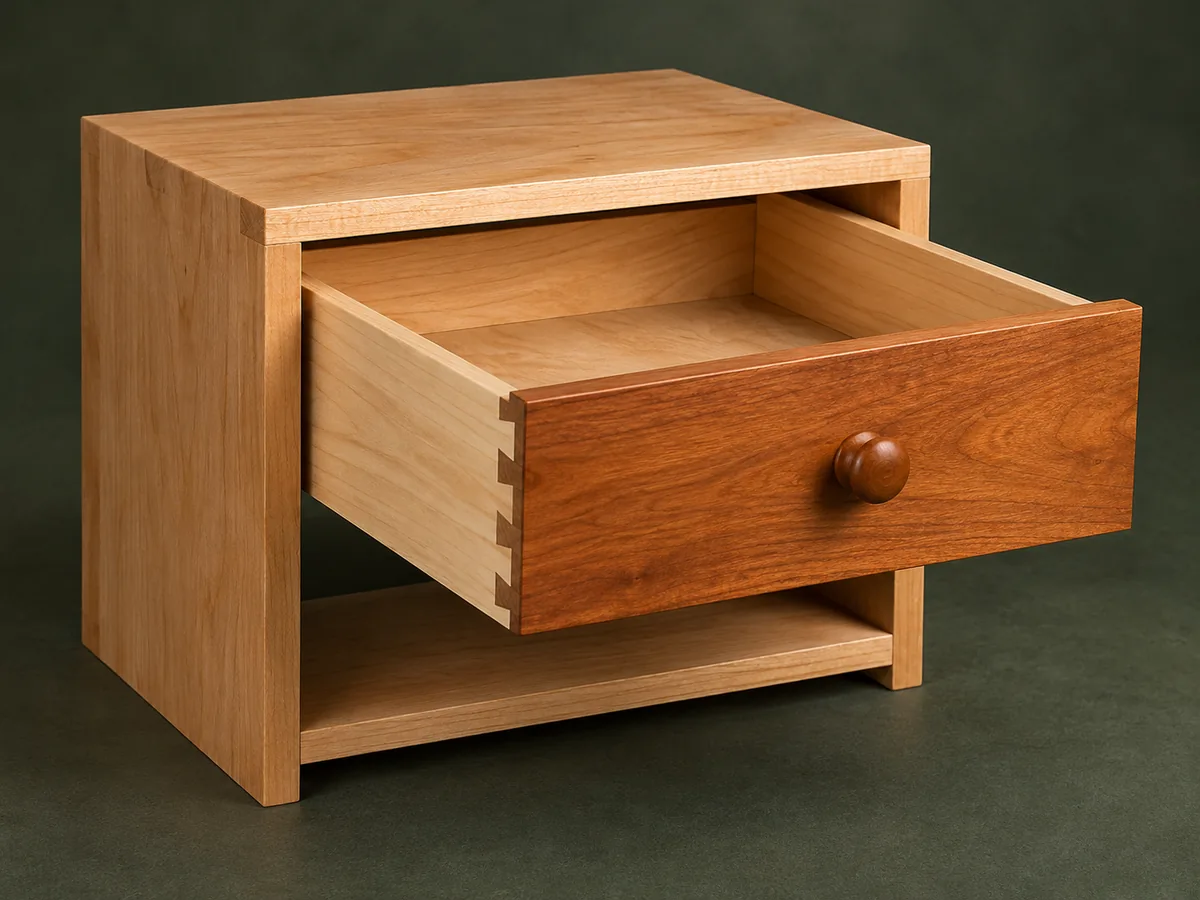
A companion to the original plan. Original guide to an archival plan; not shop-tested. Check the source drawings and actual material sizes before cutting.
Understand the project
What makes this build.
Joinery choice, material movement and support clearances must be considered together.
This is a skills reference, not a fixed-size furniture plan.
Points to resolve before building
- Size the drawer and hardware for their actual load; the excerpt does not provide a universal drawer size.
Prepare the workbench
Materials & tools.
Check what you have, then confirm stock sizes and hardware against your chosen dimensions.
Materials checklist
Tools & operations
- Saw
- Router or joinery tools
- Plane
- Drill
- Clamps
Tool choices may include practical editorial suggestions. Use workholding and guarding appropriate to the actual machine and operation.
Choose dry, sound stock and test unfamiliar joints in scrap. Keep guards, push aids, eye protection, and dust control appropriate to the work.
Keep the numbers close
Measurements to know.
Selected dimensions verified from the source. This is not an automatically scaled cutting list.
Use the original drawing.
The source does not provide a complete, confidently readable set of dimensions here. Confirm the original drawing and develop a measured parts list before cutting.
Printed diagrams and concept images are not scale references. Verify measurements, material thickness, hardware fit, and allowances before cutting.
Inches to millimeters
Convert a measurement without changing the design. Enter a decimal or a fraction, such as 1 3/8.
Nominal lumber names and actual finished sizes are different. Converting units does not choose a substitute stock size.
From stock to finished project
Let’s make it.
Read the complete sequence before cutting. Mark a stage complete after its fit checks and any required glue cure.
Choose the front style
- Compare inset, lipped and overlay fronts against the intended case. Measure the completed opening and selected slide clearances before sizing a practice drawer. The front style changes which parts cover the opening, so write those allowances into the drawing before sizing the sides.
Before moving onFront style and support system are coordinated.
Choose the corner joints
- Use a strong front-to-side joint appropriate to available tools. Make a test corner and distinguish its layout from the back joint. The front joints resist pulling forces during use; do not choose them solely because they are convenient to cut.
Before moving onTest joint closes squarely.
Design the bottom
- Match grooves to actual sheet thickness or provide movement clearance for a solid-wood bottom. Consider slips or a center divider when the drawer size and load warrant them. Check the bottom can be assembled in the intended sequence and supported without fastening across a moving solid panel.
Before moving onBottom support does not weaken the side excessively.
Fit runners and guides
- Assemble square and fit the chosen support system. Avoid gluing cross-grain runners rigidly to solid case sides; add guides and kickers where required. Test the drawer through its full travel, checking both side guidance and the support that prevents it tipping when extended.
Before moving onDrawer moves smoothly without tipping.
Add stops and finish
- Fit opening and closing stops and the pull. Use an interior finish that cures without persistent trapped odor, and test movement after curing. Position stops so the front meets the case correctly and the drawer cannot be accidentally pulled beyond its intended support.
Before moving onDrawer stops safely and closes evenly.
1 / 5
Progress and notes stay in this browser. Nothing is uploaded.
Source notes.
- Original PDF
- Drawer Building Basics.pdf
- Source length
- 15 pages
- Attribution
- Bill Hylton, Chests of Drawers excerpt, copyright 2001 The Taunton Press.
- This edition
- 116 Studio · Original written companion and AI concept image · November 2026
Page references count from the first page of this PDF. The original is retained in the owner’s private woodworking collection; it is not distributed by this website. Consult it for full drawings, templates, and details beyond this companion.
Historical plans can omit essential context. Source references identify where a detail came from; they do not certify the design or replace current manufacturer instructions or applicable professional review.
More from this corner of the shop.
Workshop
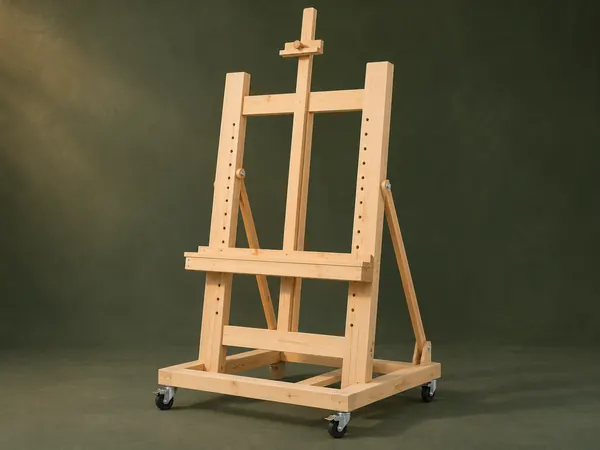
Adjustable Studio Easel
A tall H-frame easel has a pegged canvas shelf, sliding top clamp and hinged rear tilt supports.
Intermediate6 stages
Workshop
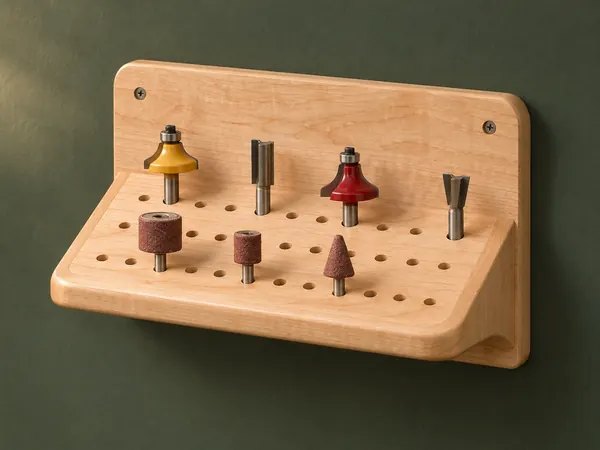
Angled Router-Bit Shelf
A sloping drilled shelf presents router bits and other shanked accessories against a wall backboard.
Beginner5 stages
Workshop
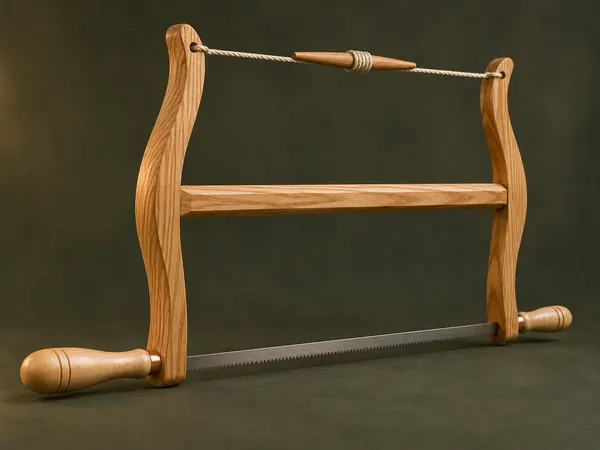
Classic Wooden Bow Saw
An ash H-frame tensions a narrow saw blade with twisted cord and turned maple handles.
Advanced5 stages