Breadboard fastening and the selected apron joinery need careful movement planning.
Project library / Tables & desks
Tables & desks / Build companion
Rustic Tavern Table
A rustic chestnut game table with breadboard ends over a painted tapered-leg base.
Advanced5 stages3-page source
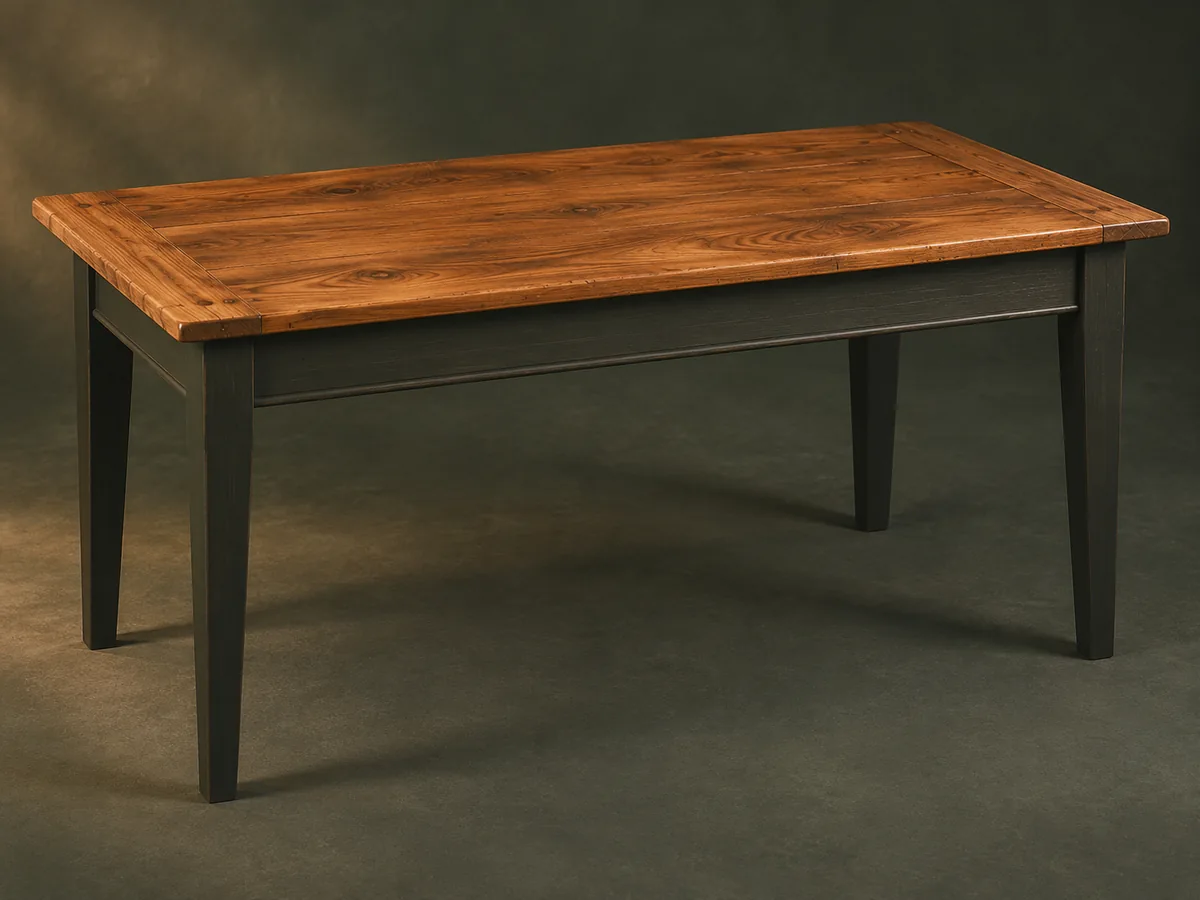
A companion to the original plan. Original guide to an archival plan; not shop-tested. Check the source drawings and actual material sizes before cutting.
Understand the project
What makes this build.
Breadboard fastening and the selected apron joinery need careful movement planning.
The source compares four joinery approaches for one table form.
Points to resolve before building
- Do not copy the old drill-press side-loading or unsupported tapering shortcuts; use appropriate fixtures.
Prepare the workbench
Materials & tools.
Check what you have, then confirm stock sizes and hardware against your chosen dimensions.
Materials checklist
Tools & operations
- Saw
- Plane
- Router
- Drill
- Chisels
- Clamps
Tool choices may include practical editorial suggestions. Use workholding and guarding appropriate to the actual machine and operation.
Choose dry, sound stock and test unfamiliar joints in scrap. Keep guards, push aids, eye protection, and dust control appropriate to the work.
Keep the numbers close
Measurements to know.
Selected dimensions verified from the source. This is not an automatically scaled cutting list.
| Example top width | 36 in | Source p. 2 |
|---|
Printed diagrams and concept images are not scale references. Verify measurements, material thickness, hardware fit, and allowances before cutting.
Inches to millimeters
Convert a measurement without changing the design. Enter a decimal or a fraction, such as 1 3/8.
Nominal lumber names and actual finished sizes are different. Converting units does not choose a substitute stock size.
From stock to finished project
Let’s make it.
Read the complete sequence before cutting. Mark a stage complete after its fit checks and any required glue cure.
Choose a base joint
- Compare the four approaches, selecting traditional mortise-and-tenon joinery for the main table example. Do not mix dimensions from bracket and tenon variants. Write the selected joint method on the working drawing so its rail allowances and leg details stay together through construction.
Before moving onOne complete joint scheme is selected.
Prepare the rustic top
- Inspect reclaimed boards for metal and contamination, joint their edges and glue the panel flat. Retain only surface character that is clean and practical. Arrange the boards before gluing so the weathered surfaces remain coherent while the mating edges still meet cleanly along their length.
Before moving onPanel is sound and usable.
Fit the breadboard ends
- Create the concealed fastener recesses and movement slots described. Keep outer fastening points able to slide as the panel changes width. Fix the middle position as intended and confirm the outer fasteners have clear movement paths before plugging or concealing access.
Before moving onEnd caps do not rigidly restrain the top.
Assemble the tapered base
- Fit the apron joints and lower bead, then glue the frame square. Size any pegs correctly rather than forcing oversized stock into a round hole. Preserve the untapered upper joint blocks and compare the frame diagonals before tightening the final glue-up clamps.
Before moving onShoulders close and legs stand evenly.
Finish and connect
- Paint the base and clear-finish the top with compatible products. Install tabletop clips with enough travel for seasonal movement. Check the clip engagement after the finish cures and confirm the breadboard ends have not been locked rigidly across the panel.
Before moving onTop and base are secure without cross-grain restraint.
1 / 5
Progress and notes stay in this browser. Nothing is uploaded.
Source notes.
- Original PDF
- Four Ways to Build a Tavern Table.pdf
- Source length
- 3 pages
- Attribution
- Collection copyright 2004 Martian Auctions; original authorship unverified
- This edition
- 116 Studio · Original written companion and AI concept image · November 2026
Page references count from the first page of this PDF. The original is retained in the owner’s private woodworking collection; it is not distributed by this website. Consult it for full drawings, templates, and details beyond this companion.
Historical plans can omit essential context. Source references identify where a detail came from; they do not certify the design or replace current manufacturer instructions or applicable professional review.
More from this corner of the shop.
Tables & desks
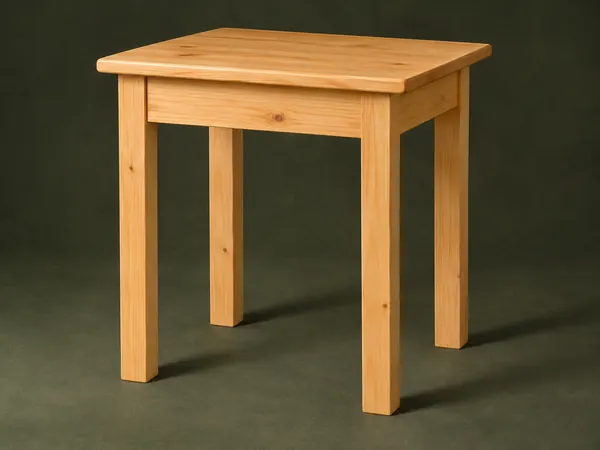
Hand-Tool Side Table
A small pine table uses square legs, mortise-and-tenon aprons and a solid board top.
Intermediate5 stages
Tables & desks
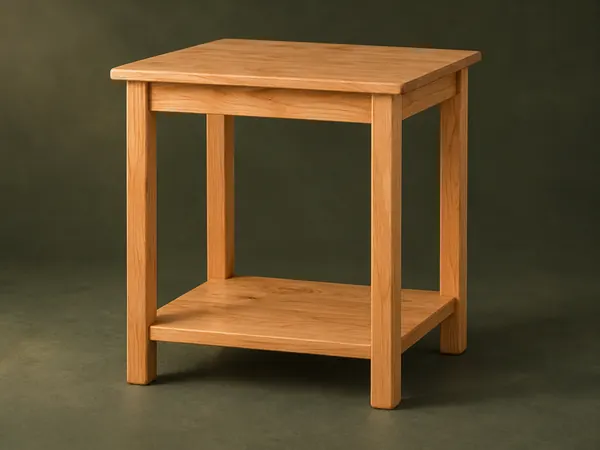
Open-Shelf Bedside Table
A small table has rounded square legs, a solid top and a low shelf captured in leg notches.
Intermediate5 stages
Tables & desks
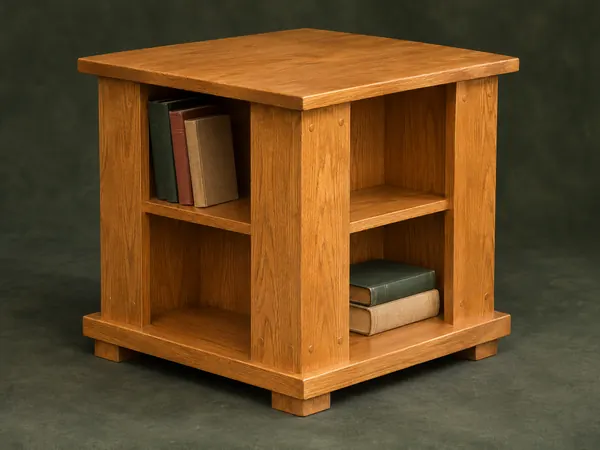
Four-Sided Book Table
A square end table offers small book compartments on four sides beneath a projecting top.
Intermediate5 stages