Laminated routed channels and an interlocking support require accurate registration.
Project library / Boxes & small projects
Boxes & small projects / Build companion
Angled Knife Block
A laminated oak knife block with two rows of long slots and a smaller slotted support block.
Intermediate5 stages3-page source
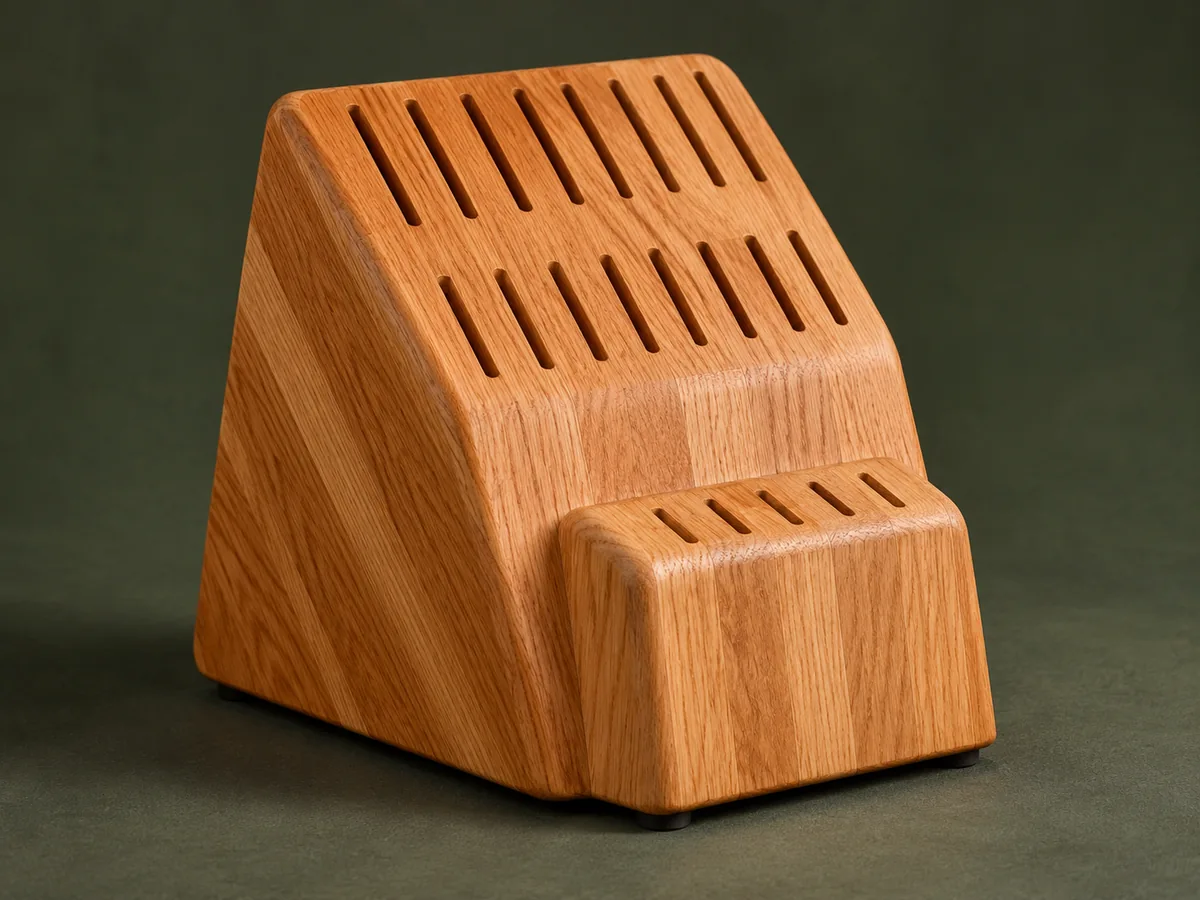
A companion to the original plan. Original guide to an archival plan; not shop-tested. Check the source drawings and actual material sizes before cutting.
Understand the project
What makes this build.
Laminated routed channels and an interlocking support require accurate registration.
Two alternating support laminations form the joining fingers.
Points to resolve before building
- The source’s recess width/depth wording is confusing: size the recess from the actual fingers. Keep knives and slots dry.
Prepare the workbench
Materials & tools.
Check what you have, then confirm stock sizes and hardware against your chosen dimensions.
Materials checklist
Tools & operations
- Saw
- Router
- Clamps
- Sander
Tool choices may include practical editorial suggestions. Use workholding and guarding appropriate to the actual machine and operation.
Choose dry, sound stock and test unfamiliar joints in scrap. Keep guards, push aids, eye protection, and dust control appropriate to the work.
Keep the numbers close
Measurements to know.
Selected dimensions verified from the source. This is not an automatically scaled cutting list.
| Example groove depth | ¼ in / 6 mm | Source p. 1 |
|---|---|---|
| Example main slot widths | 1¾ in and 1⅛ in | Source p. 1 |
Printed diagrams and concept images are not scale references. Verify measurements, material thickness, hardware fit, and allowances before cutting.
Inches to millimeters
Convert a measurement without changing the design. Enter a decimal or a fraction, such as 1 3/8.
Nominal lumber names and actual finished sizes are different. Converting units does not choose a substitute stock size.
From stock to finished project
Let’s make it.
Read the complete sequence before cutting. Mark a stage complete after its fit checks and any required glue cure.
Measure the knives
- Group blade widths into two useful sizes and check blade length and thickness before laying out the main laminations. Leave clearance for easy insertion without making slots unnecessarily loose. Mark each knife group on the layout so the wider slots stay in the intended rows after the laminations are stacked.
Before moving onEvery intended knife has a suitable slot.
Route the main laminations
- Cut the five matching main pieces and their thinner end cap. Route the two grooves in each thick piece from a consistent reference face, leaving the cap uncut. Test the groove widths on scrap with protected actual blades, and keep the cutter setup unchanged for matching pieces.
Before moving onGrooves align when the pieces are stacked.
Glue the main block
- Dry-stack the laminations to check the angled outline, then glue and clamp flat. Control squeeze-out so the narrow knife channels stay clear; check them before the adhesive fully hardens. Use flat cauls to maintain alignment and check that none of the laminations shift enough to obstruct the channels.
Before moving onSlots remain open and clean.
Build the support block
- Cut two of each support profile so alternate layers form projecting fingers, then route the smaller-knife slots. Glue this stack with its end cap and transfer the actual finger positions to the main block. Label the alternating profiles before gluing so the projecting fingers form the intended joint rather than one solid face.
Before moving onThe two fingers register accurately in the main body.
Join and finish
- Rout and test the mating recesses before gluing the blocks together. Smooth the outline, apply an appropriate fully cured finish and add feet to keep the base above occasional countertop moisture. Test the finished slots only after curing, checking that each blade enters freely without its tip bottoming against an obstruction.
Before moving onBlock is stable and all slots accept dry knives freely.
1 / 5
Progress and notes stay in this browser. Nothing is uploaded.
Source notes.
- Original PDF
- Kitchen Knife Block.pdf
- Source length
- 3 pages
- Attribution
- Collection copyright 2004 Martian Auctions; original authorship unverified
- This edition
- 116 Studio · Original written companion and AI concept image · November 2026
Page references count from the first page of this PDF. The original is retained in the owner’s private woodworking collection; it is not distributed by this website. Consult it for full drawings, templates, and details beyond this companion.
Historical plans can omit essential context. Source references identify where a detail came from; they do not certify the design or replace current manufacturer instructions or applicable professional review.
More from this corner of the shop.
Boxes & small projects
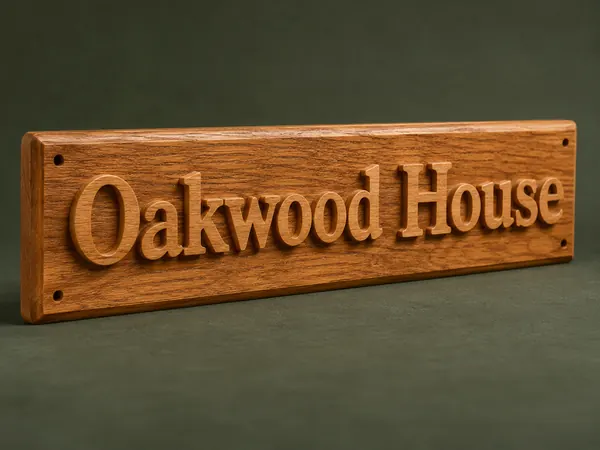
Raised-Letter Address Plaque
A wood house sign combines individually fretted letters with a beveled backing board.
Intermediate5 stages
Boxes & small projects
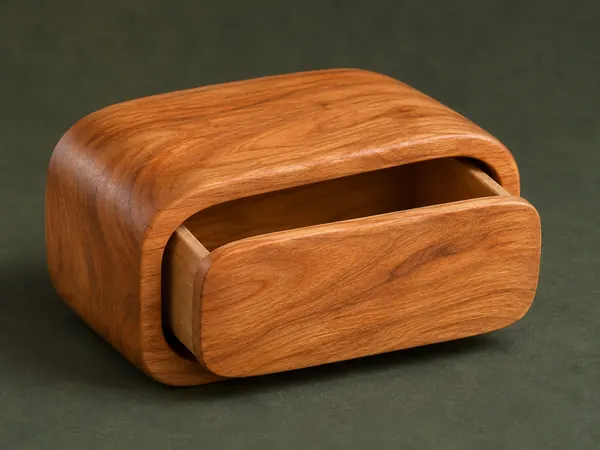
One-Drawer Bandsaw Box
A single wooden block becomes a rounded little case and a matching pull-out drawer.
Intermediate5 stages

Boxes & small projects
Arched Bathroom Mirror
A narrow timber mirror frame has a gently peaked curved top and doweled corner joints.
Intermediate5 stages