Mortise-and-tenon carriage work and three separate cabinet modules require advanced coordination.
Project library / Tables & desks
Tables & desks / Build companion
Rolling Kitchen Workstation
An oak kitchen cart with two upper drawers, a center drawer bank and open storage on both sides.
Advanced6 stages15-page source
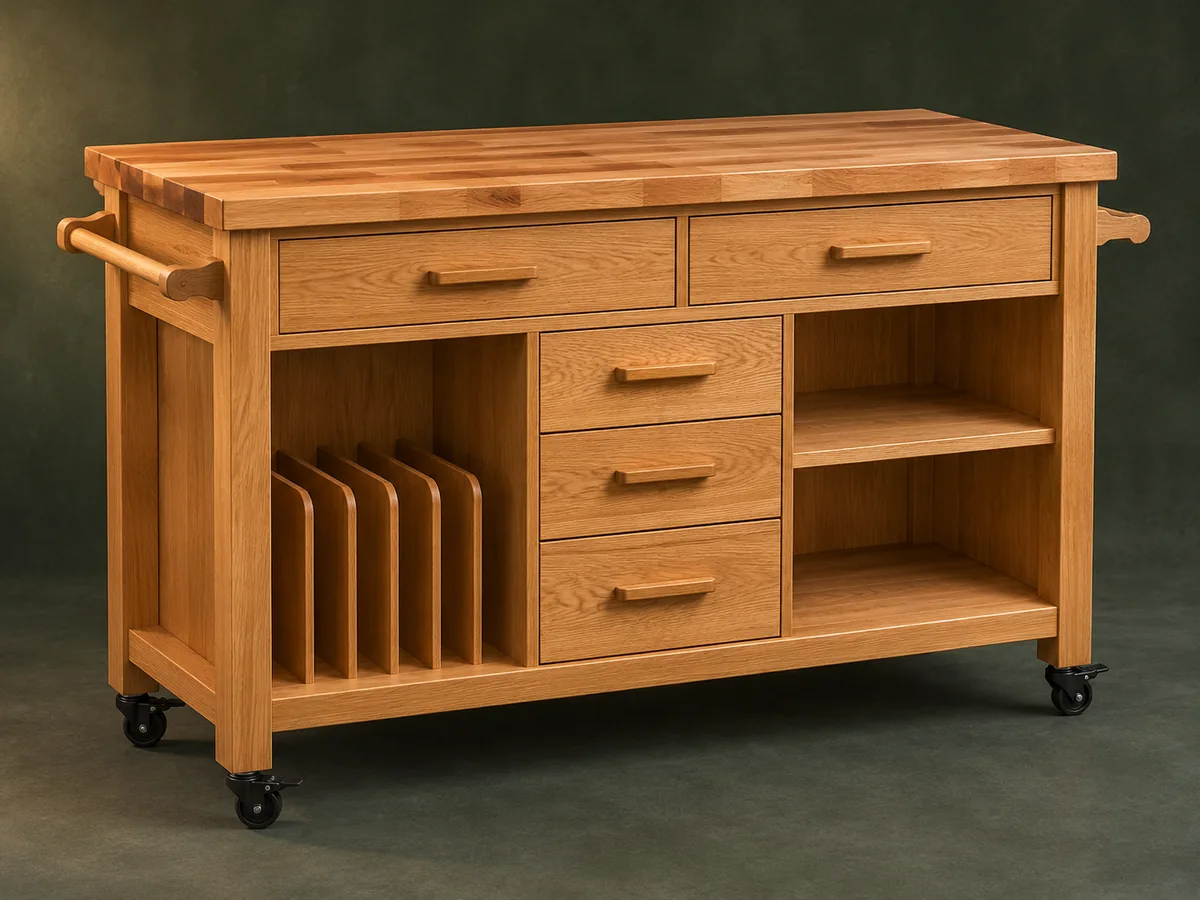
A companion to the original plan. Original guide to an archival plan; not shop-tested. Check the source drawings and actual material sizes before cutting.
Understand the project
What makes this build.
Mortise-and-tenon carriage work and three separate cabinet modules require advanced coordination.
The left lower module stores trays upright; the right module has open shelves.
Points to resolve before building
- Select casters for the total loaded weight and lock them during work. Opening several loaded drawers can affect stability.
Prepare the workbench
Materials & tools.
Check what you have, then confirm stock sizes and hardware against your chosen dimensions.
Materials checklist
Tools & operations
- Saw
- Router
- Drill
- Chisels
- Biscuit joiner
- Clamps
Tool choices may include practical editorial suggestions. Use workholding and guarding appropriate to the actual machine and operation.
Choose dry, sound stock and test unfamiliar joints in scrap. Keep guards, push aids, eye protection, and dust control appropriate to the work.
Keep the numbers close
Measurements to know.
Selected dimensions verified from the source. This is not an automatically scaled cutting list.
| Top | 1 × 24 × 48 in | Source p. 6 |
|---|---|---|
| Overall height shown | 36 in | Source p. 5 |
| Drawer slides | 18 in | Source p. 6 |
Printed diagrams and concept images are not scale references. Verify measurements, material thickness, hardware fit, and allowances before cutting.
Inches to millimeters
Convert a measurement without changing the design. Enter a decimal or a fraction, such as 1 3/8.
Nominal lumber names and actual finished sizes are different. Converting units does not choose a substitute stock size.
From stock to finished project
Let’s make it.
Read the complete sequence before cutting. Mark a stage complete after its fit checks and any required glue cure.
Prepare the solid tops
- Arrange and glue the one-inch main top and the two smaller cabinet tops. Flatten them after curing, easing only the edges that remain exposed when the cabinet modules meet.
Before moving onTops are flat and grain layouts are intentional.
Join the carriage
- Mark leg orientation and distinguish the apron and stretcher mortise offsets. Fit the tenons, cut the curved stretchers and dovetail the upper front rail into the legs before gluing the side assemblies.
Before moving onDry assembly closes squarely with no misplaced joints.
Fit the platform and casters
- Edge-band the platform, then measure the assembled leg spacing and notch its corners to fit. Capture it during final frame assembly, fit the rail divider and drill caster sockets to the actual hardware specification.
Before moving onPlatform bears evenly and caster fittings are secure.
Build three cabinet modules
- Edge-band the plywood pieces before joining them. Shape the plate-divider fronts, drill the adjustable shelf holes and prefinish inaccessible interiors while leaving glue joints bare.
Before moving onThe three square modules fit inside the carriage.
Fit drawers and towel bars
- Make the boxes to the chosen joints and slide clearances, install them, then fit fronts from the bottom upward with even gaps. Fit the curved bar brackets using saved offcuts as clamping cauls.
Before moving onDrawers clear the carriage and bars are secure.
Install tops and test mobility
- Attach cabinet tops with movement-aware holes and the main top with clips. Fit pulls, finish exposed surfaces and check caster locking, drawer travel and stability with the intended storage load.
Before moving onCart stays put while being used and the top can move seasonally.
1 / 6
Progress and notes stay in this browser. Nothing is uploaded.
Source notes.
- Original PDF
- Kitchen Workstation.pdf
- Source length
- 15 pages
- Attribution
- Paul Anthony, Home Storage Projects excerpt, copyright 2001 The Taunton Press.
- This edition
- 116 Studio · Original written companion and AI concept image · November 2026
Page references count from the first page of this PDF. The original is retained in the owner’s private woodworking collection; it is not distributed by this website. Consult it for full drawings, templates, and details beyond this companion.
Historical plans can omit essential context. Source references identify where a detail came from; they do not certify the design or replace current manufacturer instructions or applicable professional review.
More from this corner of the shop.
Tables & desks
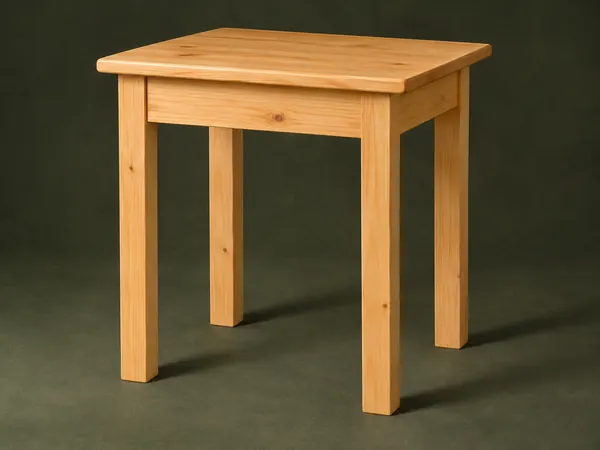
Hand-Tool Side Table
A small pine table uses square legs, mortise-and-tenon aprons and a solid board top.
Intermediate5 stages
Tables & desks
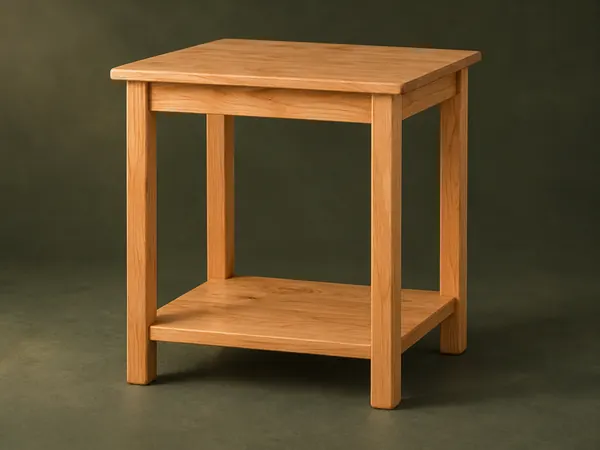
Open-Shelf Bedside Table
A small table has rounded square legs, a solid top and a low shelf captured in leg notches.
Intermediate5 stages
Tables & desks
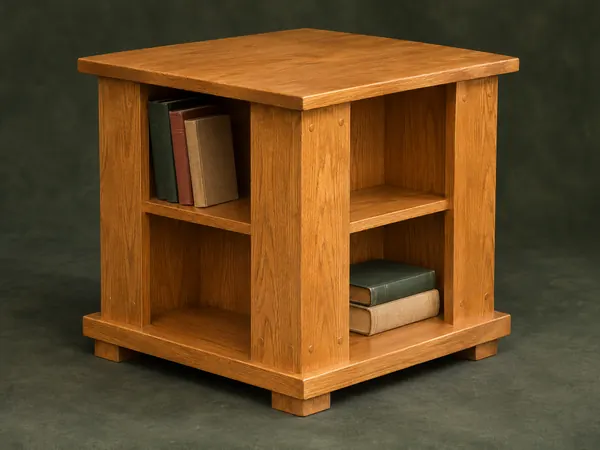
Four-Sided Book Table
A square end table offers small book compartments on four sides beneath a projecting top.
Intermediate5 stages