Matched cutter setup, supported end-grain routing and panel movement require careful control.
Project library / Storage & cabinets
Storage & cabinets / Build companion
Raised-Panel Cabinet Door
A frame-and-panel cabinet-door workshop covering matched rail-and-stile joints and a floating raised panel.
Advanced8 stages36-page source

A companion to the original plan. Original guide to an archival plan; not shop-tested. Check the source drawings and actual material sizes before cutting.
Understand the project
What makes this build.
Matched cutter setup, supported end-grain routing and panel movement require careful control.
This is a technique booklet with selectable profiles, not one fixed-size cutting list.
Solid panels float in the frame grooves.
Points to resolve before building
- Historical cutter speeds, router ratings and setup details must be replaced by current instructions for the actual equipment. Large panel raisers require a compatible guarded router table.
Prepare the workbench
Materials & tools.
Check what you have, then confirm stock sizes and hardware against your chosen dimensions.
Materials checklist
Tools & operations
- Router table with guard and dust extraction
- Compatible matched rail-and-stile cutters
- Compatible panel-raising cutter
- Supported coping sled and backer
- Saw
- Clamps
- Drill
Tool choices may include practical editorial suggestions. Use workholding and guarding appropriate to the actual machine and operation.
Choose dry, sound stock and test unfamiliar joints in scrap. Keep guards, push aids, eye protection, and dust control appropriate to the work.
Keep the numbers close
Measurements to know.
Selected dimensions verified from the source. This is not an automatically scaled cutting list.
Use the original drawing.
The source does not provide a complete, confidently readable set of dimensions here. Confirm the original drawing and develop a measured parts list before cutting.
Printed diagrams and concept images are not scale references. Verify measurements, material thickness, hardware fit, and allowances before cutting.
Inches to millimeters
Convert a measurement without changing the design. Enter a decimal or a fraction, such as 1 3/8.
Nominal lumber names and actual finished sizes are different. Converting units does not choose a substitute stock size.
From stock to finished project
Let’s make it.
Read the complete sequence before cutting. Mark a stage complete after its fit checks and any required glue cure.
Plan the door and hardware
- Measure the cabinet opening and decide the required overlay or inset clearances from the selected hinges. Draw the frame at full size and calculate rail length from the door width, stile widths and actual cutter joint depth.
Before moving onThe opening, hinge choice and joint allowances agree.
Prepare consistent stock
- Mill all frame parts flat and to one thickness, marking a reference face on every piece. Prepare the panel blank with compatible grain orientation and allow an edge-glued panel to cure flat before machining.
Before moving onStock is straight and reference faces remain identified.
Prove the end joints
Source pp. 7, 8, 12, 13, 14, 15
- Set up a guarded router table and a supported coping sled with a sacrificial backer. Make trial rail-end cuts in matching offcuts, following the current cutter manufacturer’s orientation and speed instructions before cutting the door rails.
Before moving onTrial joints are clean and repeatable without tearout.
Cut the mating inside profile
- Set the matching edge cutter using the trial parts and run the frame’s inside profiles and panel grooves. Adjust the trial fit until the faces meet flush without forcing the joint; then dry-assemble the real frame.
Before moving onFrame joints close with aligned faces and continuous panel grooves.
Size the floating panel
- Measure the actual dry frame opening and groove depths rather than relying only on nominal part dimensions. Allow suitable seasonal clearance for the chosen solid wood across its grain, then verify the panel is captured without bottoming in the grooves.
Before moving onThe panel is retained but can expand without spreading the frame.
Shape the raised field
Source pp. 23, 24, 25, 26, 27, 29
- Use a panel-raising cutter only in a compatible table setup with the guarding, work support and maximum speed specified for that cutter. Take controlled shallow passes, working end grain before long grain and checking the panel tongue against an offcut groove.
Before moving onThe tongue fits freely and the raised profile is even.
Glue the frame flat
- Prefinish the panel where useful so seasonal movement will not expose a raw line. Glue only the frame joints, keep the solid panel floating, and clamp on a flat support while checking diagonals and twist.
Before moving onThe door is square, flat and free of glue in the panel grooves.
Fit the door to the cabinet
- Bore and mount hinges to their current instructions, using depth stops to protect the face. Fit the door, tune its gaps and operation, and complete the finish without bonding the panel to its frame.
Before moving onThe door operates freely with consistent clearances.
1 / 8
Progress and notes stay in this browser. Nothing is uploaded.
Source notes.
- Original PDF
- Panel Door.pdf
- Source length
- 36 pages
- Attribution
- Trend Machinery & Cutting Tools, How to Make a Frame & Panel Cabinet Door, BOOK/PD v1.0.
- This edition
- 116 Studio · Original written companion and AI concept image · November 2026
Page references count from the first page of this PDF. The original is retained in the owner’s private woodworking collection; it is not distributed by this website. Consult it for full drawings, templates, and details beyond this companion.
Historical plans can omit essential context. Source references identify where a detail came from; they do not certify the design or replace current manufacturer instructions or applicable professional review.
More from this corner of the shop.
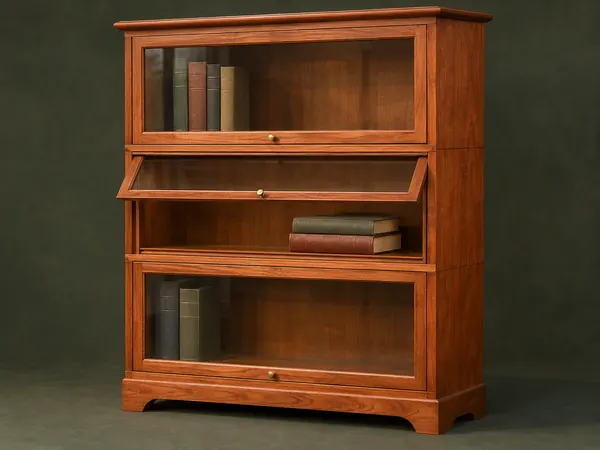
Storage & cabinets
Stacking Barrister Bookcase
Modular cherry cases stack over a shaped base and close with glass doors that lift and slide inward.
Advanced6 stages
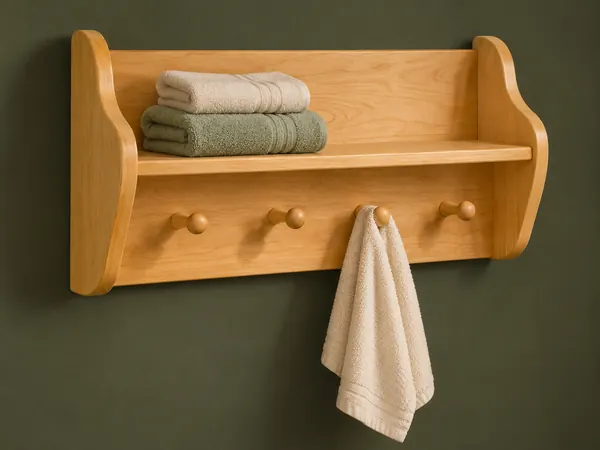
Storage & cabinets
Four-Peg Bathroom Shelf
A wall shelf combines shaped end panels with four upward-tilted wooden towel pegs.
Beginner5 stages
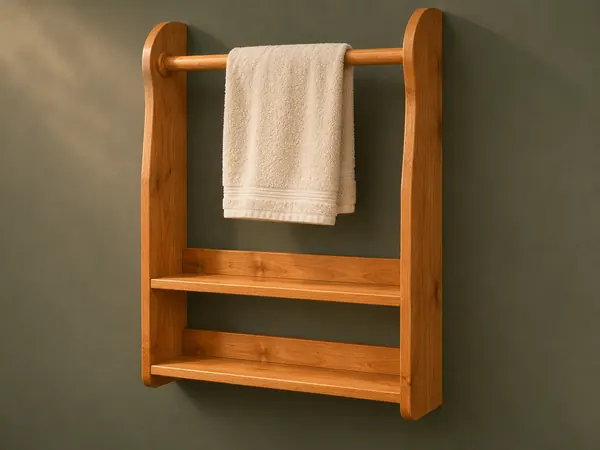
Storage & cabinets
Two-Shelf Towel Rack
A wall rack combines two low shelves with a towel rod held between curved side panels.
Intermediate5 stages