Rabbetted rails support the plywood floor.
Project library / Garden & outdoor
Garden & outdoor / Build companion
Picket Fence Planter
A rectangular planter surrounded by miniature pickets, capped corner posts, and ball finials.
Intermediate5 stages5-page source
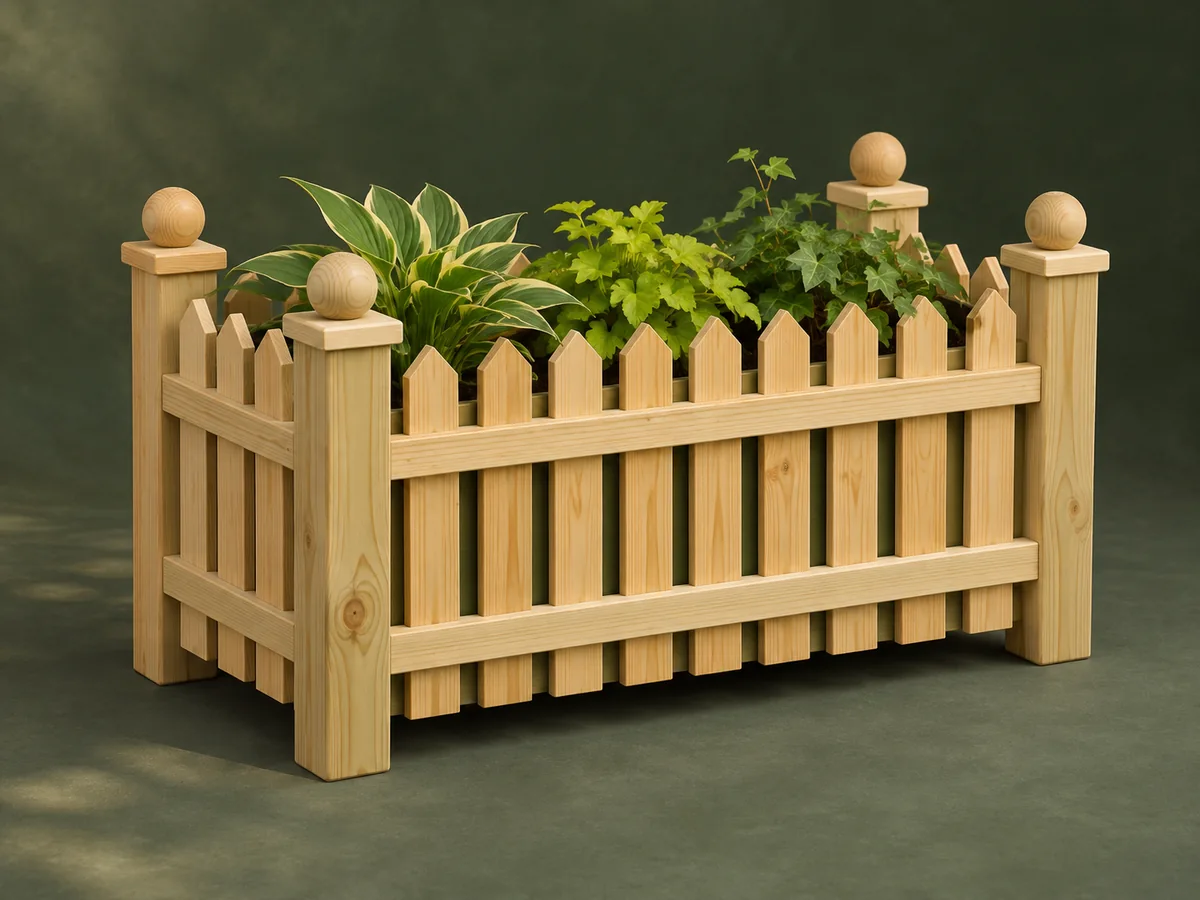
A companion to the original plan. Original reading guide based on the archived plan; not shop-tested. Confirm diagram dimensions against the private source before cutting.
Understand the project
What makes this build.
Repeated pickets, rabbeted base rails and detailed corner posts require accurate batch cutting and alignment.
Ball finials and repeated pickets provide the fence-like silhouette.
Points to resolve before building
- Use hardware compatible with the treatment chemistry.
- The old treated-wood advice is not a current product specification; consult the lumber treatment label.
Prepare the workbench
Materials & tools.
Check what you have, then confirm stock sizes and hardware against your chosen dimensions.
Materials checklist
Tools & operations
- Saw with repeatable stop
- Router or dado setup
- Drill/driver
- Clamps
Tool choices may include practical editorial suggestions. Use workholding and guarding appropriate to the actual machine and operation.
Choose dry, sound stock and test unfamiliar joints in scrap. Keep guards, push aids, eye protection, and dust control appropriate to the work.
Keep the numbers close
Measurements to know.
Selected dimensions verified from the source. This is not an automatically scaled cutting list.
| Base | 33 × 12 × ½ in | Source p. 2 |
|---|---|---|
| Pickets | 38 at 12¼ in long | Source p. 2 |
| Picket gaps | ¾ in | Source p. 2 |
Printed diagrams and concept images are not scale references. Verify measurements, material thickness, hardware fit, and allowances before cutting.
Inches to millimeters
Convert a measurement without changing the design. Enter a decimal or a fraction, such as 1 3/8.
Nominal lumber names and actual finished sizes are different. Converting units does not choose a substitute stock size.
From stock to finished project
Let’s make it.
Read the complete sequence before cutting. Mark a stage complete after its fit checks and any required glue cure.
Organize the repeated parts
- Cut the pickets in a repeatable setup and keep the four posts matched. Separate top rails from the larger lower rails so their rabbets are not confused. Lay out one complete side on the bench before batching the pickets; this catches a misplaced rail or uneven end gap early.
Before moving onMatching parts agree before assembly.
Capture the plywood base
- Machine the lower-rail rabbets to the plywood thickness. Dry-fit the four lower rails around the base, then assemble the base frame with the specified exterior adhesive and fasteners. Test the rabbet with an offcut of the actual sheet, since nominal half-inch plywood may not measure exactly that thickness.
Before moving onThe base seats continuously in the rabbets.
Prepare posts and drainage
- Fit the rail recesses to the actual rails. Drill drainage holes through the plywood before attaching posts or filling the planter. Keep the drain openings clear of the lower rails and any future liner so neither assembly accidentally blocks the water path.
Before moving onWater has a clear exit and posts fit without forcing.
Add the miniature fence
- Join rails to posts with the frame square. Space the pickets consistently with a ¾-inch spacer, fastening them to both rails. Work outward from a deliberate center layout on each face, checking that the last picket does not leave an awkward narrow gap.
Before moving onPicket tops and gaps form an even rhythm.
Cap and protect the planter
- Attach the post bases, caps, and finials. Use compatible exterior hardware and a finish appropriate to the chosen treated wood; allow drainage to remain open. Predrill the small finial attachments and support the caps while fastening; the end-grain details are easy to split if forced.
Before moving onCaps are secure and the base drains freely.
1 / 5
Progress and notes stay in this browser. Nothing is uploaded.
Source notes.
- Original PDF
- Picket fence Planter.pdf
- Source length
- 5 pages
- Attribution
- Georgia-Pacific, Backyard Projects: Picket Fence Planter, ©2004.
- This edition
- 116 Studio · Original written companion and AI concept image · November 2026
Page references count from the first page of this PDF. The original is retained in the owner’s private woodworking collection; it is not distributed by this website. Consult it for full drawings, templates, and details beyond this companion.
Historical plans can omit essential context. Source references identify where a detail came from; they do not certify the design or replace current manufacturer instructions or applicable professional review.
More from this corner of the shop.
Garden & outdoor
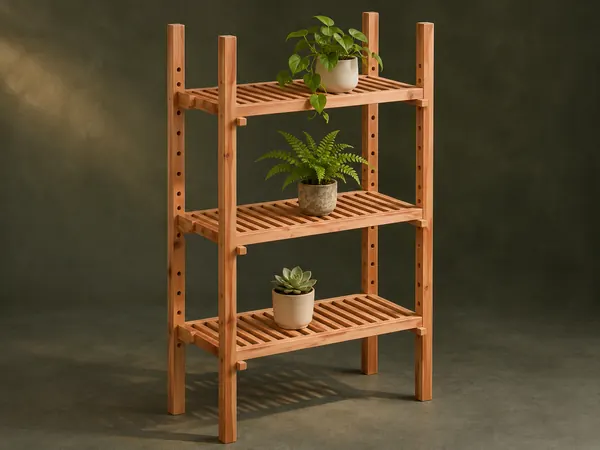
Adjustable Plant Shelves
A tall open plant stand has slatted shelves that slide on four uprights and lock at different heights with wooden pegs.
Intermediate6 stages
 Design study
Garden & outdoor
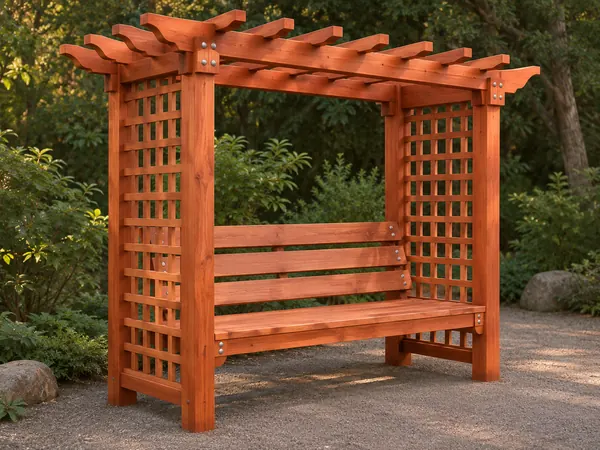
Lattice Arbor Bench
A garden seat sits between lattice side panels beneath an open pergola roof.
Advanced6 stages
Garden & outdoor
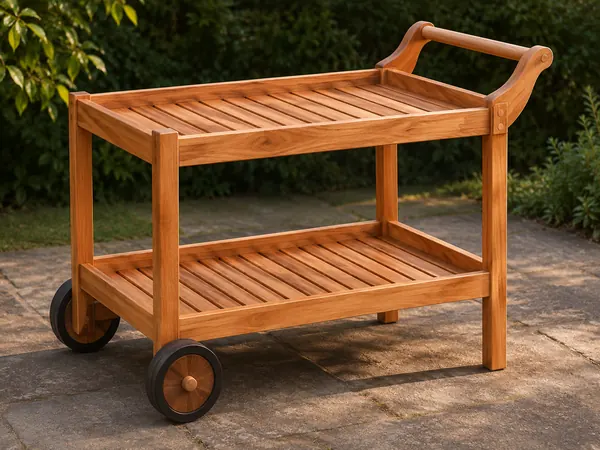
Two-Tier Garden Trolley
A push trolley carries two slatted trays on a timber frame with two wheels and a dowel handle.
Intermediate6 stages