The benches share the A-frame supports.
Project library / Garden & outdoor
Garden & outdoor / Design study
Classic Picnic Table
A six-foot A-frame picnic table with attached bench seats and diagonal bracing.
Intermediate5 stages1-page source
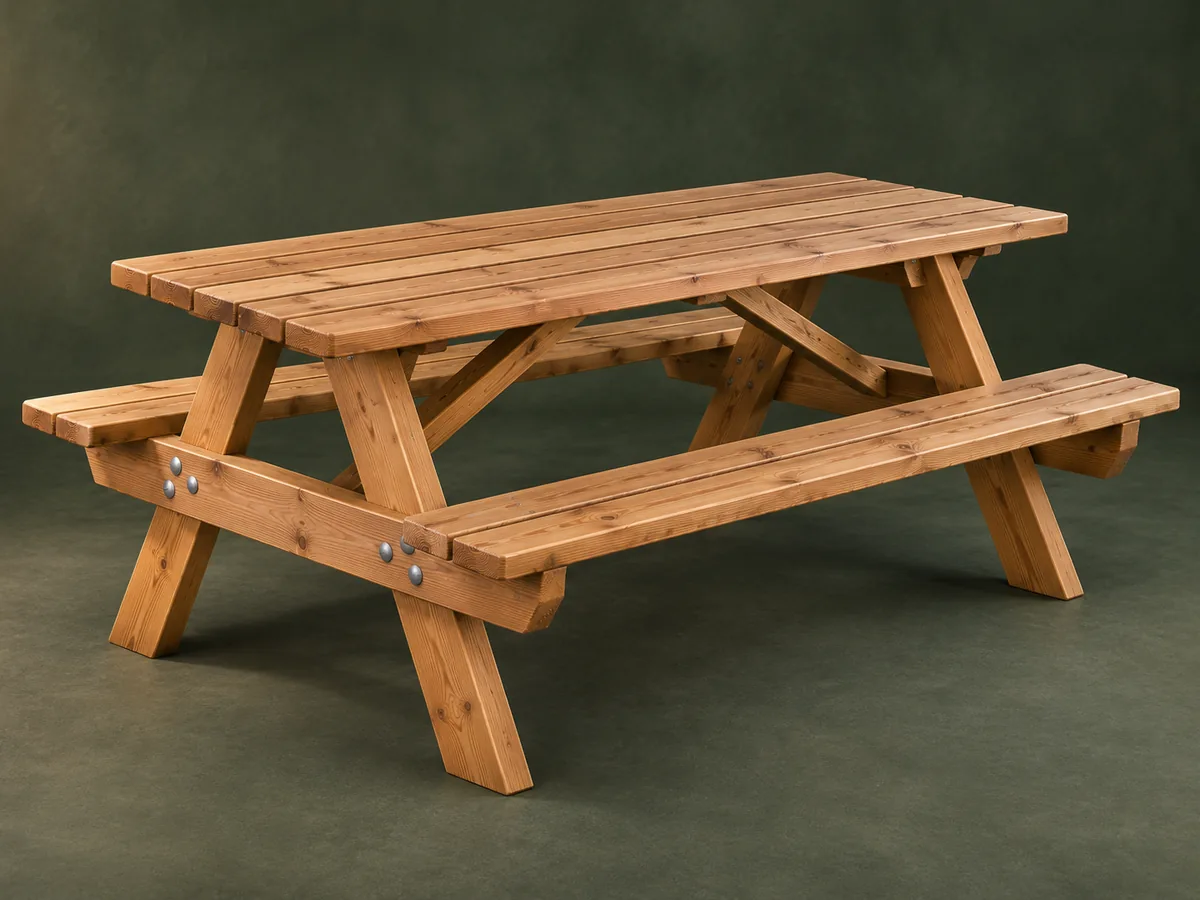
Design review required. A single scanned drawing, with no construction narrative or verified load rating. Use the source geometry and review joinery and stability before building. This guide has not been shop-tested.
Understand the project
What makes this build.
Matching angled A-frames and attached seating require careful interpretation of a drawing-only source.
Long diagonal braces resist movement along the table.
Points to resolve before building
- Drawing-only source: verify every angle and attachment detail in the PDF.
- No verified load capacity is supplied.
Prepare the workbench
Materials & tools.
Check what you have, then confirm stock sizes and hardware against your chosen dimensions.
Materials checklist
Tools & operations
- Saw with angle guide
- Drill/driver
- Clamps
- Square
Tool choices may include practical editorial suggestions. Use workholding and guarding appropriate to the actual machine and operation.
Choose dry, sound stock and test unfamiliar joints in scrap. Keep guards, push aids, eye protection, and dust control appropriate to the work.
Keep the numbers close
Measurements to know.
Selected dimensions verified from the source. This is not an automatically scaled cutting list.
| Table length | 6 ft | Source p. 1 |
|---|---|---|
| Seat height in drawing | 18 in | Source p. 1 |
| Overall width in drawing | 58½ in | Source p. 1 |
Printed diagrams and concept images are not scale references. Verify measurements, material thickness, hardware fit, and allowances before cutting.
Inches to millimeters
Convert a measurement without changing the design. Enter a decimal or a fraction, such as 1 3/8.
Nominal lumber names and actual finished sizes are different. Converting units does not choose a substitute stock size.
Read, assess & plan
Explore the construction.
Review stages explain the historical design and unresolved decisions; they are not approval to build or use it.
Read the end elevation
- Transfer the A-frame geometry from the original drawing to a full-size layout. Distinguish the sloped leg cuts from the different brace-end cuts.
Before moving onBoth end frames can be traced from one layout.
Prepare top and seat boards
- Select straight, sound stock and arrange the top and bench boards as shown. Establish matching lengths before locating the cross supports.
Before moving onBoards lie flat without forced alignment.
Build the paired supports
- Lay out the legs and seat crossmembers together. Drill matching bolt positions with the assembly clamped rather than estimating each hole independently.
Before moving onBoth end assemblies are identical and square across the width.
Connect the long assemblies
- Attach the top and seat boards at the drawing offsets. Add the longitudinal diagonal braces before checking the completed table for racking.
Before moving onThe two end frames stay aligned as the braces are fitted.
Inspect and finish
- Ease sharp edges and cover or recess projecting hardware appropriately. Assess stability and fastener security before use; this old drawing supplies no verified load rating.
Before moving onNo rocking, loose joints, sharp corners, or exposed bolt ends remain.
1 / 5
Progress and notes stay in this browser. Nothing is uploaded.
Source notes.
- Original PDF
- Picnic Table.pdf
- Source length
- 1 pages
- Attribution
- Archived woodworking-plan collection; original author not established from this source.
- This edition
- 116 Studio · Original written companion and AI concept image · November 2026
Page references count from the first page of this PDF. The original is retained in the owner’s private woodworking collection; it is not distributed by this website. Consult it for full drawings, templates, and details beyond this companion.
Historical plans can omit essential context. Source references identify where a detail came from; they do not certify the design or replace current manufacturer instructions or applicable professional review.
More from this corner of the shop.
Garden & outdoor
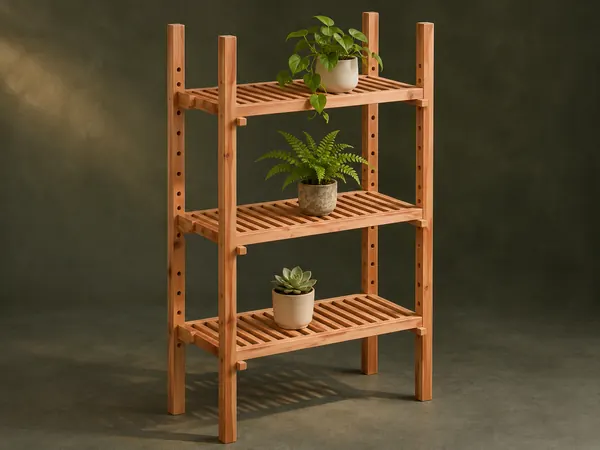
Adjustable Plant Shelves
A tall open plant stand has slatted shelves that slide on four uprights and lock at different heights with wooden pegs.
Intermediate6 stages
 Design study
Garden & outdoor
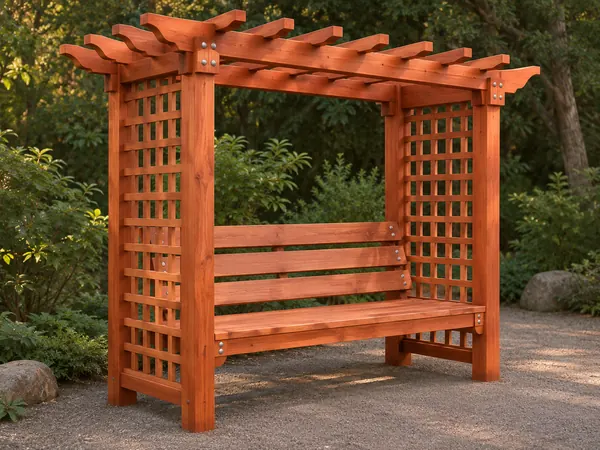
Lattice Arbor Bench
A garden seat sits between lattice side panels beneath an open pergola roof.
Advanced6 stages
Garden & outdoor
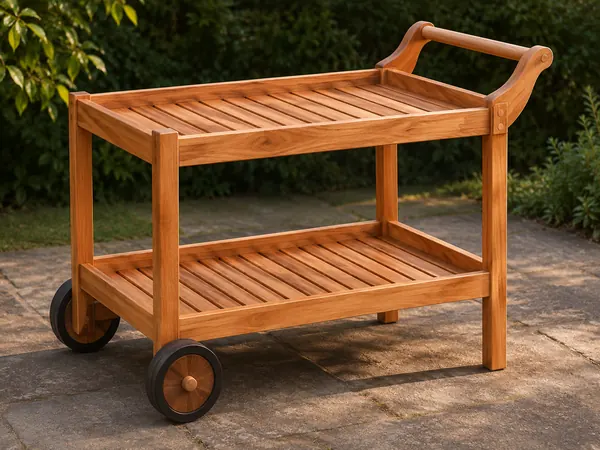
Two-Tier Garden Trolley
A push trolley carries two slatted trays on a timber frame with two wheels and a dowel handle.
Intermediate6 stages