Repeated straight cuts create the modular units.
Project library / Garden & outdoor
Garden & outdoor / Build companion
Modular Planter Bench
Square redwood pot housings support short slatted bench modules in a configurable corner arrangement.
Intermediate5 stages2-page source
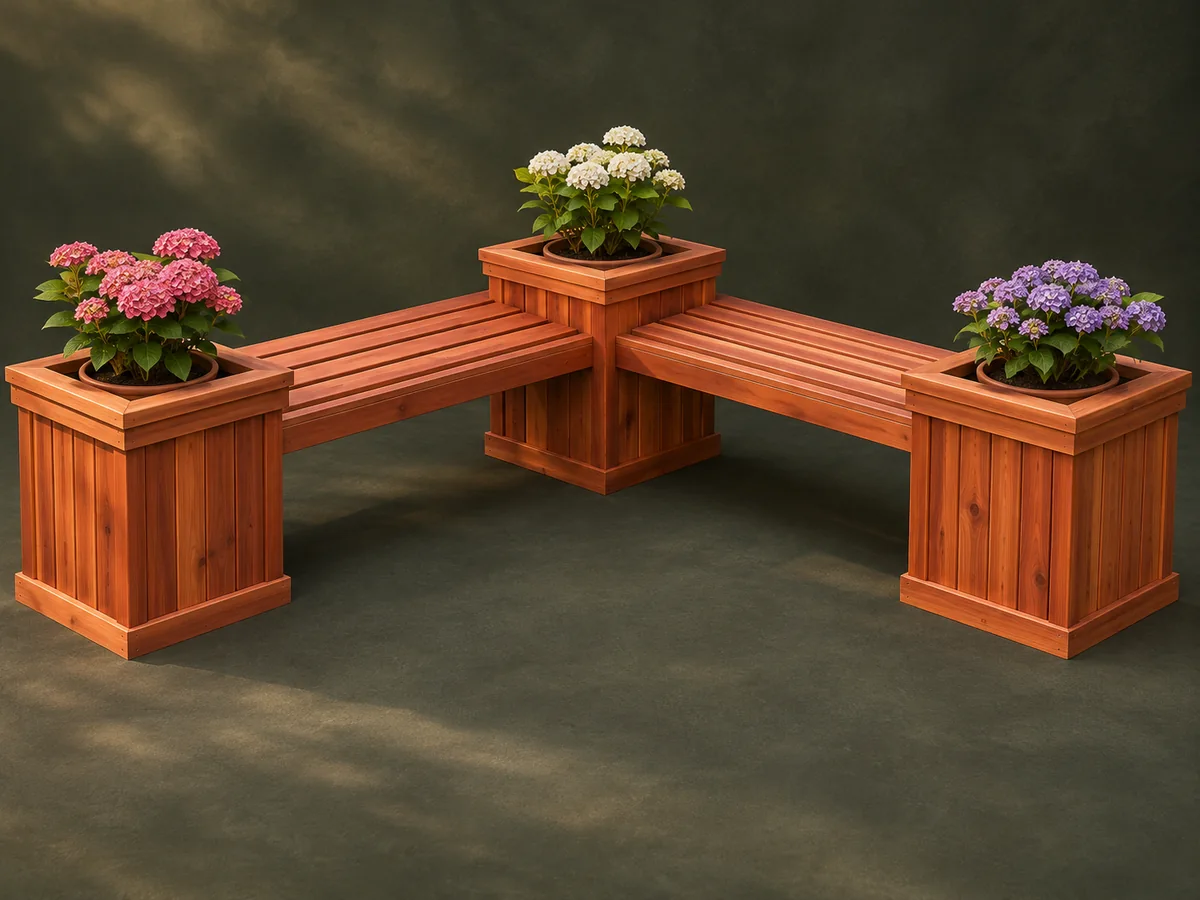
A companion to the original plan. Original reading guide based on the archived plan; not shop-tested. Confirm diagram dimensions against the private source before cutting.
Understand the project
What makes this build.
Repeated slat-clad boxes and fitted seat connections require careful alignment across several modules.
Circular pot openings keep containers separate from the outer wood shell.
Points to resolve before building
- Source gives no verified seating load rating.
- Confirm secure bench support before use.
Prepare the workbench
Materials & tools.
Check what you have, then confirm stock sizes and hardware against your chosen dimensions.
Materials checklist
Tools & operations
- Saw
- Jigsaw for pot openings
- Drill
- Clamps
Tool choices may include practical editorial suggestions. Use workholding and guarding appropriate to the actual machine and operation.
Choose dry, sound stock and test unfamiliar joints in scrap. Keep guards, push aids, eye protection, and dust control appropriate to the work.
Keep the numbers close
Measurements to know.
Selected dimensions verified from the source. This is not an automatically scaled cutting list.
| Planter housings | About 20½ in square × 17 in tall | Source p. 1 |
|---|---|---|
| Bench modules | 36 in long × 15 in wide | Source p. 1 |
Printed diagrams and concept images are not scale references. Verify measurements, material thickness, hardware fit, and allowances before cutting.
Inches to millimeters
Convert a measurement without changing the design. Enter a decimal or a fraction, such as 1 3/8.
Nominal lumber names and actual finished sizes are different. Converting units does not choose a substitute stock size.
From stock to finished project
Let’s make it.
Read the complete sequence before cutting. Mark a stage complete after its fit checks and any required glue cure.
Choose the modules
- Decide how many boxes and bench spans fit the site. The pictured corner arrangement uses three boxes and two benches, with cutting lists supplied per module. Arrange actual pots and walking clearances in the intended corner before deciding how many boxes and connecting seats to make.
Before moving onEach module is accounted for.
Build pot frames
- Fit internal redwood battens to the plywood top and bottom units. Cut the top opening to the actual pot and dry-fit it before closing the sides. Cut the round pot opening to the chosen container and leave its rim supported; the wooden box is a housing rather than a soil tub.
Before moving onThe pot seats securely in its opening.
Clad the boxes
- Space the vertical redwood boards evenly around the frames. Add the layered top and bottom trim with the boxes held square. Keep the slat tops aligned to one reference line and check the final corner spacing before fitting the surrounding trim.
Before moving onCorners align and all sides have consistent spacing.
Assemble the seat modules
- Join the seat slats to the underside crosspieces, then add the long front and rear strength members. Keep the seat face flat during assembly. Test the seat on the completed pot housings while it is still dry-fitted, verifying that each intended bearing surface makes full contact.
Before moving onThe slat assembly is square and fully connected.
Fit the arrangement
- Finish the modules before setting them together. Verify the bench-to-box support and resistance to movement rather than relying on the photograph alone. Keep drain outlets accessible and inspect seat connections periodically, since the bench modules and planted boxes carry different kinds of load.
Before moving onEvery seat end has secure support and no wobble.
1 / 5
Progress and notes stay in this browser. Nothing is uploaded.
Source notes.
- Original PDF
- Planter Bench 1.pdf
- Source length
- 2 pages
- Attribution
- U-Bild/U-Build, Inc., Plan No. 878, ©1998.
- This edition
- 116 Studio · Original written companion and AI concept image · November 2026
Page references count from the first page of this PDF. The original is retained in the owner’s private woodworking collection; it is not distributed by this website. Consult it for full drawings, templates, and details beyond this companion.
Historical plans can omit essential context. Source references identify where a detail came from; they do not certify the design or replace current manufacturer instructions or applicable professional review.
More from this corner of the shop.
Garden & outdoor
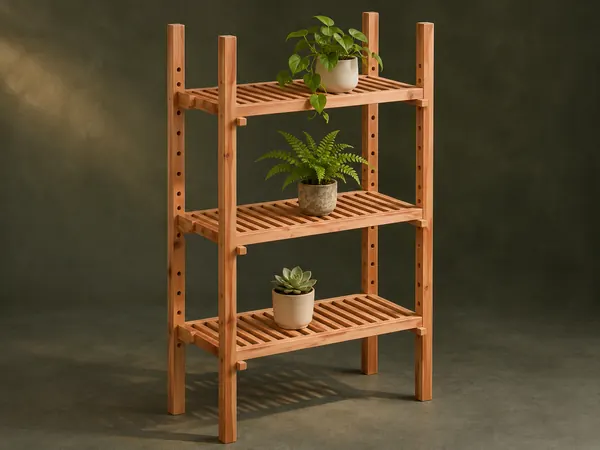
Adjustable Plant Shelves
A tall open plant stand has slatted shelves that slide on four uprights and lock at different heights with wooden pegs.
Intermediate6 stages
 Design study
Garden & outdoor
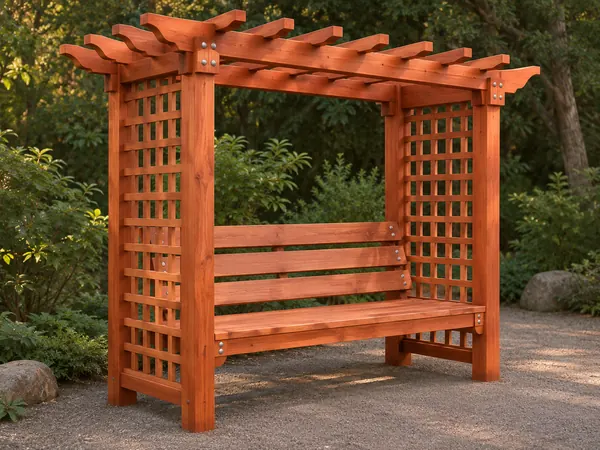
Lattice Arbor Bench
A garden seat sits between lattice side panels beneath an open pergola roof.
Advanced6 stages
Garden & outdoor
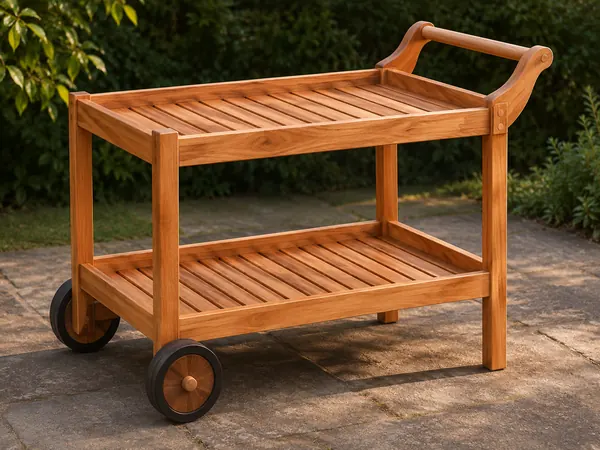
Two-Tier Garden Trolley
A push trolley carries two slatted trays on a timber frame with two wheels and a dowel handle.
Intermediate6 stages