Alternating lumber thicknesses produce horizontal bands.
Project library / Garden & outdoor
Garden & outdoor / Build companion
Striped Planter Bench
A long slatted seat bridges two chunky planters wrapped in alternating thick and thin horizontal redwood bands.
Intermediate5 stages4-page source
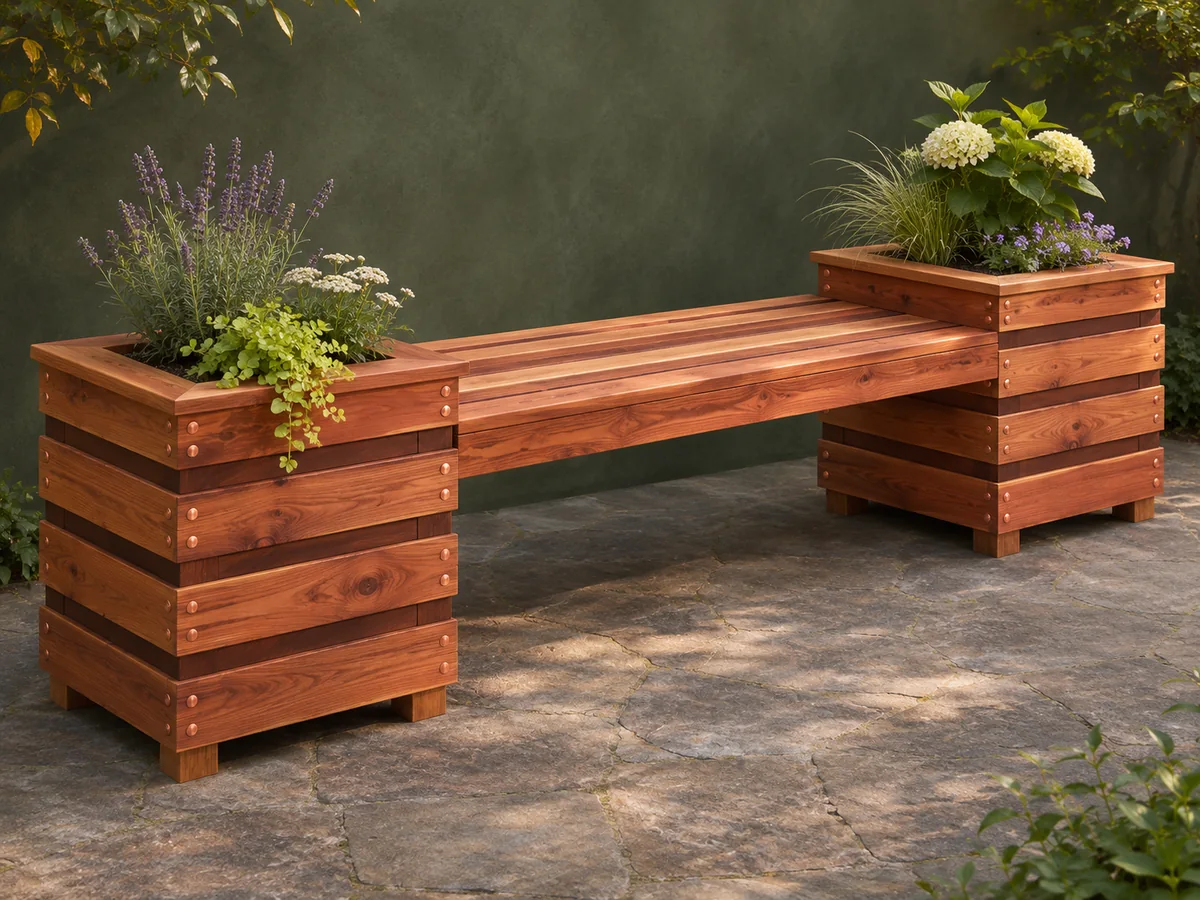
A companion to the original plan. Original reading guide based on the archived plan; not shop-tested. Confirm diagram dimensions against the private source before cutting.
Understand the project
What makes this build.
Two banded planter shells, metal caps and a long bridging seat require accurate repeated assembly.
Bench side rails extend into the planter sides.
Copper pipe caps cover the visible screw counterbores.
Points to resolve before building
- Do not automatically reuse the old roofing-tar liner recommendation; choose a product suitable for the intended plants.
- No verified seating load is stated.
Prepare the workbench
Materials & tools.
Check what you have, then confirm stock sizes and hardware against your chosen dimensions.
Materials checklist
Tools & operations
- Circular saw
- Table saw optional
- Drill with 1-inch bit
- Sander
Tool choices may include practical editorial suggestions. Use workholding and guarding appropriate to the actual machine and operation.
Choose dry, sound stock and test unfamiliar joints in scrap. Keep guards, push aids, eye protection, and dust control appropriate to the work.
Keep the numbers close
Measurements to know.
Selected dimensions verified from the source. This is not an automatically scaled cutting list.
| Overall | 104 in long × 24 in wide × 28 in high | Source p. 1 |
|---|---|---|
| Central seating boards | 60 in long | Source p. 3 |
| Long bench side rails | 102 in long | Source p. 3 |
Printed diagrams and concept images are not scale references. Verify measurements, material thickness, hardware fit, and allowances before cutting.
Inches to millimeters
Convert a measurement without changing the design. Enter a decimal or a fraction, such as 1 3/8.
Nominal lumber names and actual finished sizes are different. Converting units does not choose a substitute stock size.
From stock to finished project
Let’s make it.
Read the complete sequence before cutting. Mark a stage complete after its fit checks and any required glue cure.
Make the inner shells
- Cut the two plywood boxes using the sheet layout and assemble them square. Keep the shell dimensions consistent because they set the bench width. Confirm the inside space against the liner before closing the plywood shell, and plan drainage before the decorative bands hide the joints.
Before moving onBoth shells match.
Create the horizontal rhythm
- Alternate wide 2×4 bands and narrow strips around each shell. Leave the designed openings for the long bench side rails rather than filling every course. Use a spacer and a marked story stick to align alternating bands around all four faces instead of accumulating measurements by eye.
Before moving onThe rail openings align on both boxes.
Build the bridging seat
- Arrange the alternating seat boards with ⅛-inch spacers. Join them with the five underside cross supports and the two extended side rails. Check the long rails and five cross supports together before fastening the seat slats, keeping the intended gaps consistent across the width.
Before moving onThe seat is flat and matches the shell width.
Fit caps and drainage
- Fit the mitered planter caps and short supporting feet. Bore the drain openings and prepare an appropriate planting liner that does not block drainage. Dry-fit the copper cap pieces and wood trim so sharp metal edges or trapped water cannot damage the liner or adjoining wood.
Before moving onThe planters stand above the ground and drain.
Join and finish the modules
- Slide the long seat rails into the prepared openings and fasten as detailed. Fit copper end caps over the counterbores, leaving the disassembly positions removable. Place both planter modules on firm level support before securing the bridge; uneven support can twist the long seat rails.
Before moving onThe bench is secured to both boxes and caps can be removed where needed.
1 / 5
Progress and notes stay in this browser. Nothing is uploaded.
Source notes.
- Original PDF
- Planter Bench 2.pdf
- Source length
- 4 pages
- Attribution
- Peter O. Whiteley, Sunset Planter-Bench; Sunset Publishing Corporation, ©2001.
- This edition
- 116 Studio · Original written companion and AI concept image · November 2026
Page references count from the first page of this PDF. The original is retained in the owner’s private woodworking collection; it is not distributed by this website. Consult it for full drawings, templates, and details beyond this companion.
Historical plans can omit essential context. Source references identify where a detail came from; they do not certify the design or replace current manufacturer instructions or applicable professional review.
More from this corner of the shop.
Garden & outdoor
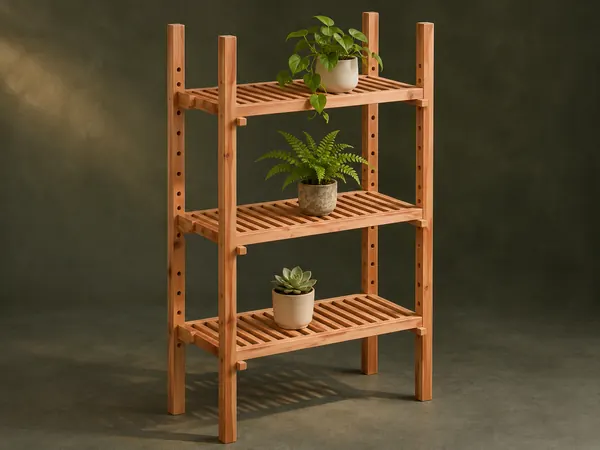
Adjustable Plant Shelves
A tall open plant stand has slatted shelves that slide on four uprights and lock at different heights with wooden pegs.
Intermediate6 stages
 Design study
Garden & outdoor
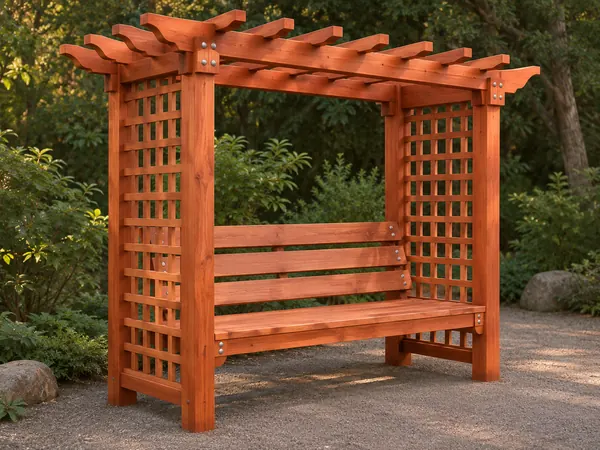
Lattice Arbor Bench
A garden seat sits between lattice side panels beneath an open pergola roof.
Advanced6 stages
Garden & outdoor
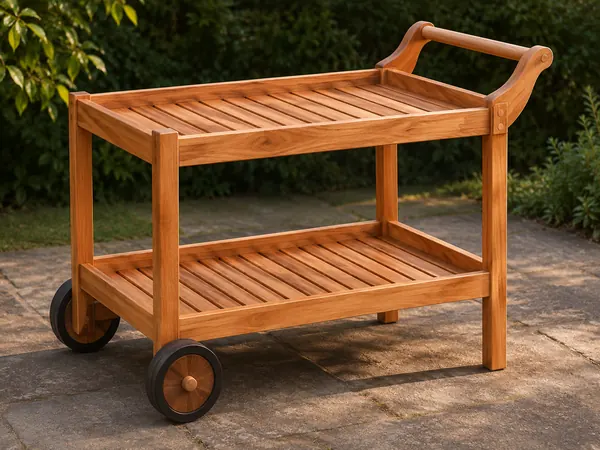
Two-Tier Garden Trolley
A push trolley carries two slatted trays on a timber frame with two wheels and a dowel handle.
Intermediate6 stages