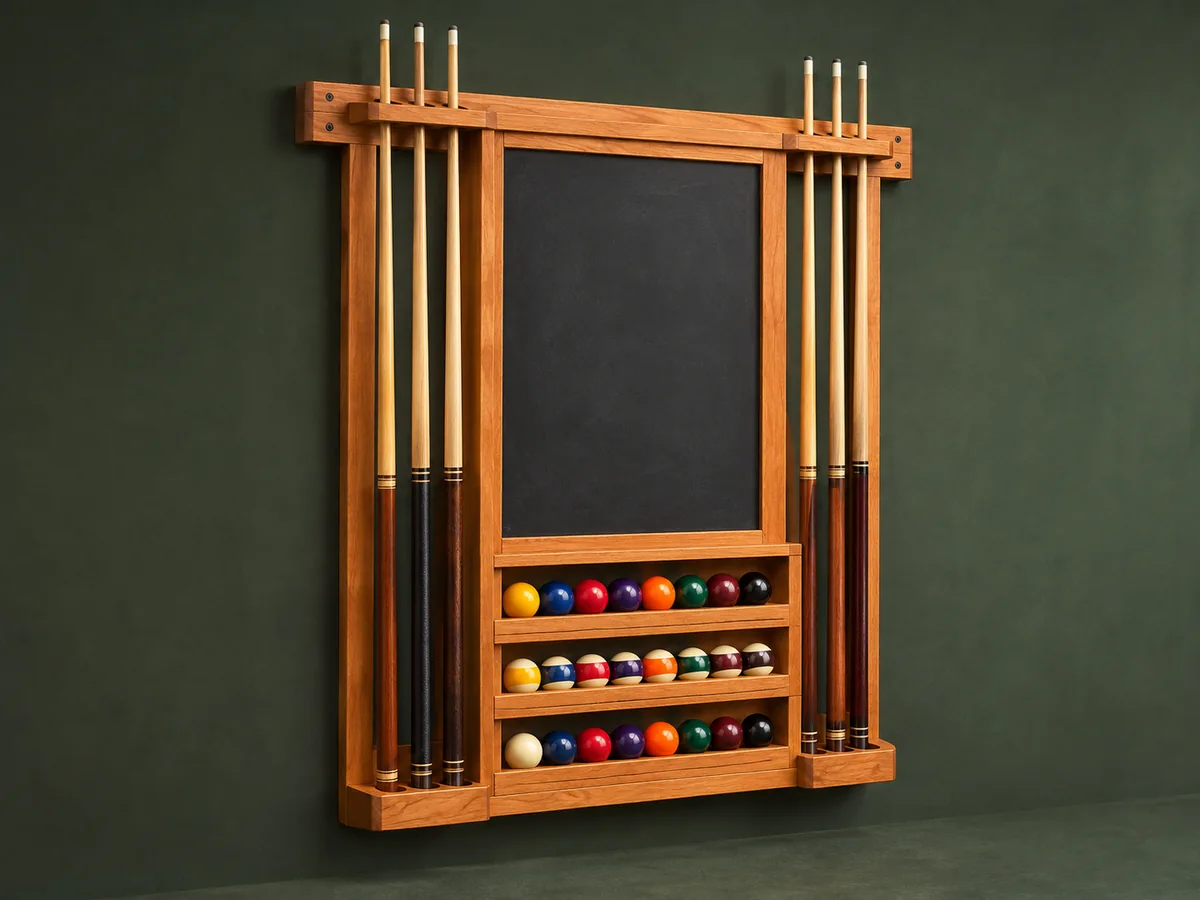
Upper cue holes pair with shallow lower rests.
Project library / Storage & cabinets
Storage & cabinets / Build companion
Pool Cue & Ball Rack
A wall rack holds upright pool cues beside tiered ball shelves and a central chalkboard.
Intermediate5 stages2-page source
A companion to the original plan. Original reading guide based on the archived plan; not shop-tested. Confirm diagram dimensions against the private source before cutting.
Understand the project
What makes this build.
Aligned cue holes and rests, routed ball grooves and a fitted chalkboard require accurate repeated layout.
Grooved shelves retain balls.
A central chalkboard doubles as the scoring area.
Points to resolve before building
- Mostly drawing-based source; verify its small dimensions directly.
- Wall fixing selection is not supplied as a rated system.
Prepare the workbench
Materials & tools.
Check what you have, then confirm stock sizes and hardware against your chosen dimensions.
Materials checklist
Tools & operations
- Saw
- Router
- Drill with 1¼-inch bit
- Clamps
Tool choices may include practical editorial suggestions. Use workholding and guarding appropriate to the actual machine and operation.
Choose dry, sound stock and test unfamiliar joints in scrap. Keep guards, push aids, eye protection, and dust control appropriate to the work.
Keep the numbers close
Measurements to know.
Selected dimensions verified from the source. This is not an automatically scaled cutting list.
| Upper cue holes | 1¼ in diameter | Source p. 2 |
|---|---|---|
| Ball grooves | 1 in wide × ⅜ in deep | Source p. 2 |
Printed diagrams and concept images are not scale references. Verify measurements, material thickness, hardware fit, and allowances before cutting.
Inches to millimeters
Convert a measurement without changing the design. Enter a decimal or a fraction, such as 1 3/8.
Nominal lumber names and actual finished sizes are different. Converting units does not choose a substitute stock size.
From stock to finished project
Let’s make it.
Read the complete sequence before cutting. Mark a stage complete after its fit checks and any required glue cure.
Match cue locations
- Lay out the upper holes and lower cue rests from a common reference. Use the private drawing to resolve spacing and end offsets. Arrange the upper holes and lower rests from a single spacing layout so each cue hangs vertically without touching its neighbor.
Before moving onUpper holes align over the lower rests.
Machine ball shelves
- Cut the shallow lengthwise grooves that keep the balls in place. Test a ball in a sample groove before machining every shelf. Test the ball groove with an actual ball before machining every shelf, and retain enough material beneath the groove for stiffness.
Before moving onBalls sit securely without excessive capture.
Fit the chalkboard
- Cut the rabbets in the surrounding members for the actual panel thickness. Dry-assemble the center frame and shelves before fastening. Fit the chalkboard to the finished rabbet rather than cutting it from an assumed outside dimension; keep the visible border even.
Before moving onThe board is supported at its edges.
Assemble the rack
- Join the shelves and sides using the plugged-screw arrangement shown. Check the rack for square so the cue paths remain vertical. Dry-fit shelves and side pieces together, checking that the cue openings remain clear of shelf edges and chalkboard trim.
Before moving onShelves are level and cue paths are clear.
Mount and inspect
- Finish the rack and attach it to adequate wall structure. Test the ball retention and cue clearances before loading the whole rack. Mount into suitable wall backing and verify that lifting one cue cannot pull the rack upward or loosen its attachment.
Before moving onThe mounted rack is secure and usable.
1 / 5
Progress and notes stay in this browser. Nothing is uploaded.
Source notes.
- Original PDF
- Pool Cue Ball Rack.pdf
- Source length
- 2 pages
- Attribution
- John Sillars, HGTV, Pool Ball / Cue Rack.
- This edition
- 116 Studio · Original written companion and AI concept image · November 2026
Page references count from the first page of this PDF. The original is retained in the owner’s private woodworking collection; it is not distributed by this website. Consult it for full drawings, templates, and details beyond this companion.
Historical plans can omit essential context. Source references identify where a detail came from; they do not certify the design or replace current manufacturer instructions or applicable professional review.
More from this corner of the shop.
Storage & cabinets
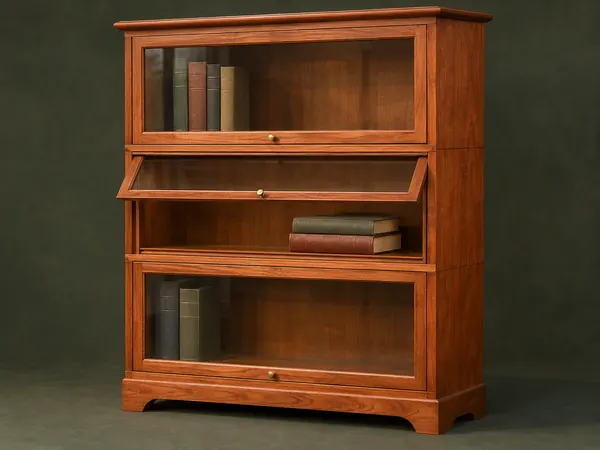
Stacking Barrister Bookcase
Modular cherry cases stack over a shaped base and close with glass doors that lift and slide inward.
Advanced6 stages
Storage & cabinets
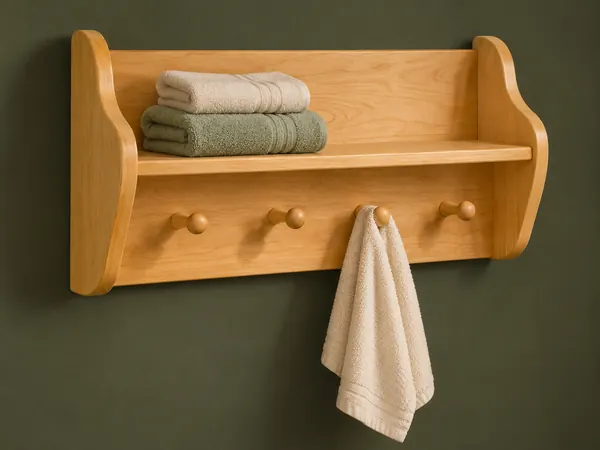
Four-Peg Bathroom Shelf
A wall shelf combines shaped end panels with four upward-tilted wooden towel pegs.
Beginner5 stages
Storage & cabinets
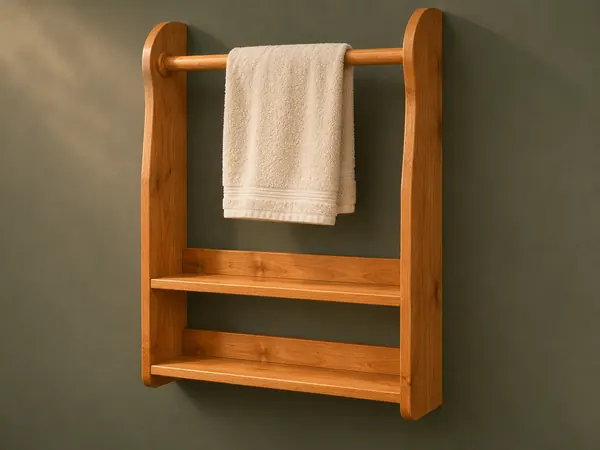
Two-Shelf Towel Rack
A wall rack combines two low shelves with a towel rod held between curved side panels.
Intermediate5 stages