A folding stand, plate fit and adjustable fence make this a machine-support project requiring advanced review.
Project library / Workshop
Workshop / Design study
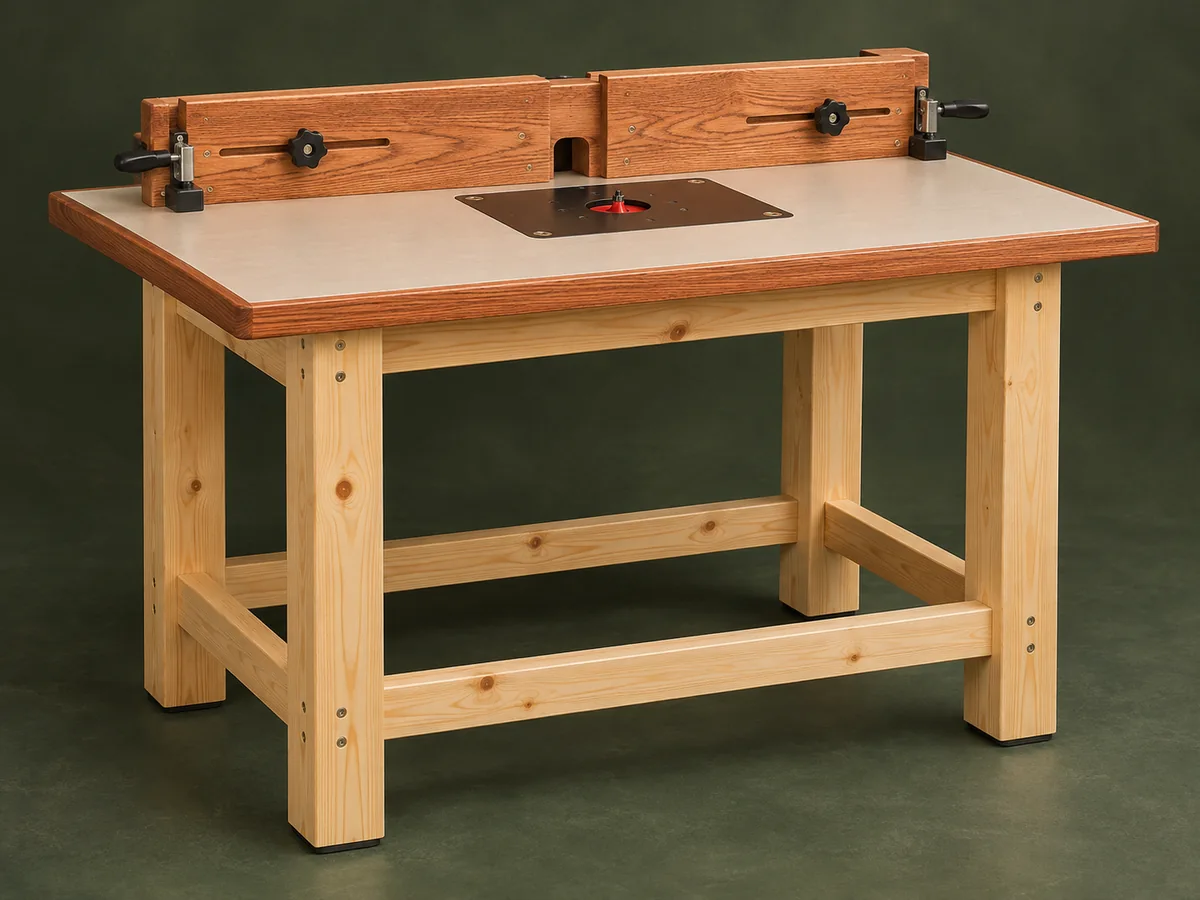
Folding Router Table
A substantial laminate-top router station whose front legs swing inward and whose top folds down.
Advanced7 stages17-page source
Design review required. Planning overview, not a shop-tested or construction-ready plan. Planning guide: historical construction alone does not establish machine safety. Do not reproduce the old respirator advice or continue machining plastic that smokes; follow the plate maker’s guidance.
Understand the project
What makes this build.
A folding stand, plate fit and adjustable fence make this a machine-support project requiring advanced review.
The plywood top is laminated on both sides and edged in oak.
Front legs swing inward while articulated arms let the tabletop fold.
Points to resolve before building
- Planning guide: historical construction alone does not establish machine safety.
- Do not reproduce the old respirator advice or continue machining plastic that smokes; follow the plate maker’s guidance.
- The source does not supply a complete modern guard, extraction and electrical-control system.
Prepare the workbench
Materials & tools.
Check what you have, then confirm stock sizes and hardware against your chosen dimensions.
Materials checklist
Tools & operations
- Saw
- Drill and Forstner bits
- Router
- Clamps
- Sander
Tool choices may include practical editorial suggestions. Use workholding and guarding appropriate to the actual machine and operation.
Choose dry, sound stock and test unfamiliar joints in scrap. Keep guards, push aids, eye protection, and dust control appropriate to the work.
Keep the numbers close
Measurements to know.
Selected dimensions verified from the source. This is not an automatically scaled cutting list.
| Finished top | 23½ × 39½ inches | Source p. 5 |
|---|---|---|
| Legs | 3 × 3 × 34 inches after lamination and trimming | Source p. 2 |
| Source insert | ½-inch phenolic; 7½ × 11¼ inches | Source p. 7 |
Printed diagrams and concept images are not scale references. Verify measurements, material thickness, hardware fit, and allowances before cutting.
Inches to millimeters
Convert a measurement without changing the design. Enter a decimal or a fraction, such as 1 3/8.
Nominal lumber names and actual finished sizes are different. Converting units does not choose a substitute stock size.
Read, assess & plan
Explore the construction.
Review stages explain the historical design and unresolved decisions; they are not approval to build or use it.
Review the folding mechanism
- Check router mass, operating loads, hinge attachment and positive leg locks with an experienced machine builder. Treat the original pin arrangement as a detail requiring review before powered use.
Before moving onA stable operating configuration and deliberate storage procedure are established.
Prepare the base components
- Laminate the four legs and cut matching back and side stretchers. Mark the cross-dowels and recessed lag-screw positions on a full-size joint sample.
Before moving onLeg pairs are equal and fasteners clear one another.
Make a balanced top
- Glue the plywood layers flat, attach the oak perimeter and make the edging flush. Apply laminate to both faces using the adhesive manufacturer’s current instructions.
Before moving onTop is flat and laminate edges are smooth.
Fit the router plate
Source pp. 7, 8, 9, 11, 12, 13
- Use a plate and fasteners approved for the actual router. Lay out its opening clear of folding hardware and fit a flush supported rebate without relying on the historical advice about machining phenolic.
Before moving onPlate cannot shift or tip and all screw heads are below the work surface.
Dry-fit the folding base
- Assemble the hinged side frames and top arms, then check their complete motion with the router disconnected. Resolve pinch points and install reviewed positive locking hardware.
Before moving onThe top is fully supported in working position and cannot fold accidentally.
Build the split fence
- Assemble the thick oak fence body with its central opening, then fit separately adjustable faces. Check that end clamps and their anti-rotation pins hold without skewing the fence.
Before moving onFaces are coplanar and lock firmly.
Commission the station
- Provide compatible guarding, dust extraction and an accessible power disconnect before use. Have the complete table reviewed and use the router manufacturer’s feed-direction and bit-speed guidance.
Before moving onA competent reviewer has checked mechanical and electrical readiness.
1 / 7
Progress and notes stay in this browser. Nothing is uploaded.
Source notes.
- Original PDF
- Professional Router Table.pdf
- Source length
- 17 pages
- Attribution
- Archived Professional Router Table tutorial; original author not established.
- This edition
- 116 Studio · Original written companion and AI concept image · November 2026
Page references count from the first page of this PDF. The original is retained in the owner’s private woodworking collection; it is not distributed by this website. Consult it for full drawings, templates, and details beyond this companion.
Historical plans can omit essential context. Source references identify where a detail came from; they do not certify the design or replace current manufacturer instructions or applicable professional review.
More from this corner of the shop.
Workshop
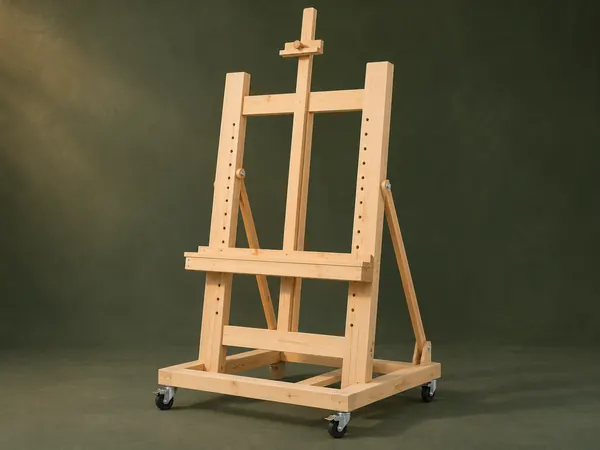
Adjustable Studio Easel
A tall H-frame easel has a pegged canvas shelf, sliding top clamp and hinged rear tilt supports.
Intermediate6 stages
Workshop
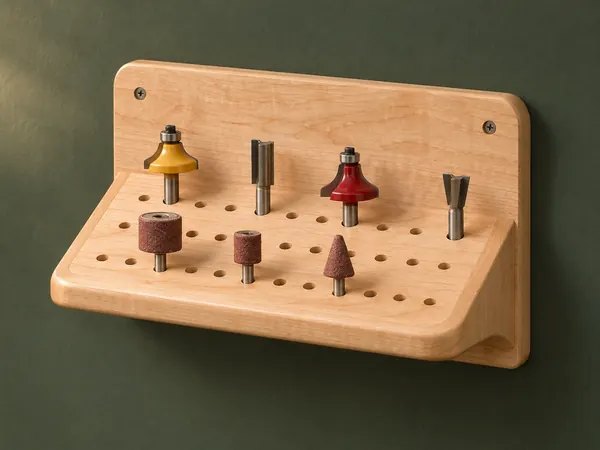
Angled Router-Bit Shelf
A sloping drilled shelf presents router bits and other shanked accessories against a wall backboard.
Beginner5 stages
Workshop
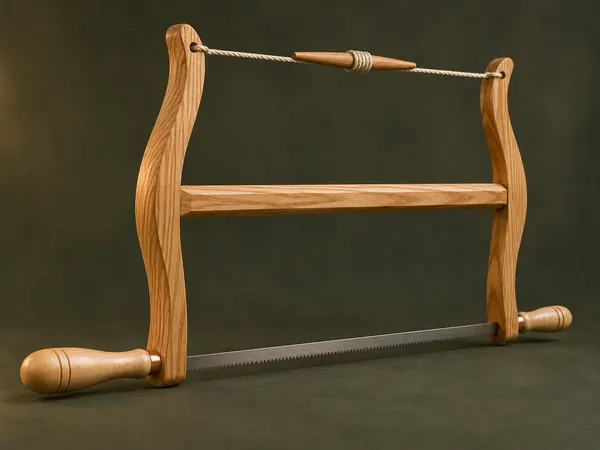
Classic Wooden Bow Saw
An ash H-frame tensions a narrow saw blade with twisted cord and turned maple handles.
Advanced5 stages