Repeated angled slots need consistent layout and safe workholding.
Project library / Workshop
Workshop / Build companion
Saw Blade Organizer
A compact triangular plywood rack that holds circular saw blades upright in paired sloping rows of notches.
Intermediate5 stages3-page source
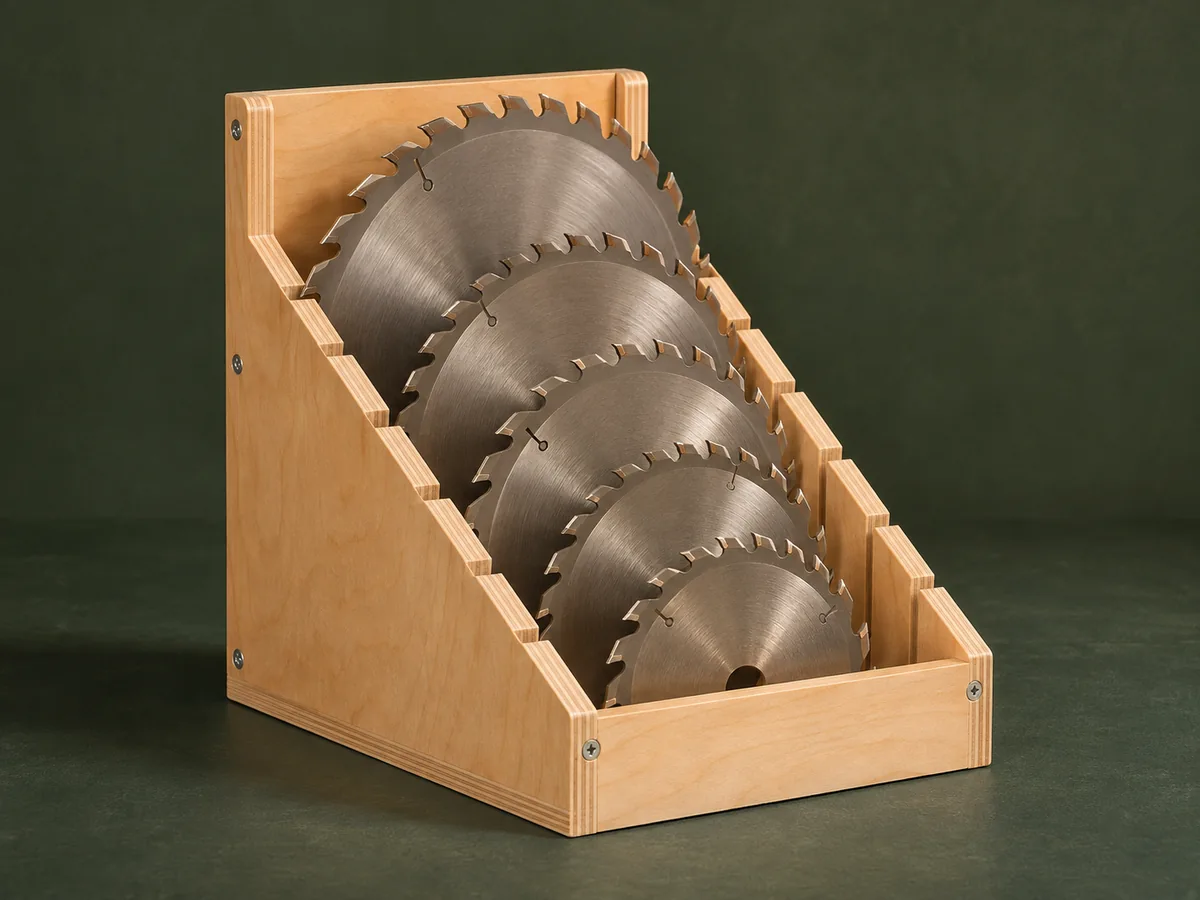
A companion to the original plan. Original reading guide based on the archived plan; not shop-tested. Confirm diagram dimensions against the private source before cutting.
Understand the project
What makes this build.
Repeated angled slots need consistent layout and safe workholding.
Two triangular cheeks separate and support blades of different sizes.
The rear panel provides a wall-mounting surface.
Points to resolve before building
- The source’s tilted dado setup requires compatibility with the actual saw; do not improvise unsupported small cuts.
- Sharp teeth remain exposed; locate and handle the rack accordingly.
Prepare the workbench
Materials & tools.
Check what you have, then confirm stock sizes and hardware against your chosen dimensions.
Materials checklist
Tools & operations
- Saw
- Drill
- Clamps
- Sander
Tool choices may include practical editorial suggestions. Use workholding and guarding appropriate to the actual machine and operation.
Choose dry, sound stock and test unfamiliar joints in scrap. Keep guards, push aids, eye protection, and dust control appropriate to the work.
Keep the numbers close
Measurements to know.
Selected dimensions verified from the source. This is not an automatically scaled cutting list.
| Side envelope | 11¼ inches long × 11¾ inches high | Source p. 2 |
|---|---|---|
| Back | ½ × 5½ × 11¾ inches | Source p. 2 |
| Blade slots | ¼ inch wide × 1¾ inches deep | Source p. 2 |
Printed diagrams and concept images are not scale references. Verify measurements, material thickness, hardware fit, and allowances before cutting.
Inches to millimeters
Convert a measurement without changing the design. Enter a decimal or a fraction, such as 1 3/8.
Nominal lumber names and actual finished sizes are different. Converting units does not choose a substitute stock size.
From stock to finished project
Let’s make it.
Read the complete sequence before cutting. Mark a stage complete after its fit checks and any required glue cure.
Inventory the blades
- Check blade diameters, tooth clearance and thickness against the drawing. Reserve separate spaces for the dado components rather than forcing several sharp blades into one slot. Include blade guards or sleeves if used in storage, since their thickness can change the slot fit and required spacing.
Before moving onEvery stored blade has a defined position.
Prepare matching sides
- Cut two identical triangular sides and mark the notch pattern together. Keep their reference edges aligned so paired slots support each blade evenly. Keep a full-size marked side as a reference until both cheeks are complete, then pair the parts to compare every notch.
Before moving onSide outlines and slot marks match.
Cut the blade slots
- Use a securely supported method suited to the saw and workpiece; check the source’s angled slot geometry on scrap. Smooth the slot walls without widening them excessively. A blade should enter without scraping its carbide teeth against a screw or hard edge; correct that contact before final assembly.
Before moving onA sample blade sits securely without binding.
Join the back
- Hold the sides parallel while fastening them to the plywood back. Check with several blade sizes before fixing the spacing permanently. Check the back-panel screws and accessory hooks against the blade paths so no stored blade can catch on hidden metal.
Before moving onThe assembled rack is square and all blade pairs align.
Secure the organizer
- Mount the rack to suitable wall backing or place it on a stable benchtop. Keep teeth clear of hands at the normal retrieval point. Choose a location where retrieving a blade does not require reaching past the teeth of another blade or over an operating saw.
Before moving onThe rack stays stable as the largest blade is removed.
1 / 5
Progress and notes stay in this browser. Nothing is uploaded.
Source notes.
- Original PDF
- Saw Blade Holder.pdf
- Source length
- 3 pages
- Attribution
- WOOD magazine, Saw-Blade Selector, © Meredith Corporation 2003.
- This edition
- 116 Studio · Original written companion and AI concept image · November 2026
Page references count from the first page of this PDF. The original is retained in the owner’s private woodworking collection; it is not distributed by this website. Consult it for full drawings, templates, and details beyond this companion.
Historical plans can omit essential context. Source references identify where a detail came from; they do not certify the design or replace current manufacturer instructions or applicable professional review.
More from this corner of the shop.
Workshop
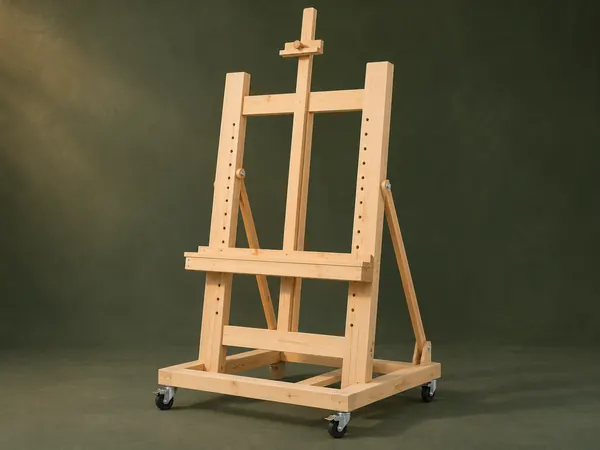
Adjustable Studio Easel
A tall H-frame easel has a pegged canvas shelf, sliding top clamp and hinged rear tilt supports.
Intermediate6 stages
Workshop
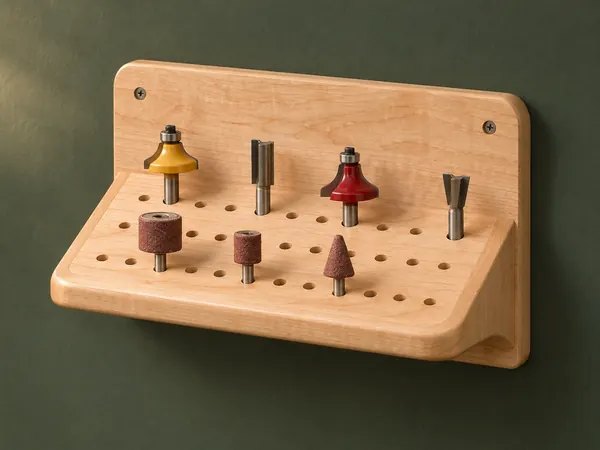
Angled Router-Bit Shelf
A sloping drilled shelf presents router bits and other shanked accessories against a wall backboard.
Beginner5 stages
Workshop
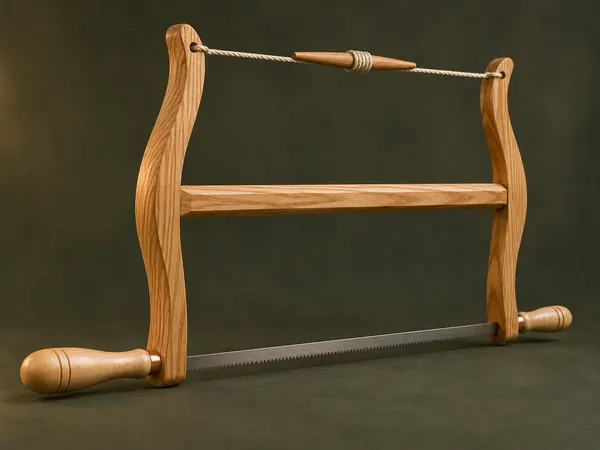
Classic Wooden Bow Saw
An ash H-frame tensions a narrow saw blade with twisted cord and turned maple handles.
Advanced5 stages