Sliding dovetails, stopped dados and solid-panel movement make this an advanced furniture build.
Project library / Tables & desks
Tables & desks / Build companion
Slant Front Secretary
A compact solid-wood secretary with a folding writing lid, small interior cubbies and three full-width drawers.
Advanced7 stages14-page source
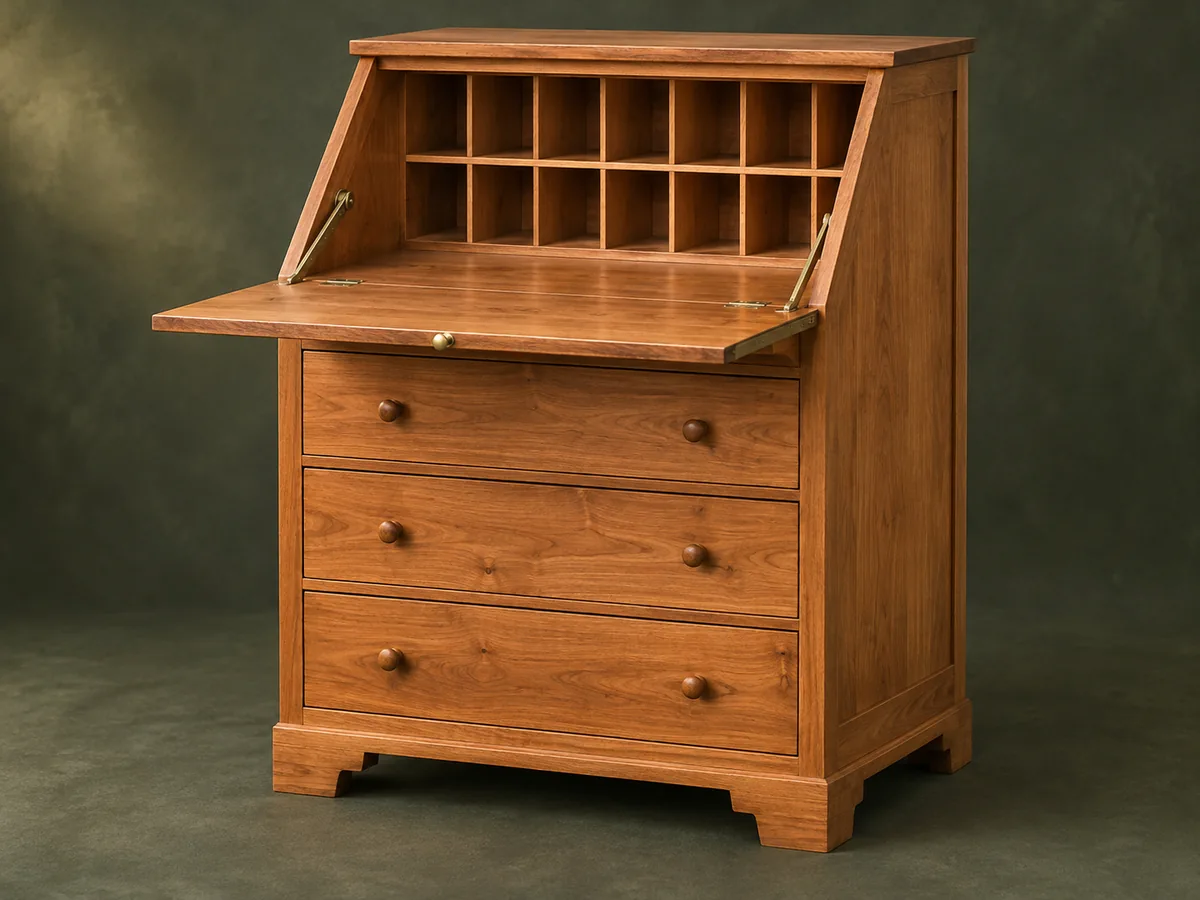
A companion to the original plan. Original reading guide based on the archived plan; not shop-tested. Confirm diagram dimensions against the private source before cutting.
Understand the project
What makes this build.
Sliding dovetails, stopped dados and solid-panel movement make this an advanced furniture build.
The writing surface closes into a sloped lid above three drawers.
Drawer frames also act as runners and kickers.
Points to resolve before building
- Use rated desk-lid support hardware; the lid is not a seat.
- The historical article includes table-saw stopped-cut setups; safer supported router methods can replace them.
Prepare the workbench
Materials & tools.
Check what you have, then confirm stock sizes and hardware against your chosen dimensions.
Materials checklist
Tools & operations
- Saw
- Router
- Drill
- Clamps
- Plane
- Dovetail tooling or jig
Tool choices may include practical editorial suggestions. Use workholding and guarding appropriate to the actual machine and operation.
Choose dry, sound stock and test unfamiliar joints in scrap. Keep guards, push aids, eye protection, and dust control appropriate to the work.
Keep the numbers close
Measurements to know.
Selected dimensions verified from the source. This is not an automatically scaled cutting list.
| Side panels | ¾ × 16 × 38 inches | Source p. 4 |
|---|---|---|
| Writing lid | ¾ × 22½ × 16 inches before final fitting | Source p. 4 |
| Drawer fronts | Three at ¾ × 7½ × 23 inches | Source p. 4 |
Printed diagrams and concept images are not scale references. Verify measurements, material thickness, hardware fit, and allowances before cutting.
Inches to millimeters
Convert a measurement without changing the design. Enter a decimal or a fraction, such as 1 3/8.
Nominal lumber names and actual finished sizes are different. Converting units does not choose a substitute stock size.
From stock to finished project
Let’s make it.
Read the complete sequence before cutting. Mark a stage complete after its fit checks and any required glue cure.
Glue and flatten panels
- Prepare side, lid, desktop and drawer-front panels with consistent thickness. Mark grain direction so the later cross-grain joints can accommodate movement. Keep the thinner cubby and drawer stock in labeled groups; consistent thickness matters when one dovetail setup serves several parts.
Before moving onPanels are flat and their grain directions are recorded.
Build the drawer frames
- Fit stub-tenoned runners into slotted frame rails and clamp the frames square. Keep the shorter bottom-frame runners distinct from the middle and upper sets. Check the frames both before and after tightening the small clamps, because the slot mortises can pull a frame out of square.
Before moving onAll three frames match their assigned openings.
Machine the side panels
- Cut the sloping upper profiles and rout matching stopped dados for frames and a through dado for the desktop. Form the back rabbets with a safely supported routing setup. Use the first side’s layout to mark the second side as a mirror image, keeping the stopped front ends on the correct edges.
Before moving onLeft and right grooves align without forcing parts.
Assemble with movement allowance
- Join the structural rails and desktop, then attach drawer frames with the source’s clearance-hole approach rather than cross-grain glue. Leave the specified front-to-back clearance behind the frames. The runners must also clear the plywood back when the sides shrink; test their rear clearance before closing the cabinet.
Before moving onFrames are secure while the wide sides can move.
Fit drawers and cubbies
- Make trial sliding-dovetail joints before machining the drawer and cubby components. Fit the plywood bottoms, upper-drawer kickers and hanging cubby assembly to the actual case. Make the upper drawer’s separate kickers before the cubby structure obstructs access to the underside of the writing surface.
Before moving onDrawers run freely and the cubbies align under the top plate.
Install lid and base
- Assemble the stepped base details and fit purpose-made desk-lid hinges according to their instructions. Trim the lid’s upper edge only after checking its closed position. Cycle the lid through its entire travel with a drawer closed beneath it, checking that the hinge geometry does not scrape the drawer front.
Before moving onThe lid closes cleanly and is positively supported when open.
Finish and secure
- Fit the back and hardware, ease exposed edges and apply the chosen furniture finish. Add an appropriate anti-tip attachment and observe the lid hardware’s working-load limits. Inspect the anti-tip attachment with the lid open, since the projecting writing surface changes how the cabinet can be loaded.
Before moving onThe finished desk is stable with a drawer or lid open.
1 / 7
Progress and notes stay in this browser. Nothing is uploaded.
Source notes.
- Original PDF
- Secretary Desk.pdf
- Source length
- 14 pages
- Attribution
- Archived woodworking-plan collection; original author not established from this source.
- This edition
- 116 Studio · Original written companion and AI concept image · November 2026
Page references count from the first page of this PDF. The original is retained in the owner’s private woodworking collection; it is not distributed by this website. Consult it for full drawings, templates, and details beyond this companion.
Historical plans can omit essential context. Source references identify where a detail came from; they do not certify the design or replace current manufacturer instructions or applicable professional review.
More from this corner of the shop.
Tables & desks
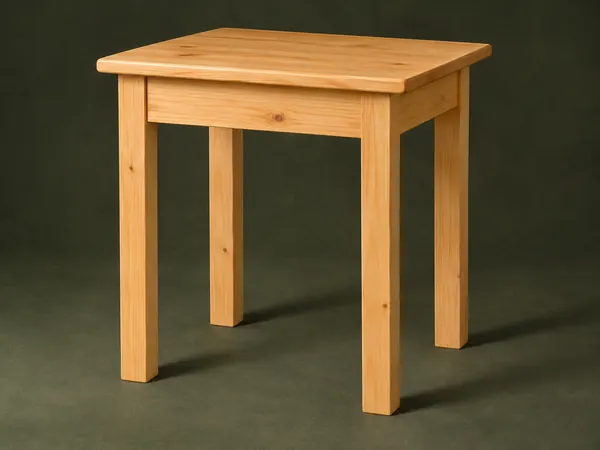
Hand-Tool Side Table
A small pine table uses square legs, mortise-and-tenon aprons and a solid board top.
Intermediate5 stages
Tables & desks
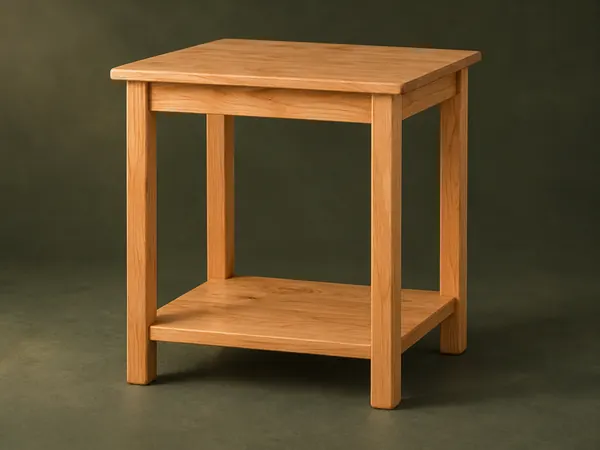
Open-Shelf Bedside Table
A small table has rounded square legs, a solid top and a low shelf captured in leg notches.
Intermediate5 stages
Tables & desks
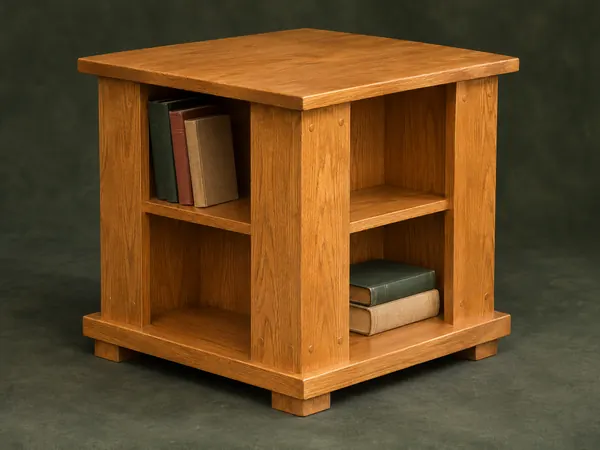
Four-Sided Book Table
A square end table offers small book compartments on four sides beneath a projecting top.
Intermediate5 stages