Straight cuts and screw-fastened joints suit a first utility-table project.
Project library / Workshop
Workshop / Build companion
Cedar Utility Table
A simple cedar worktable with a five-board top, rectangular apron and optional three-board lower shelf.
Beginner5 stages4-page source
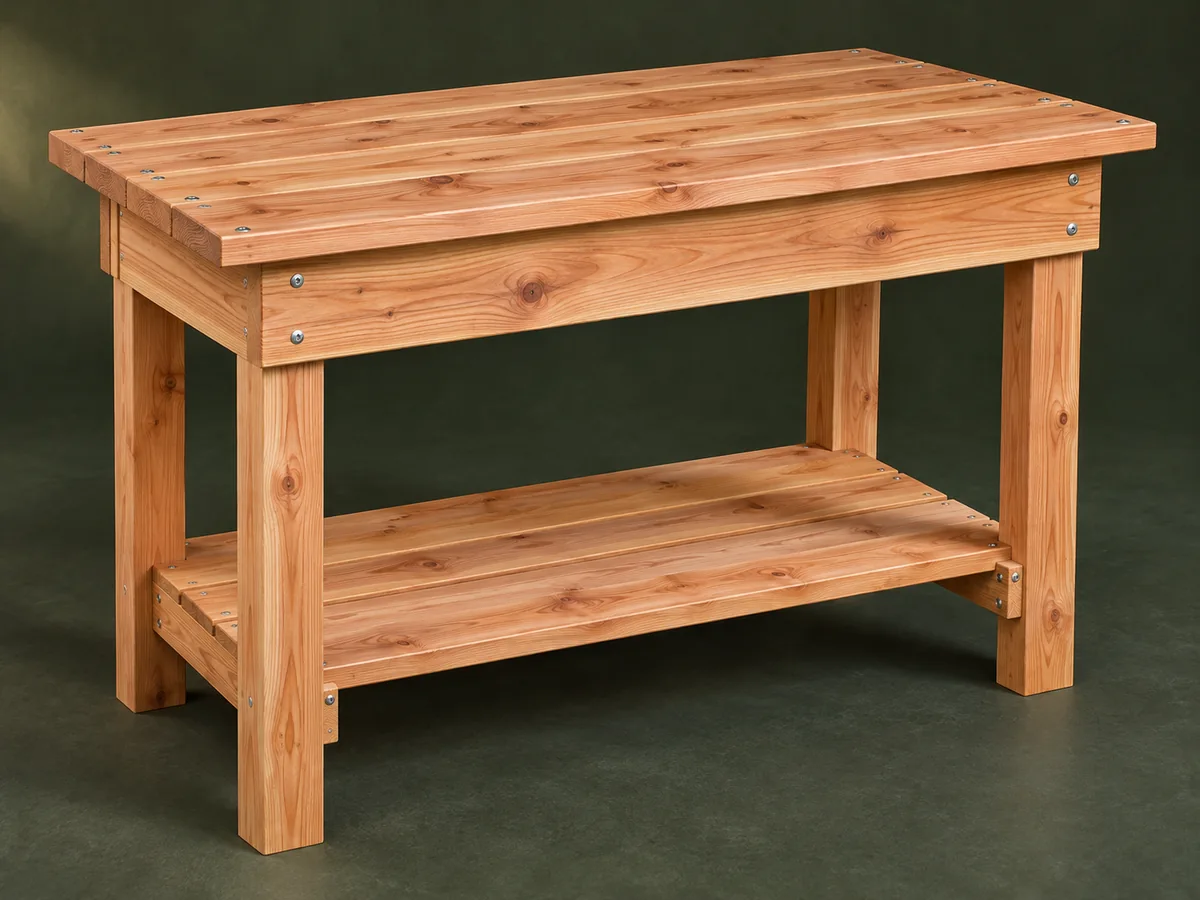
A companion to the original plan. Original reading guide based on the archived plan; not shop-tested. Confirm diagram dimensions against the private source before cutting.
Understand the project
What makes this build.
Straight cuts and screw-fastened joints suit a first utility-table project.
A central block supports the long top boards.
The optional shelf ties the lower legs together.
Points to resolve before building
- The source’s casual bunk-bed suggestion is not a supported use; use this as a worktable.
- No rated load or heavy-machine suitability is established.
Prepare the workbench
Materials & tools.
Check what you have, then confirm stock sizes and hardware against your chosen dimensions.
Materials checklist
Tools & operations
- Saw
- Clamps
- Square
- Drill
Tool choices may include practical editorial suggestions. Use workholding and guarding appropriate to the actual machine and operation.
Choose dry, sound stock and test unfamiliar joints in scrap. Keep guards, push aids, eye protection, and dust control appropriate to the work.
Keep the numbers close
Measurements to know.
Selected dimensions verified from the source. This is not an automatically scaled cutting list.
| Source tabletop | 52 × 25 inches, dependent on actual board widths | Source p. 1 |
|---|---|---|
| Leg length | 34 inches | Source p. 1 |
Printed diagrams and concept images are not scale references. Verify measurements, material thickness, hardware fit, and allowances before cutting.
Inches to millimeters
Convert a measurement without changing the design. Enter a decimal or a fraction, such as 1 3/8.
Nominal lumber names and actual finished sizes are different. Converting units does not choose a substitute stock size.
From stock to finished project
Let’s make it.
Read the complete sequence before cutting. Mark a stage complete after its fit checks and any required glue cure.
Check the lumber layout
- Measure the actual cedar decking width before cutting five top boards. Trim damaged ends and check that the apron layout gives the intended top overhang. Keep the five top boards in their chosen order and label their underside so the best matching faces remain visible after assembly.
Before moving onThe board count and finished width agree.
Assemble the apron
- Clamp the long and short apron members with short pieces inside. Predrill and install suitable screws and trim washers while keeping the rectangle square. Check the apron corner screws against the future leg positions; a screw collision can prevent the leg from sitting fully in its corner.
Before moving onBoth diagonals are equal.
Support and fasten the top
- Fit the center blocking on edge, then arrange and fasten the five long top boards. Keep fastener heads flush with the working face. Use a straightedge across the top before final tightening, and correct a high support rather than forcing a board into a twist.
Before moving onEvery board is supported and the top is flat.
Fit the four legs
- Hold the legs inside the apron corners with clamps and a square. Stagger their screw positions to reduce splitting and check plumb before final tightening. Compare the leg diagonals as well as their apparent plumb; the long apron can look straight while the base remains racked.
Before moving onAll legs stand vertical and the table does not rack.
Add the lower shelf
- Fit the two low cross supports and three shelf boards if storage and stiffness are wanted. Finish and inspect the table for its intended work loads. If the table is intended for outdoor use, provide appropriate board spacing and compatible hardware for the actual wood moisture and exposure.
Before moving onShelf is level and the completed table stands steadily.
1 / 5
Progress and notes stay in this browser. Nothing is uploaded.
Source notes.
- Original PDF
- Simple Garden Workbench Or Table.pdf
- Source length
- 4 pages
- Attribution
- Anything I Can Do, Project 30, Burning For It.
- This edition
- 116 Studio · Original written companion and AI concept image · November 2026
Page references count from the first page of this PDF. The original is retained in the owner’s private woodworking collection; it is not distributed by this website. Consult it for full drawings, templates, and details beyond this companion.
Historical plans can omit essential context. Source references identify where a detail came from; they do not certify the design or replace current manufacturer instructions or applicable professional review.
More from this corner of the shop.
Workshop
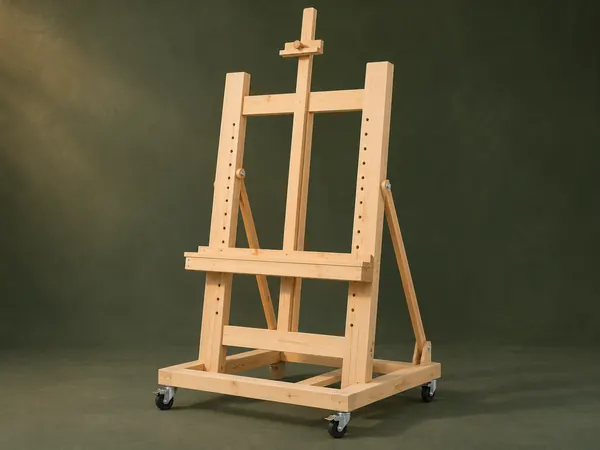
Adjustable Studio Easel
A tall H-frame easel has a pegged canvas shelf, sliding top clamp and hinged rear tilt supports.
Intermediate6 stages
Workshop
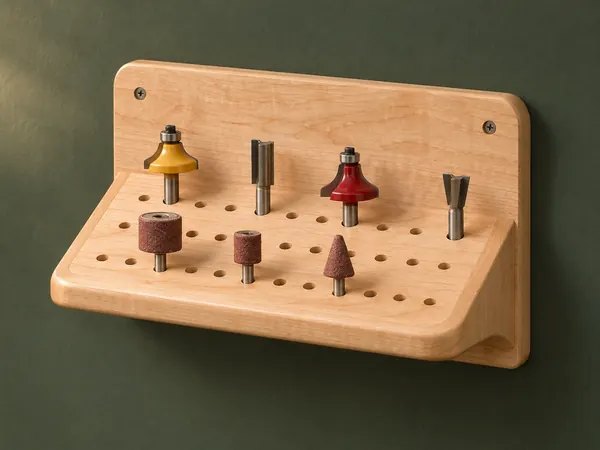
Angled Router-Bit Shelf
A sloping drilled shelf presents router bits and other shanked accessories against a wall backboard.
Beginner5 stages
Workshop
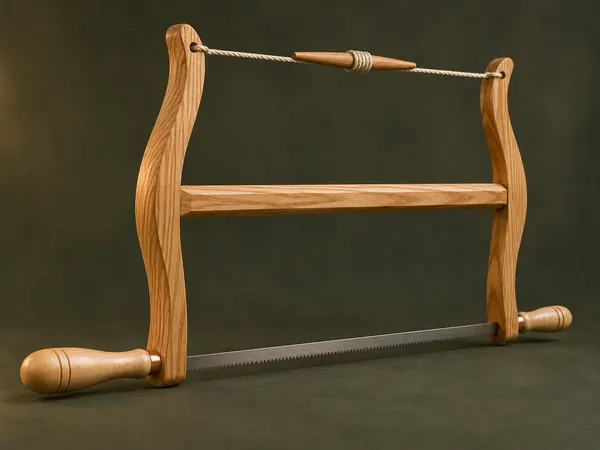
Classic Wooden Bow Saw
An ash H-frame tensions a narrow saw blade with twisted cord and turned maple handles.
Advanced5 stages