A folding wall-mounted work surface and overhead light box require load and electrical review.
Project library / Workshop
Workshop / Design study
Fold Away Wall Workbench
A wall cabinet with storage shelves, a folding worktop, folding leg frames and a hinged light box.
Advanced6 stages8-page source
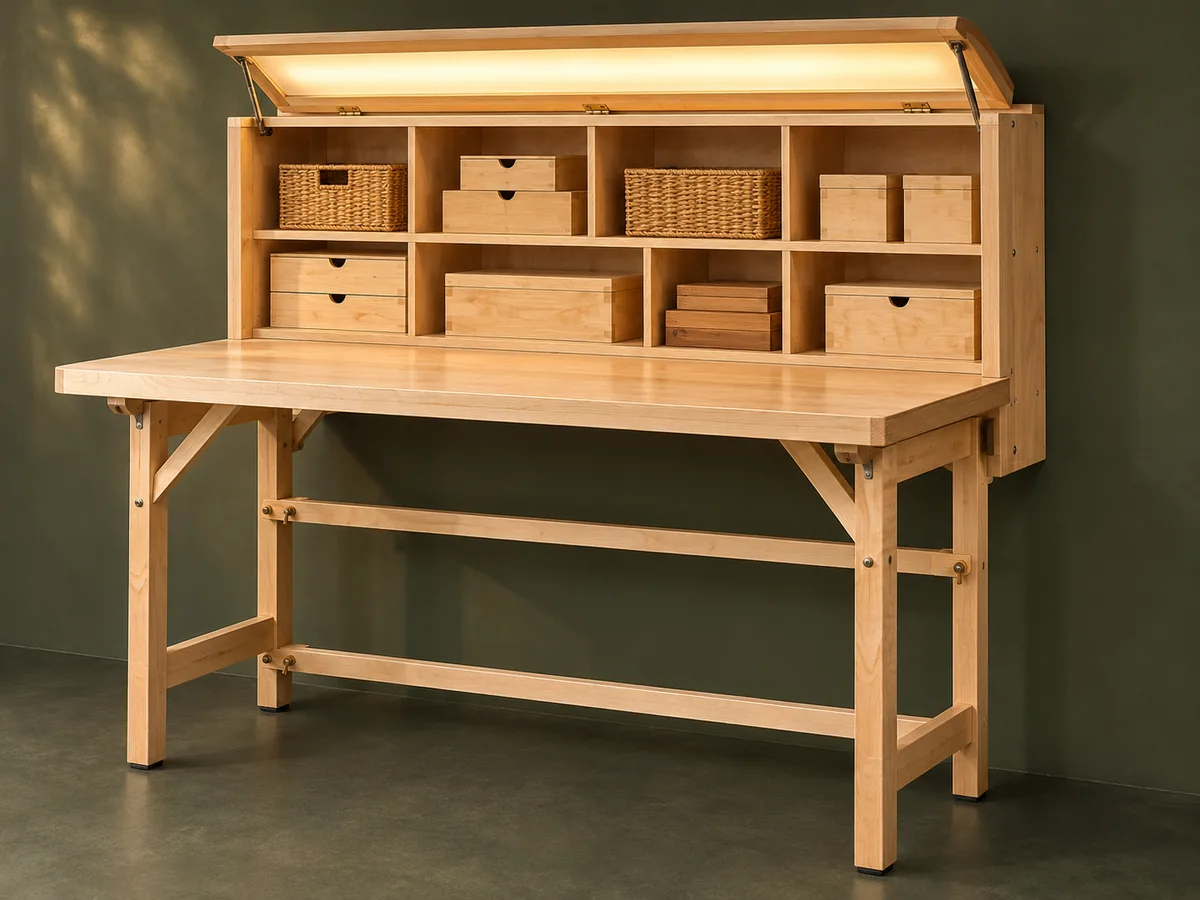
Design review required. Planning overview, not a shop-tested or construction-ready plan. Planning only: no verified load rating is provided. The source’s folded-height wording is confusing; verify the drawing before locating the cabinet.
Understand the project
What makes this build.
A folding wall-mounted work surface and overhead light box require load and electrical review.
Adjustable shelves remain inside the wall cabinet.
Removable braces stow behind the folded leg frames.
Points to resolve before building
- Planning only: no verified load rating is provided.
- The source’s folded-height wording is confusing; verify the drawing before locating the cabinet.
- Keep hands and cables clear of hinges and folding legs.
Prepare the workbench
Materials & tools.
Check what you have, then confirm stock sizes and hardware against your chosen dimensions.
Materials checklist
Tools & operations
- Saw
- Drill
- Clamps
- Square
- Stud-location tools
Tool choices may include practical editorial suggestions. Use workholding and guarding appropriate to the actual machine and operation.
Choose dry, sound stock and test unfamiliar joints in scrap. Keep guards, push aids, eye protection, and dust control appropriate to the work.
Keep the numbers close
Measurements to know.
Selected dimensions verified from the source. This is not an automatically scaled cutting list.
| Open envelope | About 72 inches long × 34 inches deep × 74 inches high | Source p. 1 |
|---|---|---|
| Folded depth | About 13 inches | Source p. 1 |
Printed diagrams and concept images are not scale references. Verify measurements, material thickness, hardware fit, and allowances before cutting.
Inches to millimeters
Convert a measurement without changing the design. Enter a decimal or a fraction, such as 1 3/8.
Nominal lumber names and actual finished sizes are different. Converting units does not choose a substitute stock size.
Read, assess & plan
Explore the construction.
Review stages explain the historical design and unresolved decisions; they are not approval to build or use it.
Review wall and folding loads
- Locate the actual structural wall members and have the mounting, hinged top and leg system reviewed for expected work loads. Resolve the discrepancy between the hardware list and drawing’s wall-fastener count.
Before moving onA verified attachment and folding-support design exists.
Build the shelf cabinet
- Edge the plywood parts and drill consistent shelf-support holes. Assemble the back, sides, fixed shelf and dividers square.
Before moving onShelves fit level and the cabinet has equal diagonals.
Laminate the worktop
- Glue the two plywood layers with good flat support and fit the perimeter edging. Prepare the end notches to match the leg arrangement.
Before moving onThe top is flat and all folding clearances are checked.
Fit legs and braces
- Assemble the two hinged leg frames and removable cross braces, then test them with the top supported independently. Confirm positive operating support and stored-position retention.
Before moving onThe legs cannot fold unintentionally under the reviewed setup.
Fit the light box
- Build and hinge the shallow overhead box with rated lid supports. Use a listed fixture and route its power lead clear of every moving joint.
Before moving onThe light box stays supported and no cable can be pinched.
Mount and commission
- Secure the assembly to the reviewed wall structure with legs bearing on the floor. Test the complete folding sequence unladen, then obtain the final mechanical and electrical review.
Before moving onTop is level, latches engage and required review is complete.
1 / 6
Progress and notes stay in this browser. Nothing is uploaded.
Source notes.
- Original PDF
- Space Saver Workbench.pdf
- Source length
- 8 pages
- Attribution
- U-Bild Plan 916, Space-Saver Workbench, © U-Build Inc. 2000.
- This edition
- 116 Studio · Original written companion and AI concept image · November 2026
Page references count from the first page of this PDF. The original is retained in the owner’s private woodworking collection; it is not distributed by this website. Consult it for full drawings, templates, and details beyond this companion.
Historical plans can omit essential context. Source references identify where a detail came from; they do not certify the design or replace current manufacturer instructions or applicable professional review.
More from this corner of the shop.
Workshop
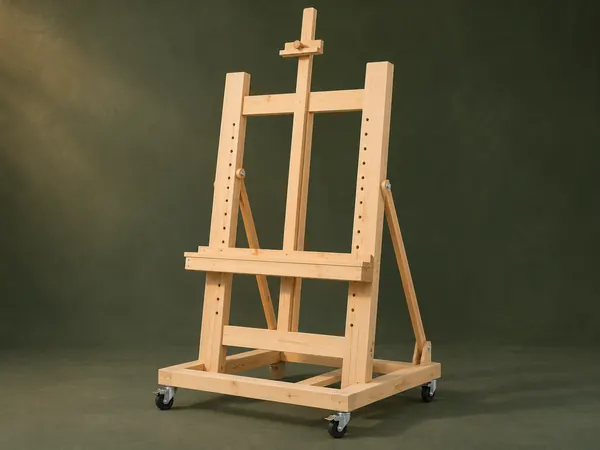
Adjustable Studio Easel
A tall H-frame easel has a pegged canvas shelf, sliding top clamp and hinged rear tilt supports.
Intermediate6 stages
Workshop
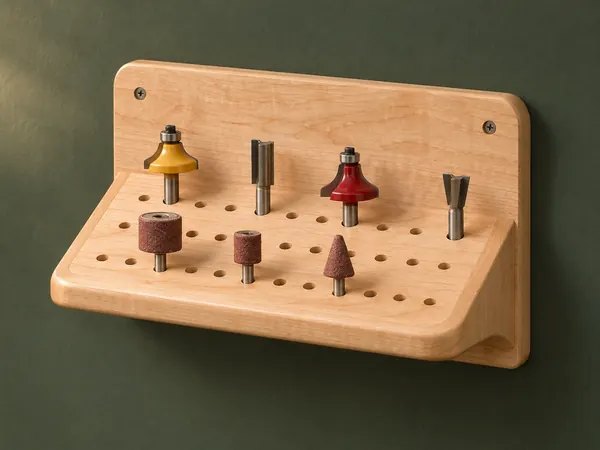
Angled Router-Bit Shelf
A sloping drilled shelf presents router bits and other shanked accessories against a wall backboard.
Beginner5 stages
Workshop
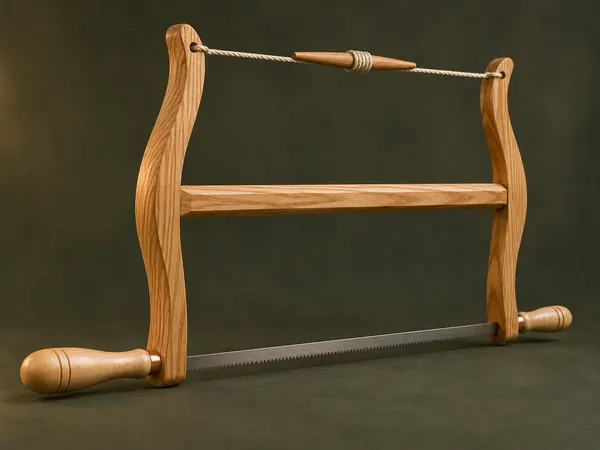
Classic Wooden Bow Saw
An ash H-frame tensions a narrow saw blade with twisted cord and turned maple handles.
Advanced5 stages