Pegged mortise-and-tenon construction and thin panels require advanced fitting.
Project library / Tables & desks
Tables & desks / Design study
Stickley Inspired Side Table
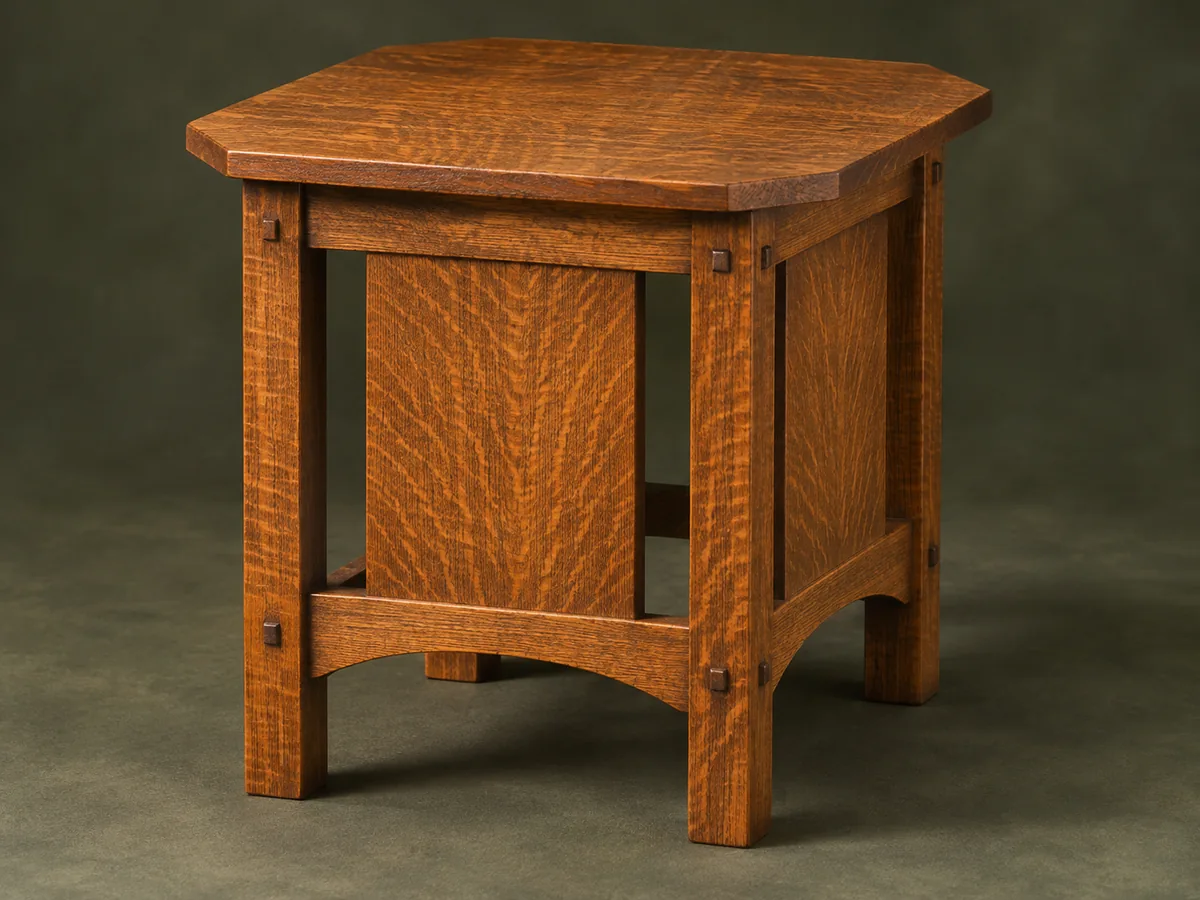
A white-oak side table with a clipped-corner top, pegged frame joints and a broad panel on each side.
Advanced5 stages2-page source
Design review required. Planning overview, not a shop-tested or construction-ready plan. Planning until a complete dimensioned cut layout is available. Use a safe crosscut/tenoning fixture; avoid trapping offcuts between the blade and rip fence.
Understand the project
What makes this build.
Pegged mortise-and-tenon construction and thin panels require advanced fitting.
The design is based on the 1914 L. & J. G. Stickley model 562.
This file is the prose companion-style variant, distinct from the single-sheet drawing.
Points to resolve before building
- Planning until a complete dimensioned cut layout is available.
- Use a safe crosscut/tenoning fixture; avoid trapping offcuts between the blade and rip fence.
Prepare the workbench
Materials & tools.
Check what you have, then confirm stock sizes and hardware against your chosen dimensions.
Materials checklist
Tools & operations
- Saw with safe tenoning fixture
- Router or mortiser
- Bandsaw or jigsaw
- Drill
- Clamps
Tool choices may include practical editorial suggestions. Use workholding and guarding appropriate to the actual machine and operation.
Choose dry, sound stock and test unfamiliar joints in scrap. Keep guards, push aids, eye protection, and dust control appropriate to the work.
Keep the numbers close
Measurements to know.
Selected dimensions verified from the source. This is not an automatically scaled cutting list.
| Rail mortises | ⅜ inch wide × 1 inch deep in the source | Source p. 1 |
|---|---|---|
| Panel tenons | ¼ × 5¼ × ½ inches | Source p. 2 |
| Clipped corners | Mark 2½ inches from each top corner | Source p. 2 |
Printed diagrams and concept images are not scale references. Verify measurements, material thickness, hardware fit, and allowances before cutting.
Inches to millimeters
Convert a measurement without changing the design. Enter a decimal or a fraction, such as 1 3/8.
Nominal lumber names and actual finished sizes are different. Converting units does not choose a substitute stock size.
Read, assess & plan
Explore the construction.
Review stages explain the historical design and unresolved decisions; they are not approval to build or use it.
Establish the missing cut dimensions
- Pair the prose with a verified dimensioned layout before cutting stock. This capture gives joinery and shaping details but not a complete independent cut list.
Before moving onLeg spacing, top size and rail lengths are established.
Cut the mortises
- Mark the best leg faces and lay out upper and lower rail mortises. Add the shallow panel mortises in the aprons and stretchers.
Before moving onMatching mortises align on each side.
Fit the tenons and panels
- Use a supported tenoning setup and miter hidden tenon ends where adjacent joints meet. Retain the source’s panel-width clearance for seasonal movement.
Before moving onPanels fit without forcing gaps at the rail shoulders.
Shape and glue the base
- Lay out the curved stretcher bottoms with one template. Dry-fit, then glue the base square and peg the leg joints after it has cured.
Before moving onThe base is rigid and the pegs sit flush.
Make the top
- Glue and flatten the top panel, clip its corners and fit tabletop fasteners in the apron grooves. Sand and finish without locking the top across its grain.
Before moving onThe top is centered and remains movement-friendly.
1 / 5
Progress and notes stay in this browser. Nothing is uploaded.
Source notes.
- Original PDF
- Stickley Side Table 2.pdf
- Source length
- 2 pages
- Attribution
- Popular Woodworking, Stickley Side Table; based on L. & J. G. Stickley model 562.
- This edition
- 116 Studio · Original written companion and AI concept image · November 2026
Page references count from the first page of this PDF. The original is retained in the owner’s private woodworking collection; it is not distributed by this website. Consult it for full drawings, templates, and details beyond this companion.
Historical plans can omit essential context. Source references identify where a detail came from; they do not certify the design or replace current manufacturer instructions or applicable professional review.
More from this corner of the shop.
Tables & desks
Hand-Tool Side Table
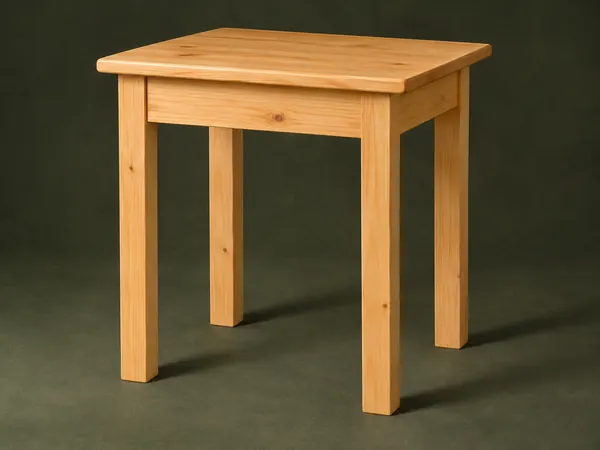
A small pine table uses square legs, mortise-and-tenon aprons and a solid board top.
Intermediate5 stages
Tables & desks
Open-Shelf Bedside Table
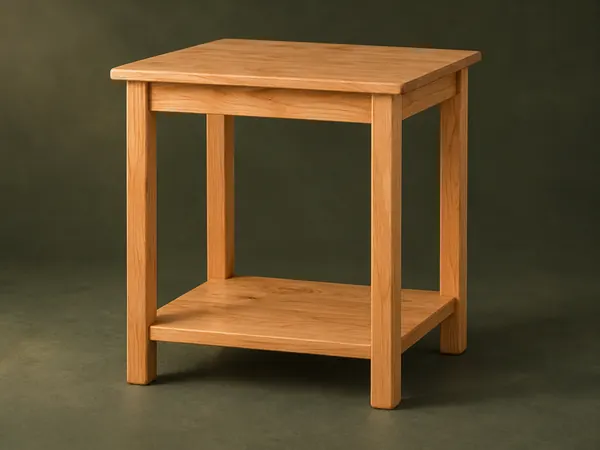
A small table has rounded square legs, a solid top and a low shelf captured in leg notches.
Intermediate5 stages
Tables & desks
Four-Sided Book Table
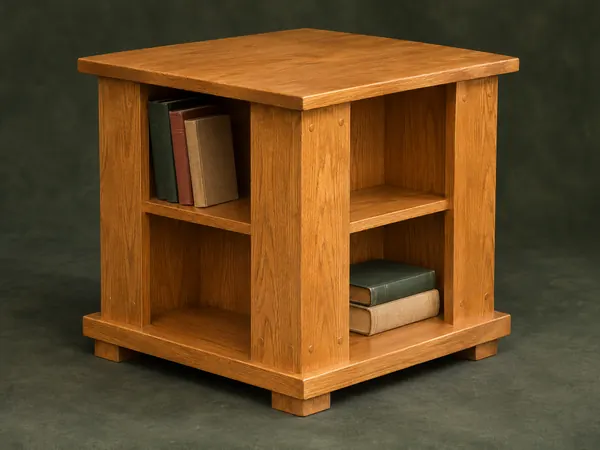
A square end table offers small book compartments on four sides beneath a projecting top.
Intermediate5 stages