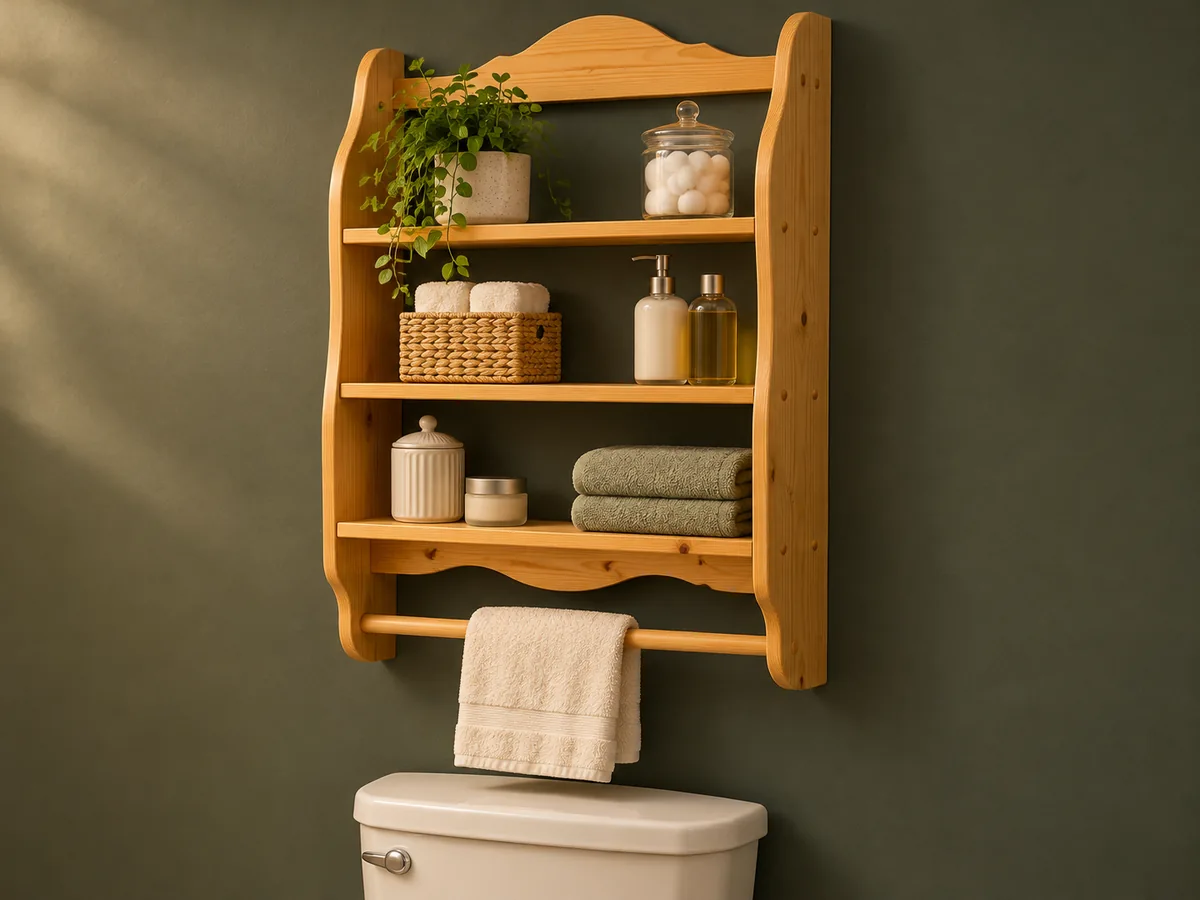
Curved profiles add detail to straightforward screwed shelf construction.
Project library / Storage & cabinets
Storage & cabinets / Build companion
Curved Bathroom Shelf
A pine wall shelf with flowing side profiles, decorative top and bottom rails and a small towel bar.
Intermediate6 stages6-page source
A companion to the original plan. Original reading guide based on the archived plan; not shop-tested. Confirm diagram dimensions against the private source before cutting.
Understand the project
What makes this build.
Curved profiles add detail to straightforward screwed shelf construction.
Top and bottom rails mirror a softly decorative silhouette.
A towel bar spans beneath the shelves.
Points to resolve before building
- The source’s plumber’s-tape-and-nails mounting method is not adopted.
- Use a plug cutter only with appropriate supported workholding; the handheld technique in the article is not recommended.
Prepare the workbench
Materials & tools.
Check what you have, then confirm stock sizes and hardware against your chosen dimensions.
Materials checklist
Tools & operations
- Jigsaw
- Drill
- Clamps
- Sander
- Optional cornering tool
- Purchased plugs or drill-press plug cutter
Tool choices may include practical editorial suggestions. Use workholding and guarding appropriate to the actual machine and operation.
Choose dry, sound stock and test unfamiliar joints in scrap. Keep guards, push aids, eye protection, and dust control appropriate to the work.
Keep the numbers close
Measurements to know.
Selected dimensions verified from the source. This is not an automatically scaled cutting list.
| Top and bottom rails | 18 inches long | Source p. 3 |
|---|
Printed diagrams and concept images are not scale references. Verify measurements, material thickness, hardware fit, and allowances before cutting.
Inches to millimeters
Convert a measurement without changing the design. Enter a decimal or a fraction, such as 1 3/8.
Nominal lumber names and actual finished sizes are different. Converting units does not choose a substitute stock size.
From stock to finished project
Let’s make it.
Read the complete sequence before cutting. Mark a stage complete after its fit checks and any required glue cure.
Measure the bathroom space
- Leave enough clearance above the toilet tank for full lid removal and servicing. Arrange actual bottles to establish shelf spacing before developing the final dimensions. Test the tallest intended bottle in the layout, including room to lift it out rather than merely fitting its static height.
Before moving onThe layout preserves tank access and fits the intended contents.
Make the curved profiles
- Draw one side template and transfer it to both boards. Use a folded half-pattern to make symmetrical eighteen-inch decorative rails. Cut just outside the profile line and smooth back to it; the broad flowing curves are more convincing when they are continuous.
Before moving onPaired sides match and the rails are symmetrical.
Prepare surfaces and joint areas
- Smooth the curves and ease exposed edges. If prefinishing parts, mask areas that must receive wood glue. Work with the grain when easing pine edges and reverse direction near knots if the tool begins lifting fibers from the surface.
Before moving onAll contact edges are smooth and glue surfaces remain bare.
Dry-fit and fasten
- Clamp the shelves and towel bar between the sides, checking square and marking positions. Predrill fasteners and controlled-depth plug recesses before final assembly. A depth stop or clearly marked bit protects the thin side boards when drilling plug recesses over the already established pilot holes.
Before moving onShelves stay level and screws do not split the ends.
Plug and finish
- Fit matching wood plugs, trim them flush and complete a compatible moisture-resistant finish. Treat shellac’s water resistance realistically rather than assuming it is waterproof. Align the plug grain with the side grain and use a flush-cut method that does not gouge the surrounding soft pine.
Before moving onPlugs are flush and all surfaces are protected.
Mount to reliable backing
- Use purpose-made rated mounting hardware into suitable structure instead of loose nail loops. Check tank servicing clearance again with the shelf loaded lightly. Check the shelf’s mounting with its actual contents and leave an accessible path to every fastener for later inspection or removal.
Before moving onThe shelf is secure and the tank lid can still be removed.
1 / 6
Progress and notes stay in this browser. Nothing is uploaded.
Source notes.
- Original PDF
- Tank Heaven.pdf
- Source length
- 6 pages
- Attribution
- Popular Woodworking, Tank Heaven, Mag Ruffman.
- This edition
- 116 Studio · Original written companion and AI concept image · November 2026
Page references count from the first page of this PDF. The original is retained in the owner’s private woodworking collection; it is not distributed by this website. Consult it for full drawings, templates, and details beyond this companion.
Historical plans can omit essential context. Source references identify where a detail came from; they do not certify the design or replace current manufacturer instructions or applicable professional review.
More from this corner of the shop.
Storage & cabinets
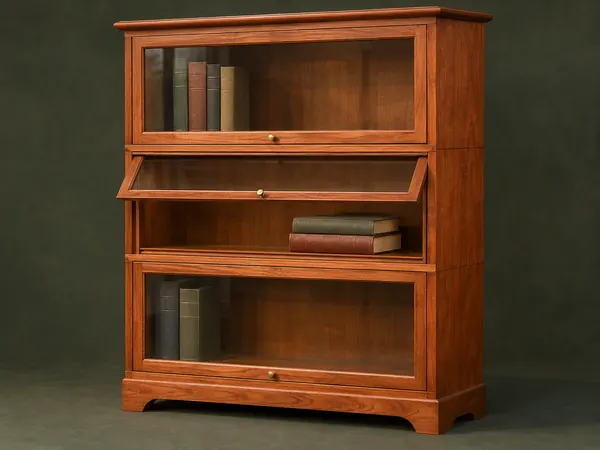
Stacking Barrister Bookcase
Modular cherry cases stack over a shaped base and close with glass doors that lift and slide inward.
Advanced6 stages
Storage & cabinets
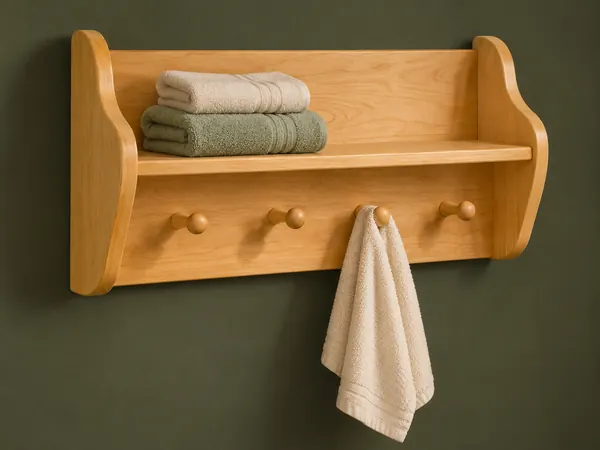
Four-Peg Bathroom Shelf
A wall shelf combines shaped end panels with four upward-tilted wooden towel pegs.
Beginner5 stages
Storage & cabinets
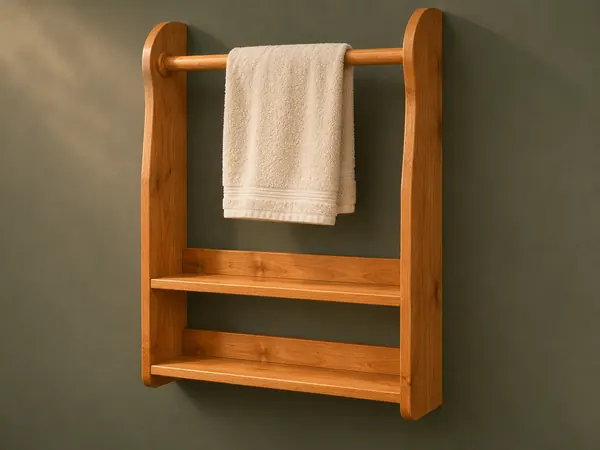
Two-Shelf Towel Rack
A wall rack combines two low shelves with a towel rod held between curved side panels.
Intermediate5 stages