Raised panels, lipped drawers and shaped casework require accurate intermediate cabinet skills.
Project library / Storage & cabinets
Storage & cabinets / Build companion
Colonial Dry Sink Cabinet
A traditional cabinet with two drawers, two raised-panel doors and a recessed top surrounded by a shaped splash rail.
Intermediate7 stages8-page source
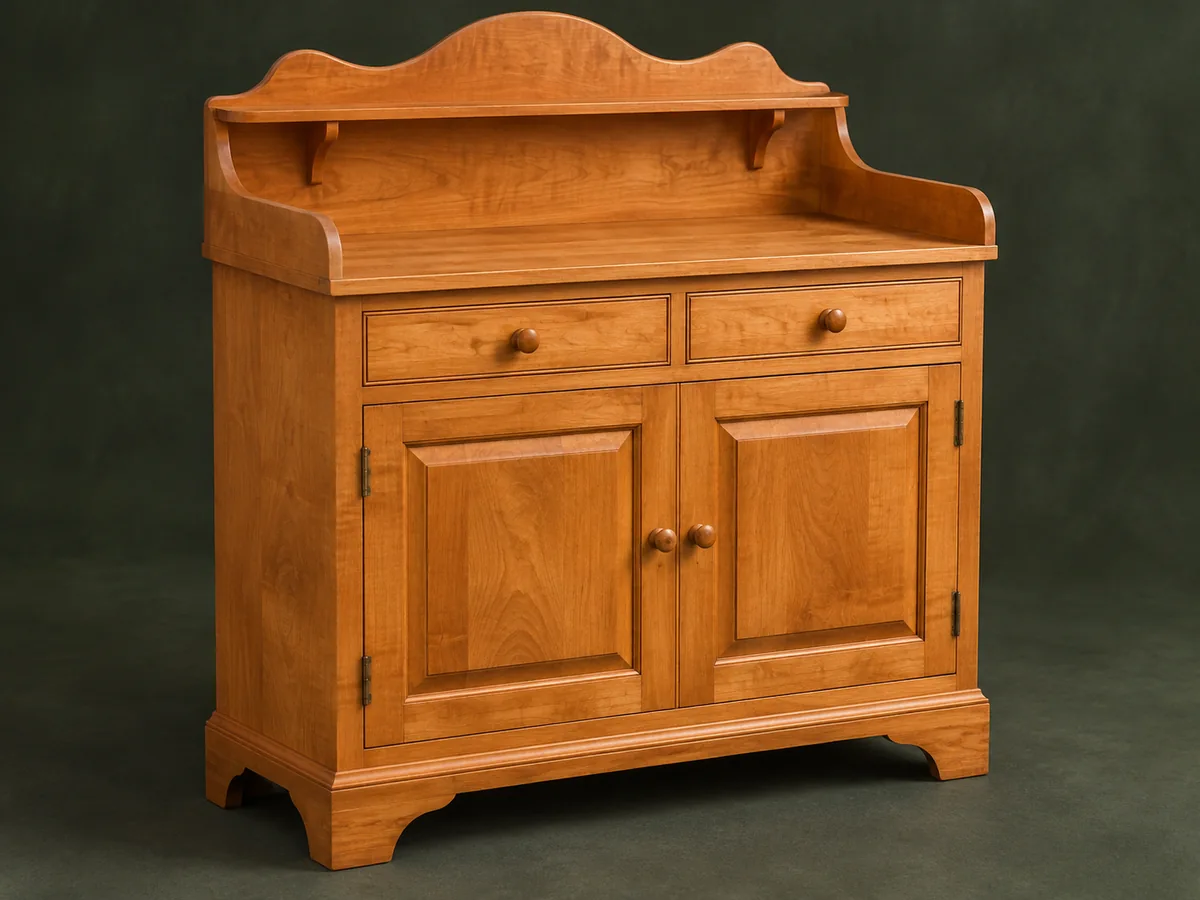
A companion to the original plan. Original reading guide based on the archived plan; not shop-tested. Confirm diagram dimensions against the private source before cutting.
Understand the project
What makes this build.
Raised panels, lipped drawers and shaped casework require accurate intermediate cabinet skills.
The top is a shallow contained well rather than a plumbed basin.
A rear shelf and curved plinth give the cabinet its Colonial character.
Points to resolve before building
- The old plan’s solid-top attachment needs movement review; do not rigidly glue across its width.
- A dry sink is not automatically watertight.
Prepare the workbench
Materials & tools.
Check what you have, then confirm stock sizes and hardware against your chosen dimensions.
Materials checklist
Tools & operations
- Saw
- Router
- Drill and doweling jig
- Bandsaw or jigsaw
- Clamps
Tool choices may include practical editorial suggestions. Use workholding and guarding appropriate to the actual machine and operation.
Choose dry, sound stock and test unfamiliar joints in scrap. Keep guards, push aids, eye protection, and dust control appropriate to the work.
Keep the numbers close
Measurements to know.
Selected dimensions verified from the source. This is not an automatically scaled cutting list.
| Top | ¾ × 18¼ × 39 inches | Source p. 3 |
|---|---|---|
| Case side panels | ¾ × 16½ × 30¾ inches | Source p. 3 |
| Drawer fronts | Two at ¾ × 5¼ × 16¼ inches | Source p. 4 |
Printed diagrams and concept images are not scale references. Verify measurements, material thickness, hardware fit, and allowances before cutting.
Inches to millimeters
Convert a measurement without changing the design. Enter a decimal or a fraction, such as 1 3/8.
Nominal lumber names and actual finished sizes are different. Converting units does not choose a substitute stock size.
From stock to finished project
Let’s make it.
Read the complete sequence before cutting. Mark a stage complete after its fit checks and any required glue cure.
Build the face frame first
- Cut and align the frame rails and stiles using the source’s dowel or biscuit approach. Clamp it square and use the actual openings to control the later cabinet and door fit. Mark the two drawer openings and lower door openings separately, preserving the center stile as a shared reference for both halves.
Before moving onThe two drawer and door openings are true.
Prepare the cabinet panels
- Glue and flatten the broad sides and top, then machine the bottom dados and back rabbets. Assemble the box with the face frame and fit the internal braces and drawer guides. Test the bottom dado with the actual panel thickness and compare side layouts before assembly; unequal grooves can twist the cabinet.
Before moving onThe cabinet is square and the guides are level.
Make the shaped base
- Miter the plinth components and cut matching curved foot openings. Fit the base cleats and attach the assembly without distorting the case. Save the curved waste pieces as temporary clamping cauls where useful, protecting the shaped base edges from concentrated clamp pressure.
Before moving onAll feet register and the plinth joints close.
Fit the recessed top surround
- Shape the splash-board sides, front and rear shelf to the private drawing. Attach the surround and top with a fastening arrangement that respects solid-wood movement. Dry-fit the front surround bevel to the side profiles before fastening; this conspicuous corner should close without filler or forced alignment.
Before moving onThe shallow well is level and the surround fits cleanly.
Build floating-panel doors
- Fit the rail-and-stile joints and raised panels to the actual openings. Prefinish panel edges if needed and leave panels unglued within their grooves. Finish the panel edges before assembly if the chosen finish would reveal a pale line when the panel shrinks seasonally.
Before moving onDoors are square and panels have movement clearance.
Make the drawers
- Fit the lipped fronts, doweled sides and grooved bottoms, verifying the narrow drilling margins on scrap. Test each drawer on its guides before installing hardware. The drawer dowel holes have little surrounding material; use a depth stop and a test offcut to check their alignment.
Before moving onDrawers run smoothly with consistent reveals.
Finish and inspect
- Fit the removable back, hinges and knobs, then apply a fully cured furniture finish. Use this as furniture unless a separately waterproof liner is provided for wet objects. Keep wet pitchers or plant pots on separate protective trays so the decorative recessed top does not collect hidden standing water.
Before moving onDoors and drawers operate freely and the cabinet stands steadily.
1 / 7
Progress and notes stay in this browser. Nothing is uploaded.
Source notes.
- Original PDF
- The Colonial Dry Sink.pdf
- Source length
- 8 pages
- Attribution
- Archived The Colonial Dry Sink guide, Shopsmith-oriented construction article.
- This edition
- 116 Studio · Original written companion and AI concept image · November 2026
Page references count from the first page of this PDF. The original is retained in the owner’s private woodworking collection; it is not distributed by this website. Consult it for full drawings, templates, and details beyond this companion.
Historical plans can omit essential context. Source references identify where a detail came from; they do not certify the design or replace current manufacturer instructions or applicable professional review.
More from this corner of the shop.
Storage & cabinets
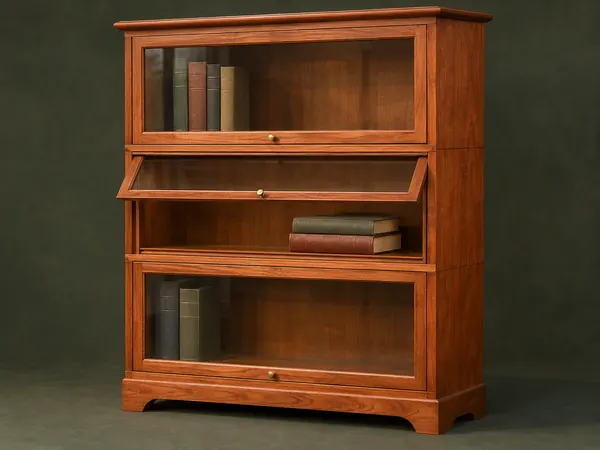
Stacking Barrister Bookcase
Modular cherry cases stack over a shaped base and close with glass doors that lift and slide inward.
Advanced6 stages
Storage & cabinets
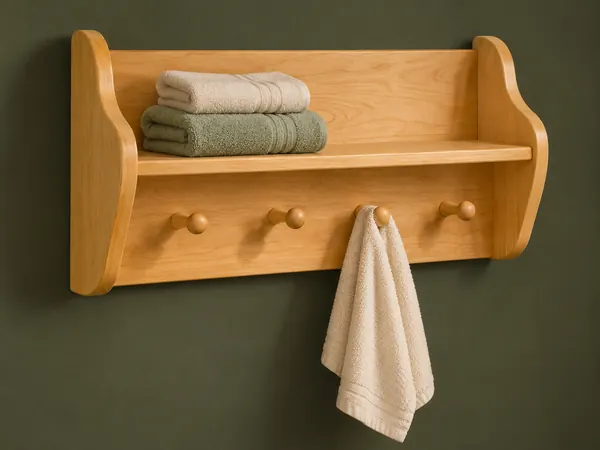
Four-Peg Bathroom Shelf
A wall shelf combines shaped end panels with four upward-tilted wooden towel pegs.
Beginner5 stages

Storage & cabinets
Two-Shelf Towel Rack
A wall rack combines two low shelves with a towel rod held between curved side panels.
Intermediate5 stages