Tall solid-wood casework and three-panel doors require advanced fitting and movement allowance.
Project library / Storage & cabinets
Storage & cabinets / Design study
Paneled Media Armoire
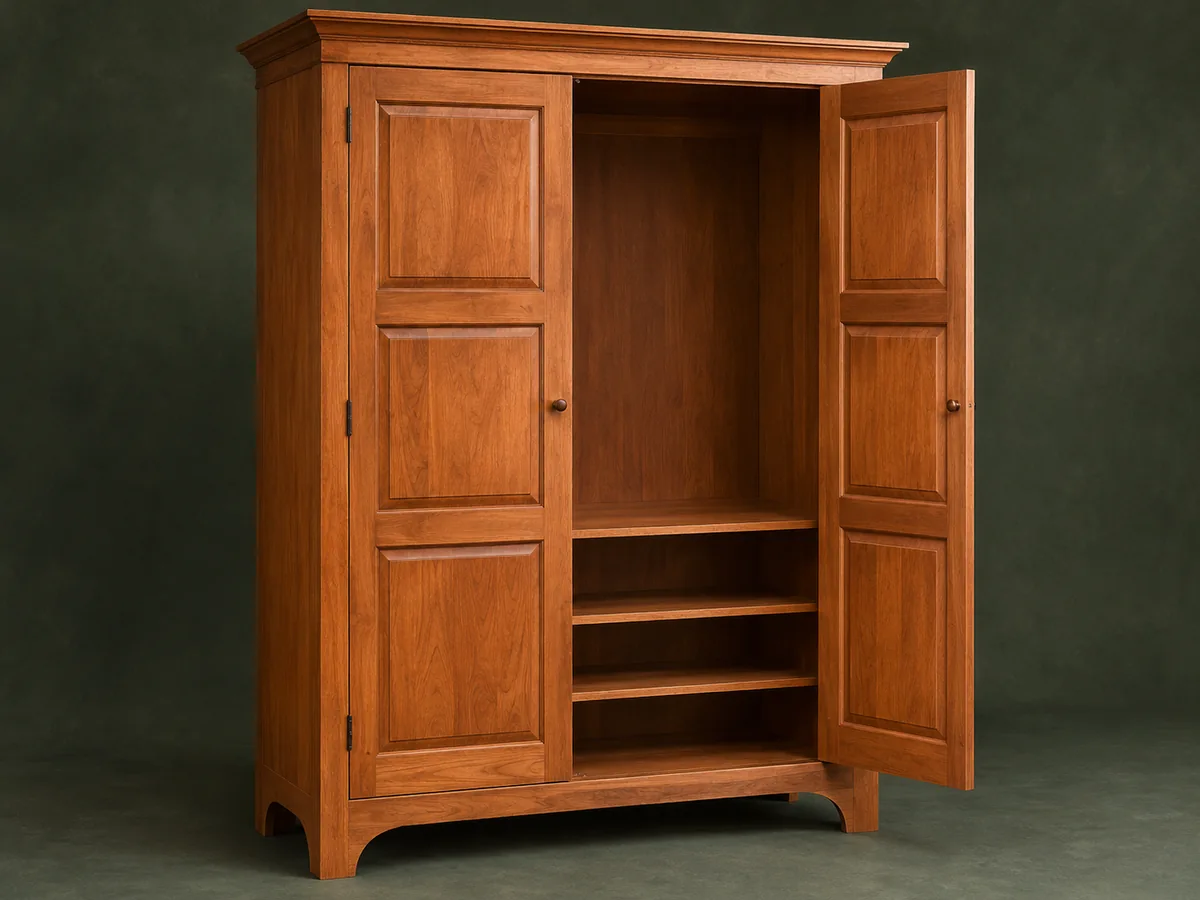
A tall solid-wood media armoire with paired three-panel doors, a shaped footed base and simple crown molding.
Advanced6 stages5-page source
Design review required. Planning overview, not a shop-tested or construction-ready plan. Planning guide: referenced diagrams and the materials list are absent from this capture. The apparent mortise-depth inconsistency must be reconciled with the source drawing.
Understand the project
What makes this build.
Tall solid-wood casework and three-panel doors require advanced fitting and movement allowance.
Paired doors conceal the full media opening.
The lower cutouts form feet within the case sides and face frame.
Points to resolve before building
- Planning guide: referenced diagrams and the materials list are absent from this capture.
- The apparent mortise-depth inconsistency must be reconciled with the source drawing.
- A closed media cabinet needs equipment-specific heat management and anti-tip restraint.
Prepare the workbench
Materials & tools.
Check what you have, then confirm stock sizes and hardware against your chosen dimensions.
Materials checklist
Tools & operations
- Saw
- Router
- Mortiser or drill and chisels
- Jigsaw
- Clamps
Tool choices may include practical editorial suggestions. Use workholding and guarding appropriate to the actual machine and operation.
Choose dry, sound stock and test unfamiliar joints in scrap. Keep guards, push aids, eye protection, and dust control appropriate to the work.
Keep the numbers close
Measurements to know.
Selected dimensions verified from the source. This is not an automatically scaled cutting list.
| Door-panel grooves | ⅜ × ⅜ inch in the source | Source p. 3 |
|---|---|---|
| Case dados | ¾ inch wide × ¼ inch deep | Source p. 4 |
Printed diagrams and concept images are not scale references. Verify measurements, material thickness, hardware fit, and allowances before cutting.
Inches to millimeters
Convert a measurement without changing the design. Enter a decimal or a fraction, such as 1 3/8.
Nominal lumber names and actual finished sizes are different. Converting units does not choose a substitute stock size.
Read, assess & plan
Explore the construction.
Review stages explain the historical design and unresolved decisions; they are not approval to build or use it.
Recover the complete dimensions
- Develop a dimensioned drawing from actual equipment and the missing referenced diagrams. Resolve the source’s apparent one-inch-tenon versus 11/16-inch mortise-depth conflict before machining.
Before moving onThe case dimensions and all joints are internally consistent.
Make the face frame
- Fit mortise-and-tenon joints from matched reference faces and leave the specified small trimming margin at the outer stiles. Dry-fit and clamp the frame square.
Before moving onThe frame controls a true rectangular door opening.
Fit the three-panel doors
- Machine the grooves and haunched rail joints, then size the raised panels with movement clearance. Fit the meeting-edge shiplap and hinges to the actual opening.
Before moving onDoors close evenly without binding their panels.
Assemble the solid case
- Fit the top, bottom and center shelf into the side dados. Attach the face frame and prepare the beaded shiplap back without preventing seasonal movement.
Before moving onCase is square and the back boards can move.
Add crown and foot profiles
- Fit the simple beveled crown and cap, using the source’s slotted rear attachment concept on the sides. Cut the lower openings to form the short feet.
Before moving onCrown is aligned and the base sits without rocking.
Plan ventilation and installation
- Provide ventilation and cable openings based on current equipment specifications. Finish, install hardware and anchor the tall case to appropriate wall structure.
Before moving onEquipment clearances and anti-tip restraint are complete.
1 / 6
Progress and notes stay in this browser. Nothing is uploaded.
Source notes.
- Original PDF
- Traditional Entertainment Centre.pdf
- Source length
- 5 pages
- Attribution
- Popular Woodworking, Traditional Entertainment Centre article.
- This edition
- 116 Studio · Original written companion and AI concept image · November 2026
Page references count from the first page of this PDF. The original is retained in the owner’s private woodworking collection; it is not distributed by this website. Consult it for full drawings, templates, and details beyond this companion.
Current reference for design review: CPSC guidance for clothing storage units.
Historical plans can omit essential context. Source references identify where a detail came from; they do not certify the design or replace current manufacturer instructions or applicable professional review.
More from this corner of the shop.
Storage & cabinets
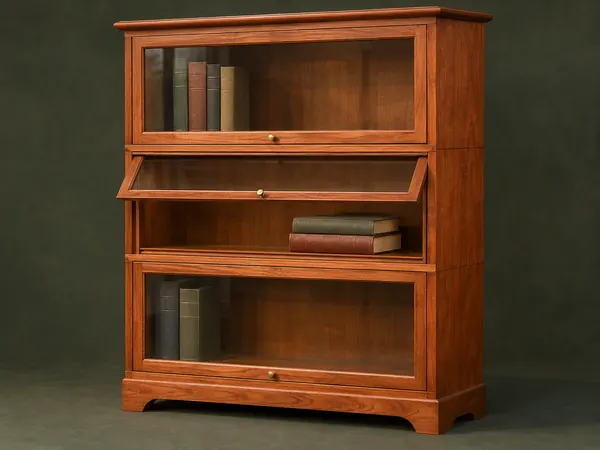
Stacking Barrister Bookcase
Modular cherry cases stack over a shaped base and close with glass doors that lift and slide inward.
Advanced6 stages
Storage & cabinets
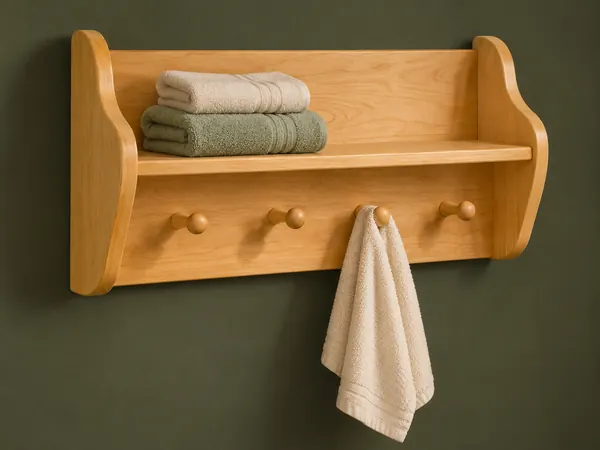
Four-Peg Bathroom Shelf
A wall shelf combines shaped end panels with four upward-tilted wooden towel pegs.
Beginner5 stages
Storage & cabinets
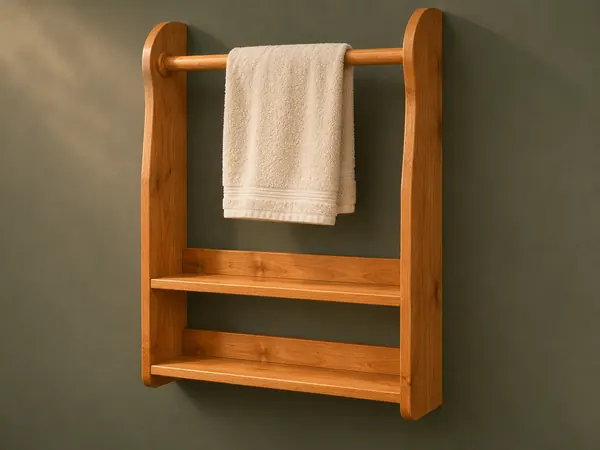
Two-Shelf Towel Rack
A wall rack combines two low shelves with a towel rod held between curved side panels.
Intermediate5 stages