A shaped wheel and angled tray require more fitting than a plain box.
Project library / Garden & outdoor
Garden & outdoor / Build companion
Rustic Wheelbarrow Planter
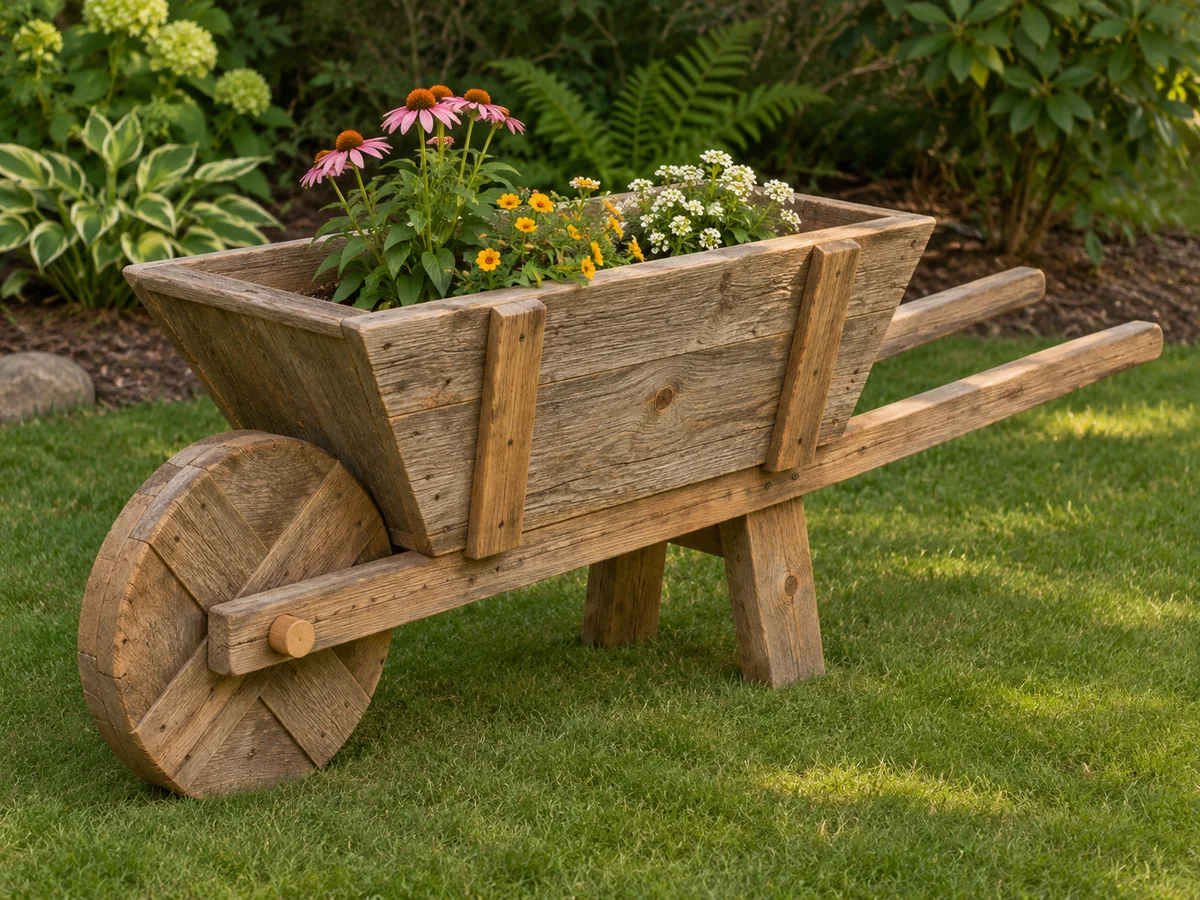
A decorative wooden wheelbarrow planter with a solid timber wheel, long handles and a flared boarded tray.
Intermediate6 stages4-page source
A companion to the original plan. Original reading guide based on the archived plan; not shop-tested. Confirm diagram dimensions against the private source before cutting.
Understand the project
What makes this build.
A shaped wheel and angled tray require more fitting than a plain box.
The wheel is laminated from crossed layers of fence boards.
External battens reinforce the rustic tray walls.
Points to resolve before building
- Decorative planter only; no transport or carrying capacity is established.
- Wet soil is heavy; avoid moving it by the handles while loaded.
Prepare the workbench
Materials & tools.
Check what you have, then confirm stock sizes and hardware against your chosen dimensions.
Materials checklist
Tools & operations
- Handsaw
- Jigsaw
- Drill
- Hammer
- Plane or sander
Tool choices may include practical editorial suggestions. Use workholding and guarding appropriate to the actual machine and operation.
Choose dry, sound stock and test unfamiliar joints in scrap. Keep guards, push aids, eye protection, and dust control appropriate to the work.
Keep the numbers close
Measurements to know.
Selected dimensions verified from the source. This is not an automatically scaled cutting list.
| Wheel diameter | 35 centimeters | Source p. 1 |
|---|---|---|
| Handle/side rails | Two at 130 centimeters long | Source p. 1 |
| Tray floor board starting length | 56 centimeters | Source p. 1 |
Printed diagrams and concept images are not scale references. Verify measurements, material thickness, hardware fit, and allowances before cutting.
Inches to millimeters
Convert a measurement without changing the design. Enter a decimal or a fraction, such as 1 3/8.
Nominal lumber names and actual finished sizes are different. Converting units does not choose a substitute stock size.
From stock to finished project
Let’s make it.
Read the complete sequence before cutting. Mark a stage complete after its fit checks and any required glue cure.
Inspect reclaimed material
- Remove metal and reject rotten, split or contaminated boards before machining. Measure the actual paling widths because the tray layout depends on them. Old fence palings may contain treatment residues or lead paint; use only stock whose condition and past use are suitable for the intended planter.
Before moving onAll usable stock is sound and free of hidden fasteners.
Make the decorative wheel
- Lay out the two crossed layers of boards and locate fasteners away from the final cut path. Cut the circle, smooth its edge and drill the centered axle hole. Check the axle center against the finished circle rather than the rectangular blank, and keep the two wheel layers tightly bonded.
Before moving onWheel is round enough to turn freely without loose boards.
Assemble the handle frame
- Round the handle ends and set the rails around the wheel position. Fit the recessed rear cross rail and upper front brace to fix the frame’s splay. The recessed rear cross rail establishes the handle spread; check it against the tray footprint before adding the front brace.
Before moving onFrame is symmetrical and cross rails sit firmly.
Fit axle and legs
- Cut the illustrated axle seats and secure the axle so it cannot fall out. Fit the two support legs and check the standing attitude before adding the tray. Test the frame with the empty tray temporarily placed on top, checking that its center of gravity remains between the wheel and legs.
Before moving onThe frame rests steadily on its wheel and legs.
Build the flared tray
- Make the boarded floor and fit the front, rear and side panels with the source’s twenty-five-degree flare. Measure each panel from the assembled floor and reinforce it with the external braces. Use the completed front and back panels to transfer the side lengths, since actual board widths can change the tray’s finished proportions.
Before moving onTray corners close and all boards are supported.
Attach and provide drainage
- Predrill and secure the tray to the rails, then provide drainage and a liner arrangement suited to the plants. Finish exposed edges and use the result as a decorative planter. Keep the wheel and axle free of planting soil and inspect the standing supports after wet weather, especially when using reclaimed timber.
Before moving onWater drains and the empty planter stands securely.
1 / 6
Progress and notes stay in this browser. Nothing is uploaded.
Source notes.
- Original PDF
- Wheelbarrow Planter.pdf
- Source length
- 4 pages
- Attribution
- Archived Wheelbarrow Planter DIY fact sheet.
- This edition
- 116 Studio · Original written companion and AI concept image · November 2026
Page references count from the first page of this PDF. The original is retained in the owner’s private woodworking collection; it is not distributed by this website. Consult it for full drawings, templates, and details beyond this companion.
Historical plans can omit essential context. Source references identify where a detail came from; they do not certify the design or replace current manufacturer instructions or applicable professional review.
More from this corner of the shop.
Garden & outdoor
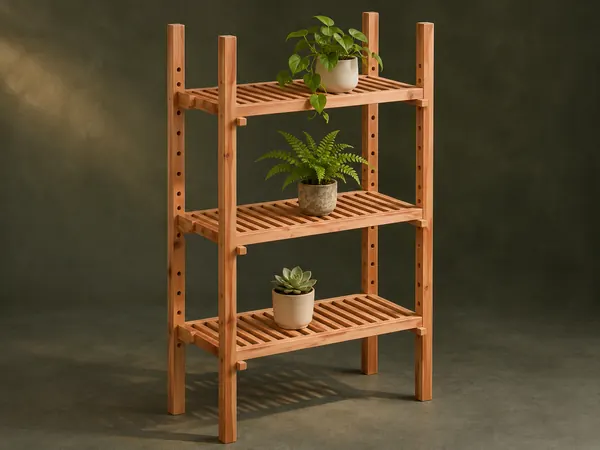
Adjustable Plant Shelves
A tall open plant stand has slatted shelves that slide on four uprights and lock at different heights with wooden pegs.
Intermediate6 stages
 Design study
Garden & outdoor
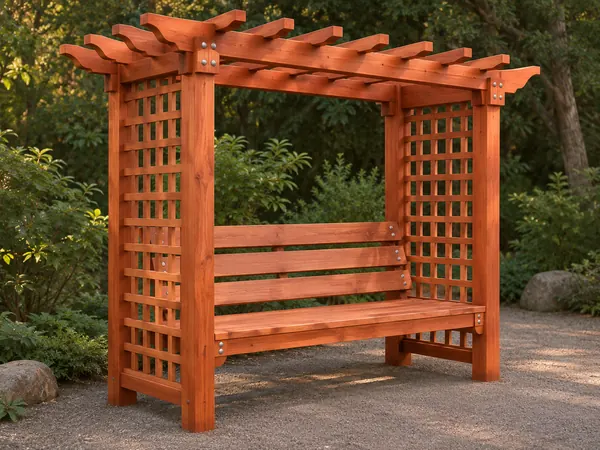
Lattice Arbor Bench
A garden seat sits between lattice side panels beneath an open pergola roof.
Advanced6 stages
Garden & outdoor
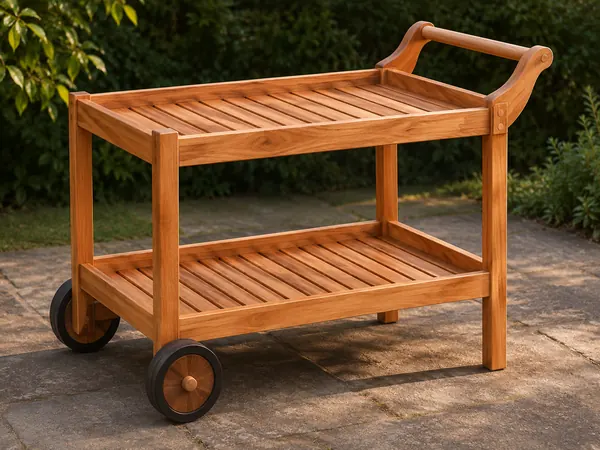
Two-Tier Garden Trolley
A push trolley carries two slatted trays on a timber frame with two wheels and a dowel handle.
Intermediate6 stages