Rabbet setup is straightforward, but the capture omits the complete assembly and lid-cutting instructions.
Project library / Boxes & small projects
Boxes & small projects / Design study
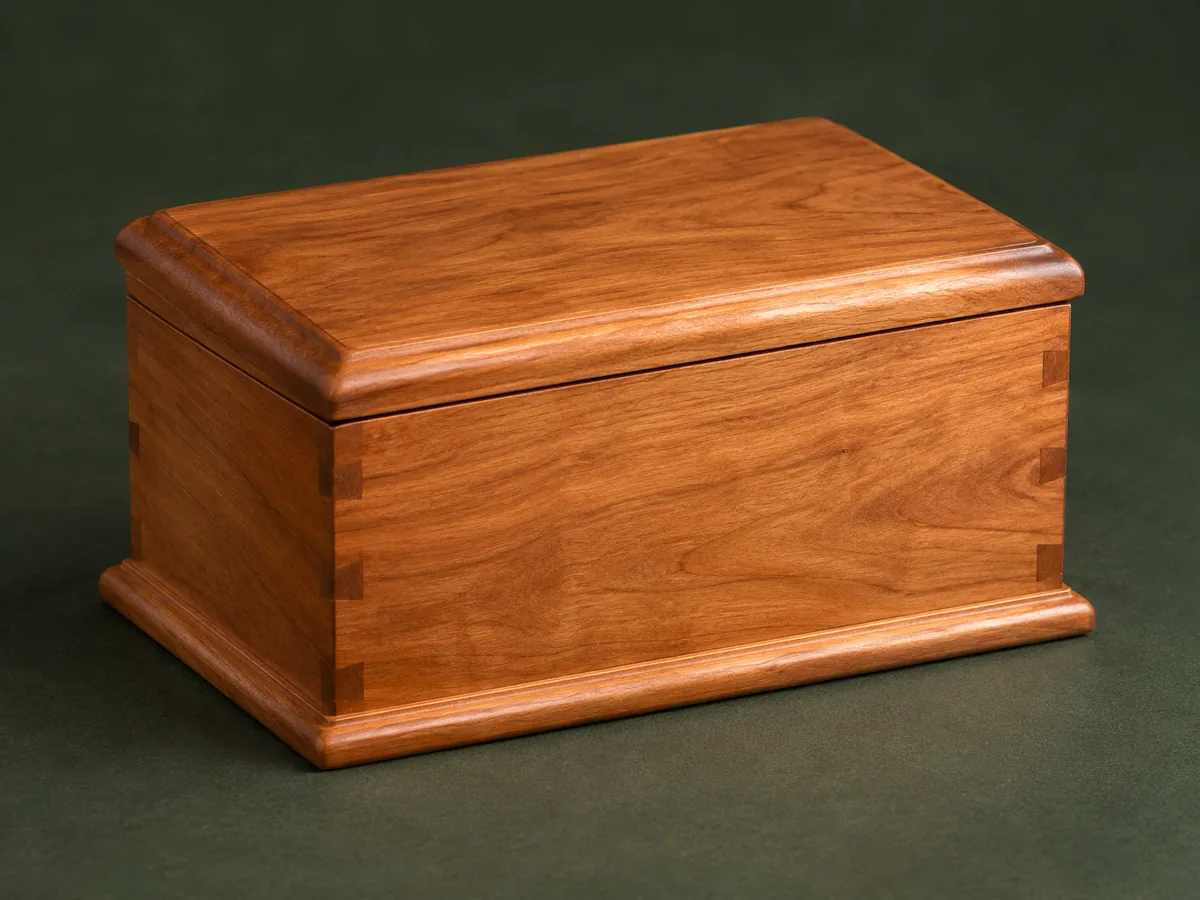
Custom Gift Box
A small fitted wooden gift box built with rabbeted joints, a shaped lid edge and an optional molded base.
Intermediate6 stages16-page source
Design review required. Planning overview, not a shop-tested or construction-ready plan. Planning guide: the referenced calculator and full Magic Box instructions are not included. Do not burn MDF, particleboard or finished scraps despite the article’s casual stove reference.
Understand the project
What makes this build.
Rabbet setup is straightforward, but the capture omits the complete assembly and lid-cutting instructions.
The dimensions are intended to follow the gift rather than a fixed size.
A shallow V detail may accent the lid seam.
Points to resolve before building
- Planning guide: the referenced calculator and full Magic Box instructions are not included.
- Do not burn MDF, particleboard or finished scraps despite the article’s casual stove reference.
Prepare the workbench
Materials & tools.
Check what you have, then confirm stock sizes and hardware against your chosen dimensions.
Materials checklist
Tools & operations
- Saw
- Router with suitable guarded setup
- Clamps
- Measuring tools
- Sander
Tool choices may include practical editorial suggestions. Use workholding and guarding appropriate to the actual machine and operation.
Choose dry, sound stock and test unfamiliar joints in scrap. Keep guards, push aids, eye protection, and dust control appropriate to the work.
Keep the numbers close
Measurements to know.
Selected dimensions verified from the source. This is not an automatically scaled cutting list.
| Joint-depth concept | Source calculator assumes rabbet depth of half the stock thickness. | Source p. 9 |
|---|
Printed diagrams and concept images are not scale references. Verify measurements, material thickness, hardware fit, and allowances before cutting.
Inches to millimeters
Convert a measurement without changing the design. Enter a decimal or a fraction, such as 1 3/8.
Nominal lumber names and actual finished sizes are different. Converting units does not choose a substitute stock size.
Read, assess & plan
Explore the construction.
Review stages explain the historical design and unresolved decisions; they are not approval to build or use it.
Size the gift cavity
- Measure the actual gift on a simple layout grid and add appropriate handling clearance. Decide explicitly whether each recorded dimension is an inside or outside measurement.
Before moving onThe intended contents fit a full-size paper or cardboard layout.
Develop the cut list
- Account for actual stock thickness and rabbet geometry by drawing the box section. The old online calculator is not included, so verify the arithmetic and lid allowance independently.
Before moving onEvery part dimension follows from one consistent joint layout.
Label and test the rabbets
- Mark each top, bottom, side and end before routing. Make sample joints to check both width and half-thickness depth with the actual stock.
Before moving onTrial joints close flush without thinning the box wall excessively.
Fit the box and lid method
- Dry-assemble the box and resolve the lid-separation or lift-off construction before glue-up; the capture refers to a separate book for full assembly. Keep small parts securely supported during any shaping.
Before moving onA complete lid and box assembly method is established.
Shape the decorative edges
- Test the lid profile on scrap so its cutter height stays within the lid thickness. Size any molded base from the actual profile and desired reveal.
Before moving onProfiles leave adequate wood and look proportionate.
Finish for the contents
- Remove glue marks and sand molded edges as carefully as flat faces. Apply a compatible finish, let it cure fully and recheck the lid fit before placing the gift inside.
Before moving onThe lid fits and the interior is clean and fully cured.
1 / 6
Progress and notes stay in this browser. Nothing is uploaded.
Source notes.
- Original PDF
- Wooden Box.pdf
- Source length
- 16 pages
- Attribution
- The Router Workshop, Valentine Project Tips 1–3; finishing notes by Luther E. Judt.
- This edition
- 116 Studio · Original written companion and AI concept image · November 2026
Page references count from the first page of this PDF. The original is retained in the owner’s private woodworking collection; it is not distributed by this website. Consult it for full drawings, templates, and details beyond this companion.
Historical plans can omit essential context. Source references identify where a detail came from; they do not certify the design or replace current manufacturer instructions or applicable professional review.
More from this corner of the shop.
Boxes & small projects
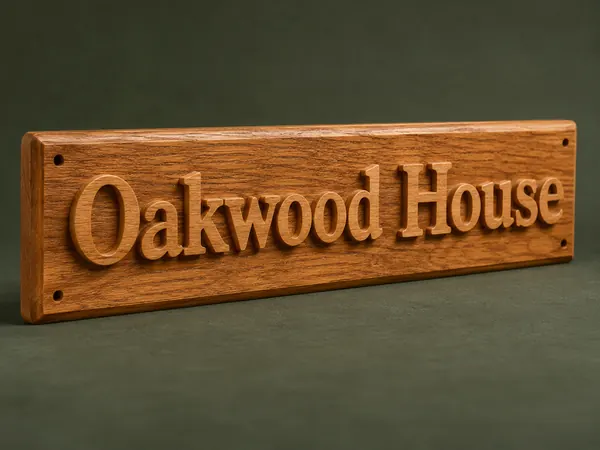
Raised-Letter Address Plaque
A wood house sign combines individually fretted letters with a beveled backing board.
Intermediate5 stages
Boxes & small projects
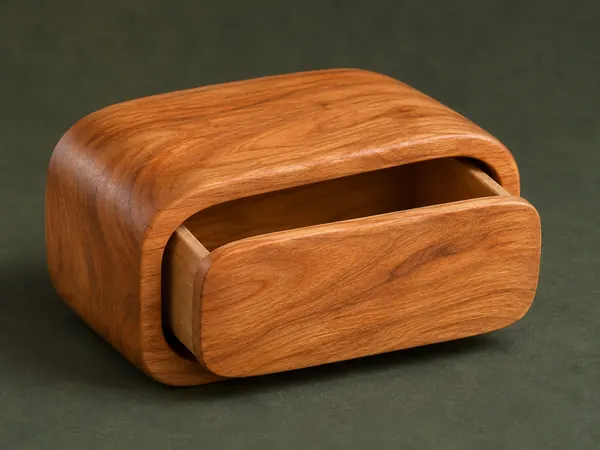
One-Drawer Bandsaw Box
A single wooden block becomes a rounded little case and a matching pull-out drawer.
Intermediate5 stages
Boxes & small projects
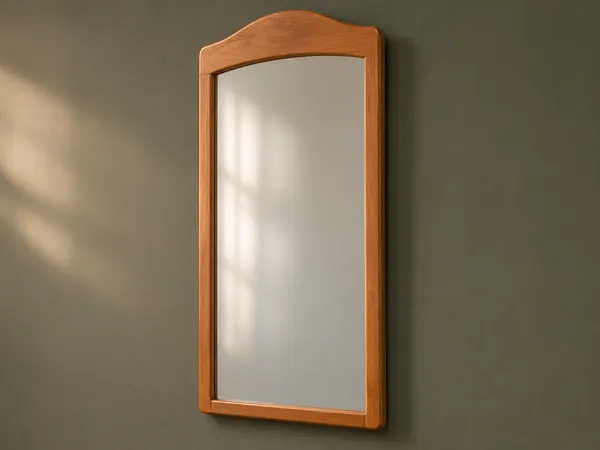
Arched Bathroom Mirror
A narrow timber mirror frame has a gently peaked curved top and doweled corner joints.
Intermediate5 stages