Laminated framing plus several fitted storage mechanisms require intermediate-to-advanced work.
Project library / Workshop
Workshop / Build companion
All In One Storage Workbench
A compact laminated-top bench combining a front vise, four drawers, a pullout shelf and end storage doors.
Intermediate6 stages5-page source
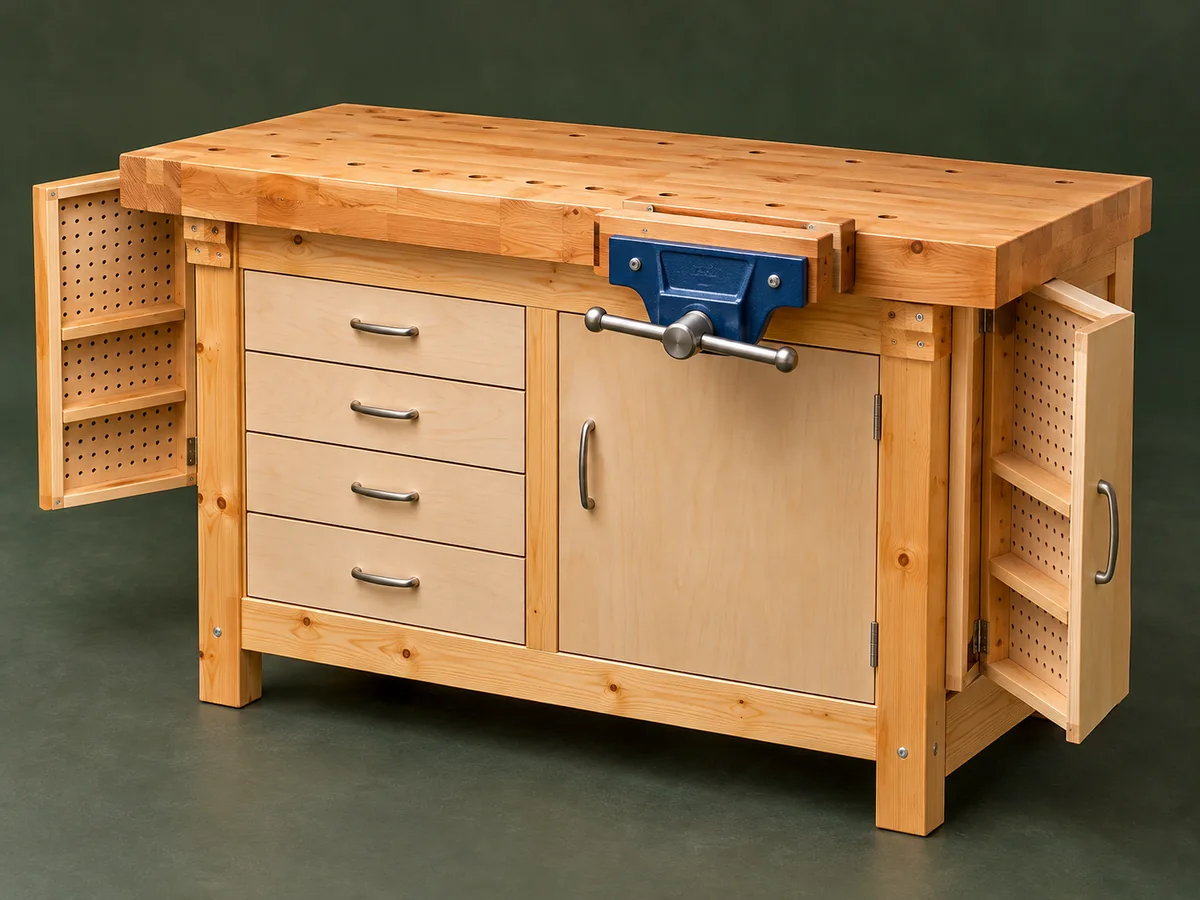
A companion to the original plan. Original reading guide based on the archived plan; not shop-tested. Confirm diagram dimensions against the private source before cutting.
Understand the project
What makes this build.
Laminated framing plus several fitted storage mechanisms require intermediate-to-advanced work.
End doors open to reveal additional tool storage.
The front combines drawers and a pullout shelf behind a door.
Points to resolve before building
- No tested bench, shelf or drop-door capacity is supplied.
- Vise spacing and hardware dimensions must follow the actual selected products.
Prepare the workbench
Materials & tools.
Check what you have, then confirm stock sizes and hardware against your chosen dimensions.
Materials checklist
Tools & operations
- Saw
- Jigsaw
- Drill
- Router
- Clamps
- Sander
Tool choices may include practical editorial suggestions. Use workholding and guarding appropriate to the actual machine and operation.
Choose dry, sound stock and test unfamiliar joints in scrap. Keep guards, push aids, eye protection, and dust control appropriate to the work.
Keep the numbers close
Measurements to know.
Selected dimensions verified from the source. This is not an automatically scaled cutting list.
| Overall bench | 58 inches long × 28 inches wide × 35 inches high | Source p. 1 |
|---|---|---|
| Main drawer slides | Four pairs at 22 inches; adapt to actual hardware clearances. | Source p. 3 |
Printed diagrams and concept images are not scale references. Verify measurements, material thickness, hardware fit, and allowances before cutting.
Inches to millimeters
Convert a measurement without changing the design. Enter a decimal or a fraction, such as 1 3/8.
Nominal lumber names and actual finished sizes are different. Converting units does not choose a substitute stock size.
From stock to finished project
Let’s make it.
Read the complete sequence before cutting. Mark a stage complete after its fit checks and any required glue cure.
Coordinate storage and hardware
- Select the actual vise and slides before cutting the cases. Lay out the four drawers, central door and end compartments so each moving part clears the base. The center case is shallower to allow for its laminated door; verify that allowance with the actual laminate thickness before sizing panels.
Before moving onHardware installation envelopes fit the working drawing.
Laminate the leg and rail system
- Label the layered pine components and cut their notches before assembly. Glue and screw the legs, fit the laminated rails and check the frame for square. Keep the layered leg pieces in numbered stacks, since the different widths create the rail-bearing surfaces and cannot be mixed casually.
Before moving onAll rail bearings close and the frame stands evenly.
Build the heavy top
- Glue the top’s fir layers with aligned joints, then flatten and round its exposed edges. Lay out the vise holes and top bolts clear of the base and planned storage. Check the top thickness against the chosen vise spacer and bolt lengths, leaving the vise jaws at the intended height below the surface.
Before moving onThe top is flat and mounting holes avoid structural conflicts.
Make cases and moving storage
- Edge the plywood before final sizing, then assemble square drawer and central cases. Fit drawers and the pullout shelf to the slide manufacturer’s required clearances. The source laminates doors on both faces; keep that balanced construction when using the same sheet material and finishing approach.
Before moving onDrawers and shelf travel fully without rubbing.
Fit end compartments
- Install cleats, perforated backs and the end doors. Fit continuous hinges and properly rated support chains for the intended door use. Confirm the open end door cannot strike the vise handle or nearby wall, and do not assume the support chains make it a rated seat.
Before moving onEnd doors open without overloading or twisting their hinges.
Finish and fit the vise
- Apply laminate and edging as detailed, finish the exposed timber and mount the selected vise on an appropriate spacer. Check all storage access and workholding before use. Cycle the pullout shelf, drawers and vise together to check for handle collisions before filling the storage compartments with tools.
Before moving onVise and storage operate securely without interference.
1 / 6
Progress and notes stay in this browser. Nothing is uploaded.
Source notes.
- Original PDF
- Work Bench 2.pdf
- Source length
- 5 pages
- Attribution
- Archived Workbench plan, source filename Work Bench 2.pdf.
- This edition
- 116 Studio · Original written companion and AI concept image · November 2026
Page references count from the first page of this PDF. The original is retained in the owner’s private woodworking collection; it is not distributed by this website. Consult it for full drawings, templates, and details beyond this companion.
Historical plans can omit essential context. Source references identify where a detail came from; they do not certify the design or replace current manufacturer instructions or applicable professional review.
More from this corner of the shop.
Workshop
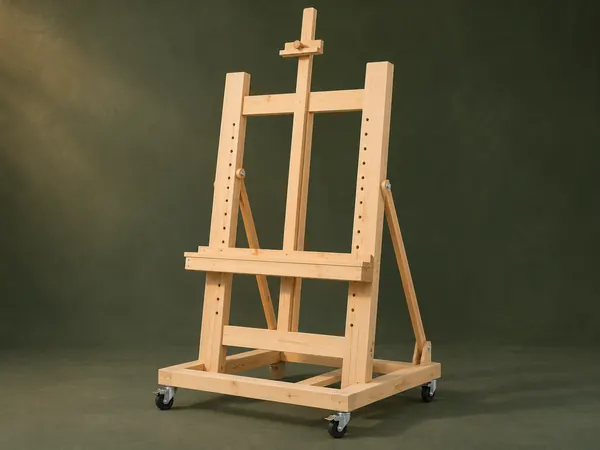
Adjustable Studio Easel
A tall H-frame easel has a pegged canvas shelf, sliding top clamp and hinged rear tilt supports.
Intermediate6 stages
Workshop
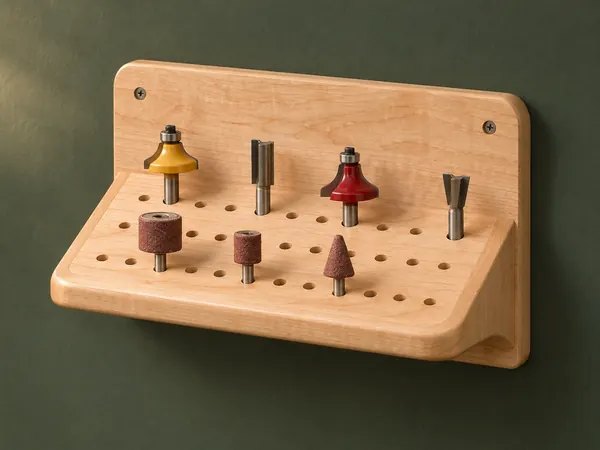
Angled Router-Bit Shelf
A sloping drilled shelf presents router bits and other shanked accessories against a wall backboard.
Beginner5 stages
Workshop
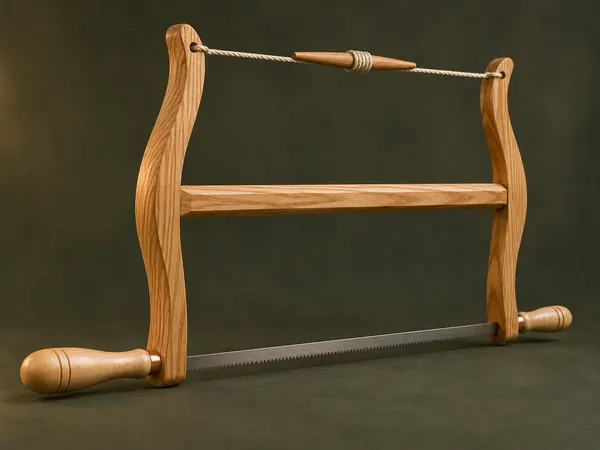
Classic Wooden Bow Saw
An ash H-frame tensions a narrow saw blade with twisted cord and turned maple handles.
Advanced5 stages