Straight construction is accessible, but the laminated top is heavy and needs careful handling.
Project library / Workshop
Workshop / Build companion
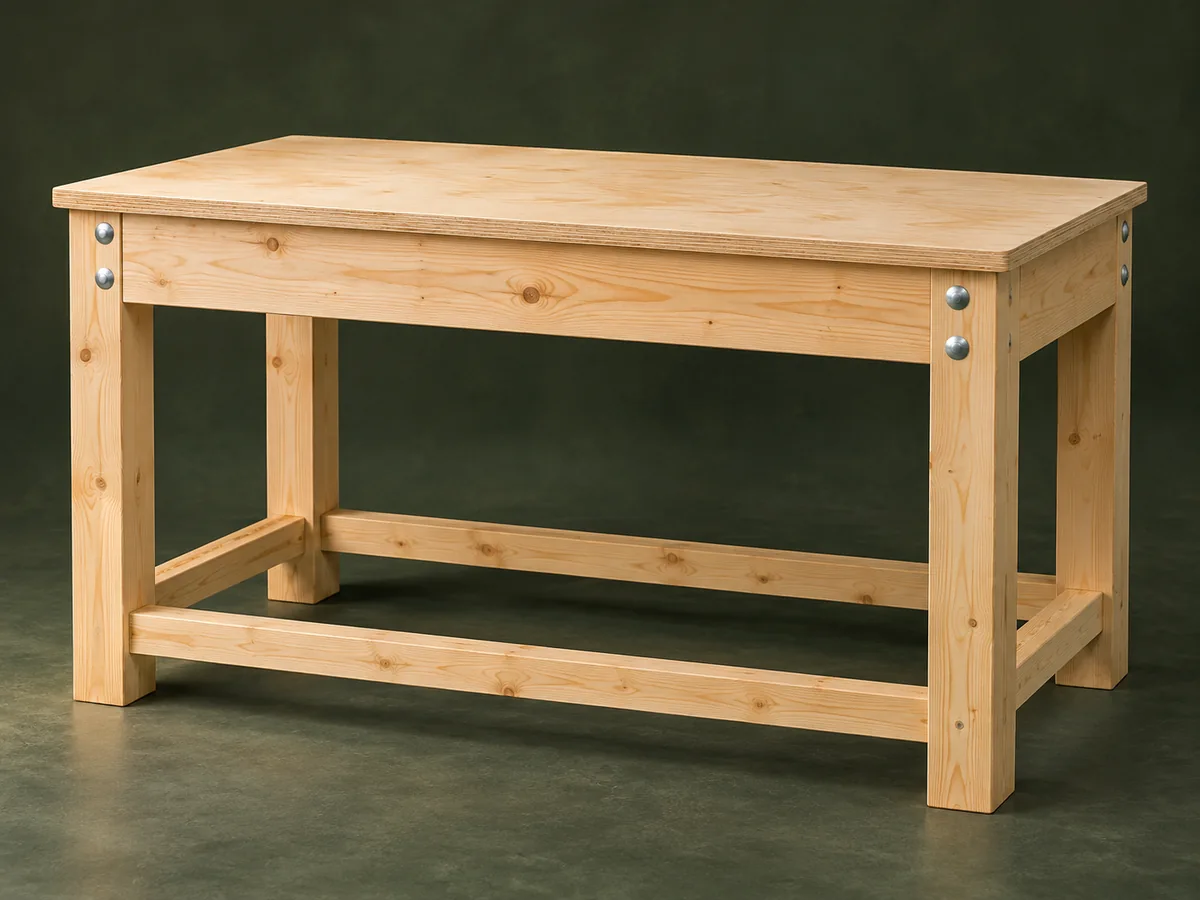
Heavy Plywood Top Workbench
A five-foot utility bench with a dense edge-laminated 2×4 core, replaceable plywood skin and bolted corner legs.
Intermediate6 stages4-page source
A companion to the original plan. Original reading guide based on the archived plan; not shop-tested. Confirm diagram dimensions against the private source before cutting.
Understand the project
What makes this build.
Straight construction is accessible, but the laminated top is heavy and needs careful handling.
L-shaped legs are bolted through the deep upper apron.
A screw-fastened plywood skin protects the structural core.
Points to resolve before building
- The source supplies no tested load rating; assess any added vise or machine separately.
- Long cross-grain restraints on a laminated solid core need seasonal inspection.
Prepare the workbench
Materials & tools.
Check what you have, then confirm stock sizes and hardware against your chosen dimensions.
Materials checklist
Tools & operations
- Circular saw
- Drill
- Clamps
- Plane or belt sander
- Square
Tool choices may include practical editorial suggestions. Use workholding and guarding appropriate to the actual machine and operation.
Choose dry, sound stock and test unfamiliar joints in scrap. Keep guards, push aids, eye protection, and dust control appropriate to the work.
Keep the numbers close
Measurements to know.
Selected dimensions verified from the source. This is not an automatically scaled cutting list.
| Example bench | 60 inches wide × 30 inches deep × 34 inches high | Source p. 1 |
|---|---|---|
| Top core | Eighteen 2×4 pieces, each 57 inches long | Source p. 1 |
| Leg components | Eight 2×4 pieces, each 30 inches long | Source p. 1 |
Printed diagrams and concept images are not scale references. Verify measurements, material thickness, hardware fit, and allowances before cutting.
Inches to millimeters
Convert a measurement without changing the design. Enter a decimal or a fraction, such as 1 3/8.
Nominal lumber names and actual finished sizes are different. Converting units does not choose a substitute stock size.
From stock to finished project
Let’s make it.
Read the complete sequence before cutting. Mark a stage complete after its fit checks and any required glue cure.
Check size against the shop
- Confirm comfortable height and room to move material around the bench. Recalculate the source formulas using the actual dressed lumber sizes if changing the envelope. The formula for lamination count assumes one-and-a-half-inch dressed thickness; measure the stock rather than assuming every construction board matches.
Before moving onThe chosen dimensions and lumber thicknesses agree.
Laminate the core
- Glue the eighteen top members in manageable flat groups, then join the groups into one slab. Check twist during clamping and flatten the working face after curing. Arrange the best straight edges at the working face and keep glue squeeze-out from obscuring the reference surfaces used for flattening.
Before moving onThe dense core is flat without open glue lines.
Fit upper rails and stretchers
- Attach the deep end and long rails around the core, then position the two cross stretchers as shown. Predrill to avoid splitting the rail ends and inspect the load-bearing joints. Use a consistent reference face when locating the two stretchers, checking that their lower edges will not interfere with the leg corners.
Before moving onThe top assembly is square and well supported.
Build and bolt the legs
- Make four L-shaped legs from paired 2×4 pieces. Clamp them inside the top corners and drill for the carriage bolts with adequate edge distance. Hold each leg securely while drilling through the rail and leg together, and keep bolt holes clear of existing assembly screws.
Before moving onAll legs are plumb and bolts seat firmly without crushing wood.
Add the lower rails
- Mark a common height on the legs and attach the long and short lower rails. Check the entire bench for racking before turning it upright with assistance. Check both diagonal directions of the lower frame; a rectangle can appear level while still allowing the tall bench to rack.
Before moving onThe base is rigid and rests evenly.
Fit the replaceable surface
- Align the plywood cover with the top edges and fasten with flush screws. Smooth edges and verify stability; retain accessible screws so a worn top can be replaced later. Keep the cover screws accessible and below the working face, and record their locations before later drilling dog holes or mounting accessories.
Before moving onThe cover is flat, flush and removable.
1 / 6
Progress and notes stay in this browser. Nothing is uploaded.
Source notes.
- Original PDF
- Work Bench 3.pdf
- Source length
- 4 pages
- Attribution
- Lowe’s, Building a Workbench guide.
- This edition
- 116 Studio · Original written companion and AI concept image · November 2026
Page references count from the first page of this PDF. The original is retained in the owner’s private woodworking collection; it is not distributed by this website. Consult it for full drawings, templates, and details beyond this companion.
Historical plans can omit essential context. Source references identify where a detail came from; they do not certify the design or replace current manufacturer instructions or applicable professional review.
More from this corner of the shop.
Workshop
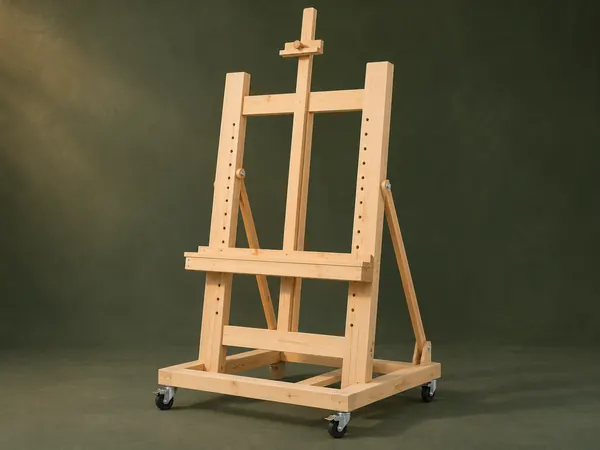
Adjustable Studio Easel
A tall H-frame easel has a pegged canvas shelf, sliding top clamp and hinged rear tilt supports.
Intermediate6 stages
Workshop
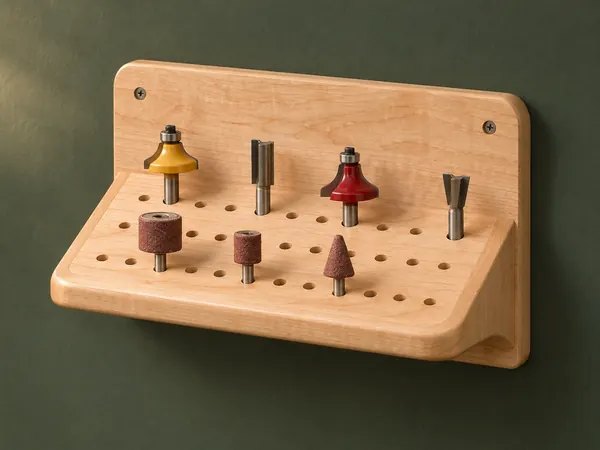
Angled Router-Bit Shelf
A sloping drilled shelf presents router bits and other shanked accessories against a wall backboard.
Beginner5 stages
Workshop
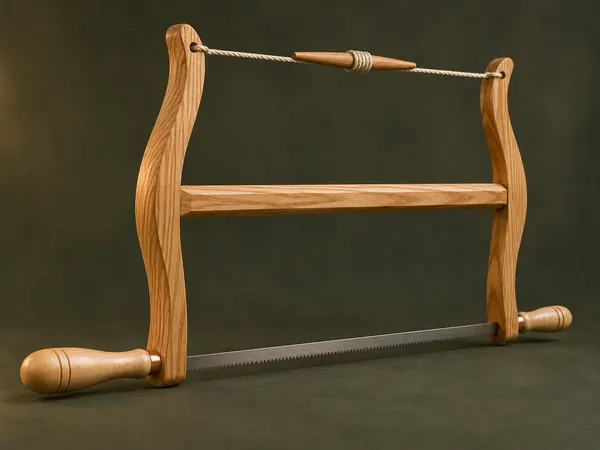
Classic Wooden Bow Saw
An ash H-frame tensions a narrow saw blade with twisted cord and turned maple handles.
Advanced5 stages